Hole 10 at Cog Hill Golf & CC (Dubsdread)
- Par
- 4
- Yardage
- 383 yds
- Stroke index
- 14
- Hazards
- 5 bunkers
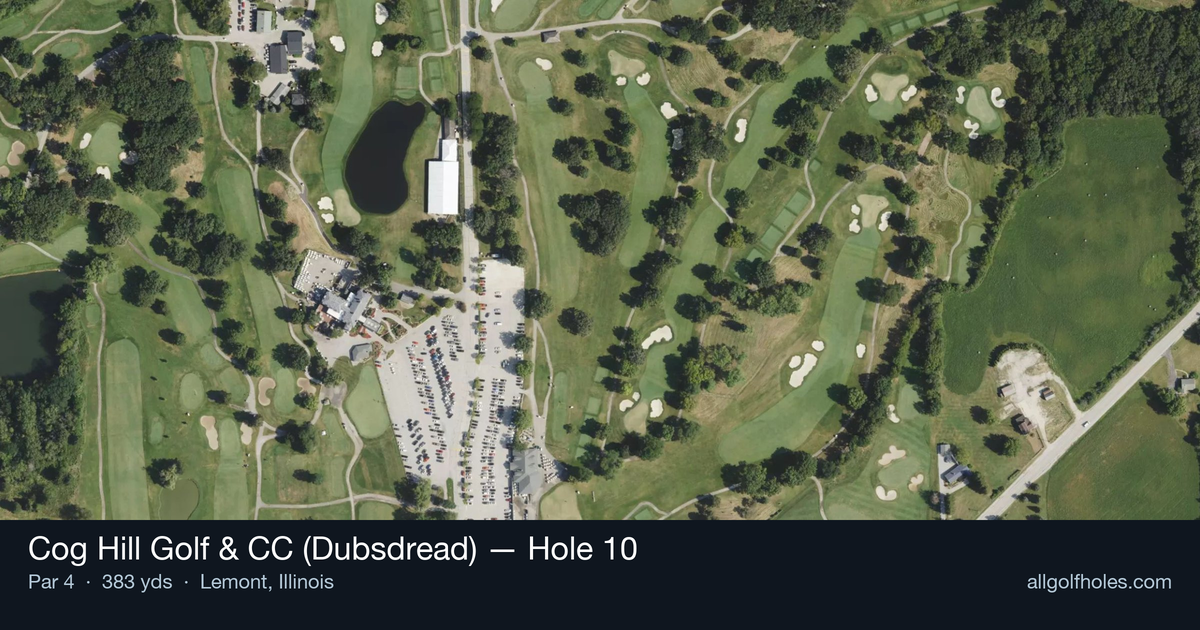
Aerial source not provided
Green size: 25 yds deep × 37 yds wide
Scorecard yardage is for Championship tees. The aerial shows its labeled reference position; distance rings measure to the green.
Championship tees · Par 4 · 383 yards
The plan for No. 10
The 10th hole at Cog Hill Golf & CC (Dubsdread) offers a deceptively straightforward challenge that embodies the course's reputation for testing even seasoned players. This 383-yard par 4 presents a generous fairway that invites an aggressive tee shot, but the small green demands precision on the approach shot. The straight layout allows golfers to see their target clearly, yet the compact putting surface punishes anything but the most accurate iron play. What makes this hole memorable is how it lures players into a false sense of security—the open fairway suggests an easy scoring opportunity, but the diminutive green complex requires surgical precision to find the putting surface. It's classic Dubsdread design philosophy: give golfers room to swing freely, then demand perfection when it matters most.
Off the tee
With no significant hazards listed, the primary focus should be positioning for the best approach angle. Driver is certainly in play for most golfers given the manageable distance, but club selection should prioritize finding the center of the fairway over maximum distance. A well-struck 3-wood or hybrid might leave a more comfortable approach distance while ensuring solid contact and accuracy. The straight layout suggests the fairway runs relatively true to the target line, making course management straightforward but execution critical.
Approach & recovery
The small green size is the defining challenge of this hole, requiring pinpoint accuracy with your approach shot. Depending on your tee shot placement, you'll likely face a short to mid-iron into the green. Club up rather than down when in doubt - being long or short of a small green is far more forgiving than missing left or right. Pay close attention to pin position, as the compact putting surface means even well-struck shots can leave challenging putts if you're on the wrong tier or section of the green.
On the green
Small greens typically feature subtle but significant breaks that become magnified by the limited surface area. Expect the putting surface to be firm and fast, consistent with championship-level conditioning. Focus on speed control above all else - three-putts can quickly turn this scoring opportunity into a bogey or worse. Leave approach putts short of the hole when possible, as downhill putts on small, fast greens can easily race past the cup. ## RISK VS REWARD The primary risk/reward decision comes with club selection off the tee. While driver maximizes birdie opportunities by leaving shorter irons into the green, the small target demands exceptional precision. Conservative players might opt for positional play with a fairway wood, accepting a longer approach shot in exchange for better accuracy and rhythm. The reward for aggressive, accurate play is significant - this represents one of the better scoring opportunities on the challenging Dubsdread layout. ## DIFFERENT SKILL LEVELS **High-handicap players** should prioritize finding the fairway with whatever club provides the most confidence, even if it means hitting 7 or 8-iron into the green. Focus on two-putting rather than attacking pins, and aim for the center of the green regardless of flag position. **Low-handicap players** can be more aggressive with driver off the tee, but must respect the small green size with approach shots. Consider pin position carefully - some flags may be better attacked from specific angles or with certain trajectories. Use the relatively short length to your advantage while maintaining the precision that championship courses demand. The 10th hole at Dubsdread exemplifies why this course has earned its fearsome reputation - even the "easier" holes require complete focus and execution to score well.
Watch for
- 5 mapped bunkers guard landing zones and/or the green.
- Tree-lined areas (13 mapped woodland zones) punish offline tee shots.
Hole 10 Green Complex
Mapped green boundary
Green size: 4,657 sq ft
How did Hole 10 play?
How did this hole play today?
Frequently asked questions
Yardage reference: Championship tees · 383 yards.
What's the best strategy off the tee?
↓
For this 383-yard par 4, most players will hit driver to set up a comfortable approach.
How difficult is hole 10?
↓
This hole is a good scoring opportunity for most golfers. Key challenges include: heavily bunkered.
How big is the green on hole 10?
↓
The green is medium-sized with moderate targets. The green is wider than it is deep, rewarding shots that find the correct tier. Pay attention to pin placement when selecting your approach club.
What's a good score on hole 10?
↓
This hole is a medium-length test where par is a solid result. A straightforward par 4 where course management pays off.