Hole 12 at Troon North Golf Club (Monument course)
- Par
- 4
- Yardage
- 400 yds
- Hazards
- 1 bunker
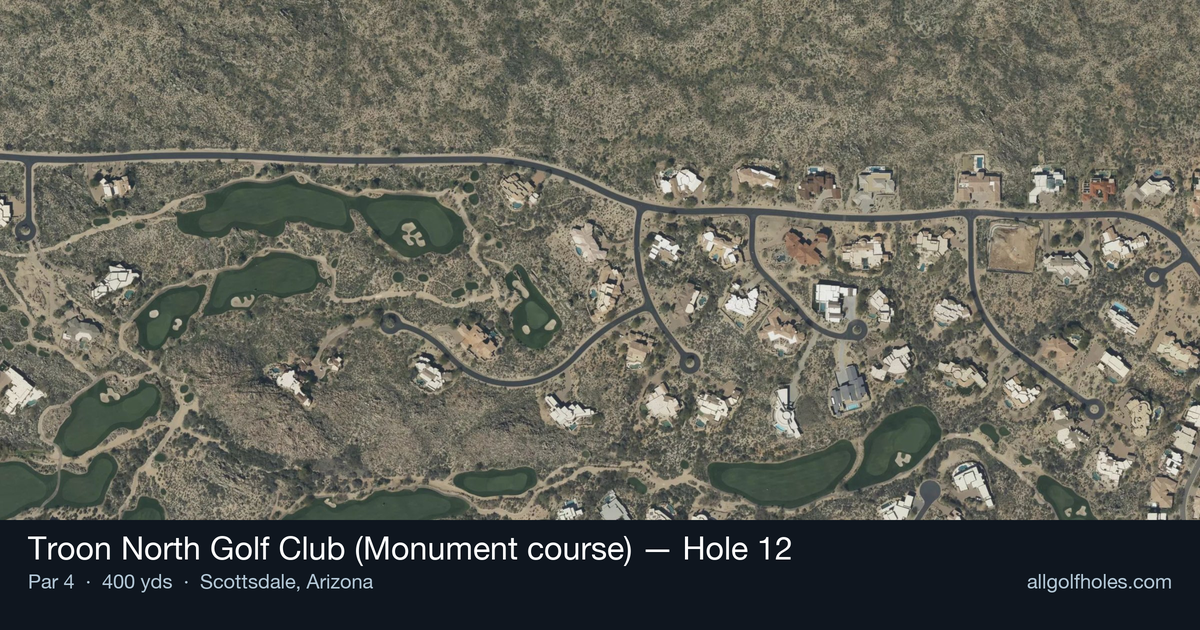
Aerial source not provided
Green size: 35 yds deep × 35 yds wide
Scorecard yardage is for Championship tees. The aerial shows its labeled reference position; distance rings measure to the green.
Championship tees · Par 4 · 400 yards
The plan for No. 12
The 12th hole at Troon North Golf Club Monument course presents a deceptively challenging par 4 that embodies the essence of Sonoran Desert golf. This 400-yard test stretches through the natural terrain beneath Pinnacle Peak's dramatic backdrop, where pristine conditioning meets strategic design. The straight layout demands precision from tee to green, as the desert landscape frames every shot with unforgiving consequences for wayward balls. What makes this hole particularly memorable is its small green complex, which requires golfers to dial in their approach shot with surgical accuracy. The absence of traditional hazards doesn't diminish the challenge—instead, it places premium emphasis on course management and shot execution. As part of Troon's hallmark desert experience, the 12th hole showcases the Monument course's reputation for immaculate playing surfaces while testing every aspect of a golfer's game through its demanding yet fair design.
Off the tee
Your tee shot strategy should prioritize finding the fairway above all else. The desert landscape surrounding Troon North offers no forgiveness for errant drives, making accuracy paramount. Consider taking one less club if it ensures you'll find the short grass - a 3-wood or hybrid from the tee might be the smart play depending on your comfort level. Focus on a smooth, controlled swing rather than trying to overpower this hole. The target line should favor the center of the fairway, giving you the best angle for your approach shot. Avoid the temptation to try to cut distance with an aggressive line, as the desert will quickly turn a scoring opportunity into a disaster.
Approach & recovery
The approach shot to this small green requires precision club selection and commitment to your target. With limited green surface to work with, your distance control becomes critical. Take extra time to factor in the desert conditions - elevation changes, wind, and firm playing surfaces that Troon North is known for maintaining. Aim for the center of the green regardless of pin position. The small target makes it essential to play conservatively and take what the hole gives you. A mid-iron to long-iron will likely be required, so trust your yardage and make a confident swing. Missing short or long can leave you with extremely difficult recovery shots in the desert terrain.
On the green
The small green at the 12th will test your putting precision. Expect firm, fast conditions typical of desert courses, where speed control becomes as important as reading the break. The compact surface means most putts will be relatively straight, but the margin for error is minimal. Pay special attention to your approach putt speed - leaving yourself a short second putt is crucial on this challenging hole. The elevated desert setting may create subtle breaks that aren't immediately apparent, so take time to read your line carefully from multiple angles. ## RISK VS REWARD This hole offers little in terms of risk/reward opportunities - it's purely a test of execution and course management. The reward comes from making par on the most difficult hole on the course. Any aggressive play is typically punished, making conservative strategy the smart approach. The only risk worth considering is club selection on your approach shot. Taking one more club to ensure you reach the green is far better than coming up short and facing a difficult desert recovery. ## DIFFERENT SKILL LEVELS **High-handicap players** should treat this as a bogey hole and be thrilled with par. Consider hitting 3-wood or hybrid off the tee for accuracy, then focus on finding the green with your approach - any part of the green. Don't worry about pin hunting; just get the ball on the putting surface and two-putt for bogey. **Low-handicap players** can be more aggressive with driver if they're confident in their accuracy, but should still respect the small green target. This is a hole where course management skills truly shine - the player who makes the fewest mistakes will score best. Focus on hitting quality shots rather than perfect shots, and take your par when it's available. The key to conquering Troon North's signature challenge is patience, precision, and playing within your capabilities. This hole rewards the golfer who can execute a solid game plan rather than the one who tries to overpower the desert.
Watch for
- Course conditioning and mapped hazards may affect line selection; confirm from the aerial.
Hole 12 Green Complex
Mapped green boundary
Green size: 5,316 sq ft
How did Hole 12 play?
How did this hole play today?
Frequently asked questions
Yardage reference: Championship tees · 400 yards.
What's the best strategy off the tee?
↓
For this 400-yard par 4, most players will hit driver to set up a comfortable approach.
How difficult is hole 12?
↓
This hole is a good scoring opportunity for most golfers.
What hazards should I watch out for on hole 12?
↓
Key hazards include: 1 greenside bunker. Plan your shots to avoid these trouble spots.
How big is the green on hole 12?
↓
The green is medium-sized with moderate targets. Pay attention to pin placement when selecting your approach club.