Hole 4 at Troon North Golf Club (Monument course)
- Par
- 4
- Yardage
- 410 yds
- Hazards
- 3 bunkers
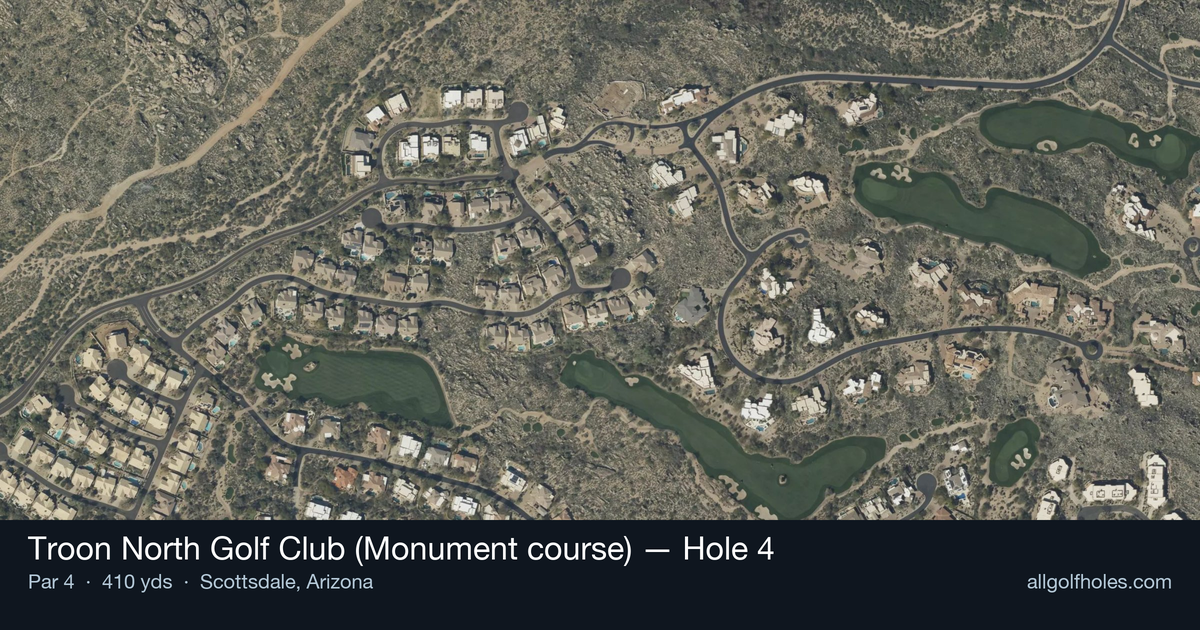
Aerial source not provided
Green size: 31 yds deep × 29 yds wide
Scorecard yardage is for Championship tees. The aerial shows its labeled reference position; distance rings measure to the green.
Championship tees · Par 4 · 410 yards
The plan for No. 4
The fourth hole at Troon North Golf Club's Monument course presents a deceptively straightforward par 4 that embodies the desert course's British Open-inspired design philosophy. Stretching 410 yards through the Sonoran Desert landscape, this straight hole demands precision over power, with the unforgiving Arizona desert flanking both sides of the fairway. The tee shot requires careful club selection to find the optimal position for the approach to the small, subtly contoured green. Without traditional water hazards or bunkers to guide strategy, players must rely on course management and accurate ball-striking. The green's compact size punishes wayward approach shots, rewarding those who execute a well-planned strategy. This hole exemplifies Monument course's emphasis on shot-making and strategic thinking over brute force.
Off the tee
Your tee shot strategy should prioritize finding the fairway over maximum distance. The desert terrain flanking both sides leaves no room for error, making club selection crucial for course management. Consider using a 3-wood or hybrid if your driver tends to spray, as position is far more valuable than distance here. Aim for the center of the fairway, allowing for natural shot dispersion while maintaining optimal approach angles. The key is leaving yourself with a manageable approach shot rather than risking a desert adventure with an aggressive driver.
Approach & recovery
The approach shot to this small green requires precise distance control and careful target line selection. Given the compact green size, club selection becomes critical – it's better to be pin-high with a longer club than to come up short with insufficient loft. The desert surroundings mean missing the green in any direction brings penalty strokes into play. Consider the British Open-inspired design philosophy here – a well-executed bump-and-run shot can be an excellent option when conditions permit, allowing for a safer margin of error than a high, spinning approach.
On the green
The small green size means putting strategy focuses on lag putting and avoiding three-putts rather than aggressive pin hunting. Read the subtle breaks carefully, as desert greens often play faster than they appear. Position your approach shots below the hole when possible, as uphill putts are more forgiving on these smaller targets. Pay attention to the grain direction, which can significantly affect ball roll in desert conditions. ## RISK VS REWARD This hole offers limited risk/reward opportunities, instead demanding steady, strategic play. The main decision point comes with tee shot club selection – the reward for a perfect driver might set up a shorter iron, but the risk of finding desert rough far outweighs the potential benefit. The smart play is conservative off the tee, accepting a longer approach shot in exchange for guaranteed fairway position. This scoring opportunity comes from avoiding big numbers rather than making birdies. ## DIFFERENT SKILL LEVELS **High-handicap players** should focus entirely on keeping the ball in play. Consider hitting 3-wood or hybrid off the tee, even if it leaves a longer approach shot. Aim for the center of the green regardless of pin position, and don't be afraid to use the bump-and-run technique if you're more comfortable with it than high approach shots. **Low-handicap players** can be more aggressive with driver selection but should still prioritize accuracy over distance. These players can attack specific pin positions, but only when the approach shot is from an ideal fairway lie. The key is recognizing when to play conservatively – even skilled players should respect this hole's difficulty rating and play for par as a good score.
Watch for
- Course conditioning and mapped hazards may affect line selection; confirm from the aerial.
Hole 4 Green Complex
Mapped green boundary
Green size: 4,881 sq ft
How did Hole 4 play?
How did this hole play today?
Frequently asked questions
Yardage reference: Championship tees · 410 yards.
What's the best strategy off the tee?
↓
For this 410-yard par 4, most players will hit driver to set up a comfortable approach.
How difficult is hole 4?
↓
This hole is a good scoring opportunity for most golfers.
What hazards should I watch out for on hole 4?
↓
Key hazards include: 3 greenside bunkers. Plan your shots to avoid these trouble spots.
How big is the green on hole 4?
↓
The green is medium-sized with moderate targets. Pay attention to pin placement when selecting your approach club.