Hole 11 at Troon North Golf Club (Monument course)
- Par
- 5
- Yardage
- 512 yds
- Stroke index
- 6
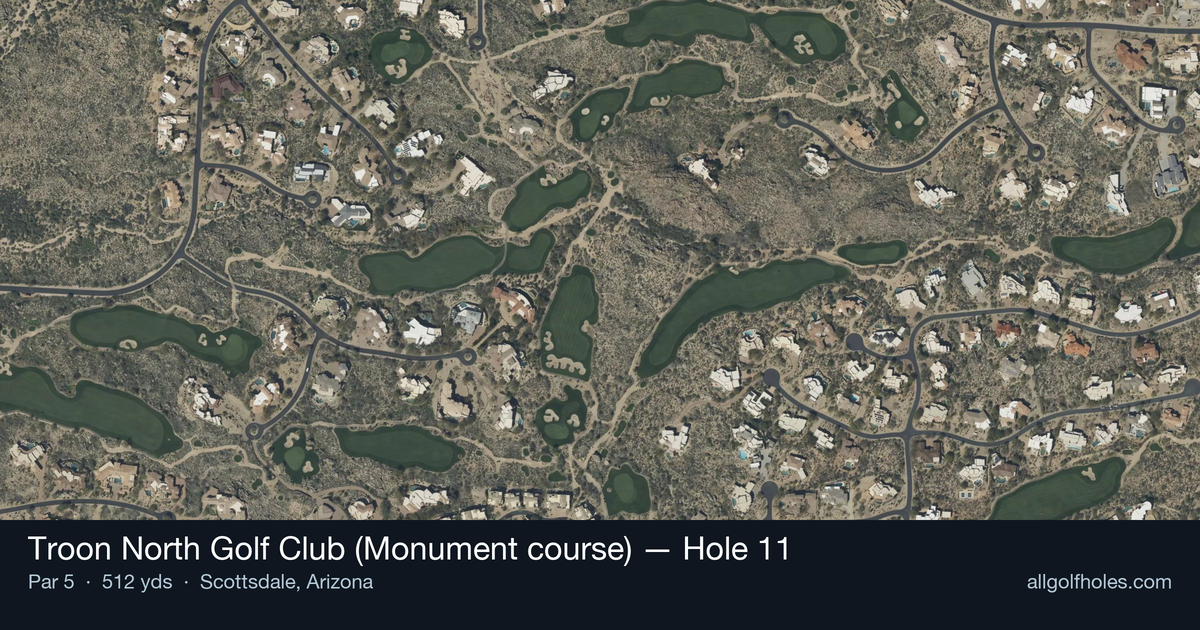
Aerial source not provided
Green size: 45 yds deep × 29 yds wide
Scorecard yardage is for Championship tees. The aerial shows its labeled reference position; distance rings measure to the green.
Championship tees · Par 5 · 512 yards
The plan for No. 11
The 11th hole at Troon North Golf Club's Monument course presents a pivotal moment in your round, where strategic thinking trumps raw power on this 512-yard par 5. Set against the dramatic Sonoran Desert backdrop, this straight-away hole demands precision from tee to green. The generous fairway invites an aggressive tee shot, but the real challenge emerges on the approach, where the small green complex requires careful club selection and accurate distance control. Desert vegetation flanks both sides, punishing wayward shots that drift from the playing corridor. As the sixth-handicap hole, it offers a legitimate birdie opportunity for those who navigate its length with intelligence, while the compact green ensures that even successful approaches must be executed with finesse to secure a favorable result.
Off the tee
Your opening shot should prioritize finding the fairway over maximum distance. The desert landscape surrounding Troon North punishes errant drives severely, making accuracy your primary concern. Target the center-left portion of the fairway to give yourself the best angle for your second shot. A well-struck driver or strong 3-wood will position you perfectly for your approach strategy. Avoid the temptation to cut corners or aim too aggressively toward trouble areas - the desert vegetation and rocky terrain will penalize even slightly offline shots.
Approach & recovery
With the green being notably small for a par 5, your second shot becomes crucial in setting up a manageable third shot. Most players will need to lay up to their preferred wedge distance, typically leaving themselves about 80-120 yards for the final approach. Focus on finding the optimal position in the fairway rather than trying to reach the green in two. When playing your approach to the green, target the center and trust your short iron accuracy. The small green size means pin-seeking shots carry significant risk of missing the putting surface entirely.
On the green
The compact putting surface requires precise distance control and careful green reading. Desert courses often feature subtle breaks that can be deceiving, so take extra time to study your putts. Pay attention to the grain direction, which typically grows toward the desert washes in this region. Uphill putts will play slower than they appear, while downhill putts can get away from you quickly on the firm desert turf. Conservative putting strategy - aiming for the center of the cup rather than trying to make everything - will help avoid costly three-putts. ## RISK VS REWARD This hole presents multiple decision points where aggressive play can pay dividends or lead to big numbers. The primary risk/reward decision comes on your second shot: attempting to reach the green in two versus laying up for a comfortable wedge. Given the small green size, most players should favor the conservative approach unless they're in perfect position with ideal conditions. The reward of a potential eagle must be weighed against the likelihood of finding trouble and making bogey or worse. ## DIFFERENT SKILL LEVELS **High-Handicap Players**: Focus entirely on keeping the ball in play and advancing it safely down the fairway. Use your most reliable clubs off the tee, even if it means hitting 3-wood or hybrid. Plan for three shots to reach the green and prioritize avoiding penalty strokes. The par 5 length gives you room for error if you stay patient. **Low-Handicap Players**: You have more flexibility to be aggressive, but the small green still demands respect. Consider going for the green in two only when you're in the ideal position with a mid-iron or less. Your superior short game skills make laying up to your favorite wedge distance a viable birdie strategy. Use your course management skills to identify when conditions favor aggressive play versus when patience will yield better results. The key to mastering this hole lies in understanding that its straight layout and par 5 length offer scoring opportunities, but only for those who respect the precision required by the small green and unforgiving desert surroundings.
Watch for
- Course conditioning and mapped hazards may affect line selection; confirm from the aerial.
Hole 11 Green Complex
Mapped green boundary
Green size: 5,062 sq ft
How did Hole 11 play?
How did this hole play today?
Frequently asked questions
Yardage reference: Championship tees · 512 yards.
Can this par 5 be reached in two?
↓
At 512 yards, Reachable in two for longer hitters. Consider laying up short of hazards if going for it is risky.
How difficult is hole 11?
↓
This hole is a good scoring opportunity for most golfers.
How big is the green on hole 11?
↓
The green is medium-sized with moderate targets. The green is wider than it is deep, rewarding shots that find the correct tier. Pay attention to pin placement when selecting your approach club.
What's a good score on hole 11?
↓
This hole is a solid birdie opportunity with smart layup strategy. Most golfers can reach in three. Position your layup to leave a comfortable wedge.