Hole 9 at Troon North Golf Club (Monument course)
- Par
- 5
- Yardage
- 539 yds
- Stroke index
- 7
- Hazards
- 4 bunkers
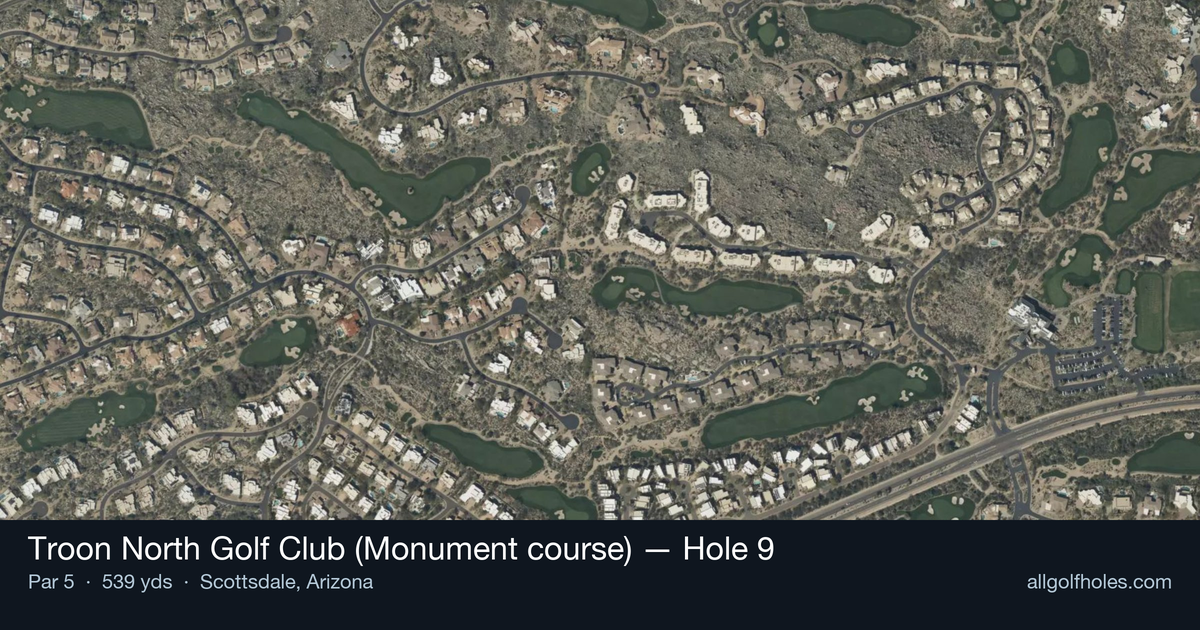
Aerial source not provided
Green size: 33 yds deep × 27 yds wide
Scorecard yardage is for Championship tees. The aerial shows its labeled reference position; distance rings measure to the green.
Championship tees · Par 5 · 539 yards
The plan for No. 9
The closing hole at Troon North Golf Club's Monument course presents a fitting finale to one of Scottsdale's most celebrated desert layouts. This 539-yard par 5 unfolds through the dramatic Sonoran Desert landscape, where towering saguaro cacti and rugged desert terrain frame a straightforward but demanding test. The generous fairway invites aggressive tee shots, but the desert's unforgiving nature lurks just beyond the short grass, demanding precision over power. As golfers navigate through the ravines and foothills that define this iconic course, the small green becomes the ultimate target, requiring a deft touch to secure a closing birdie. Against the backdrop of Arizona's stunning desert vistas, this hole epitomizes the natural beauty and strategic challenge that has made Troon North a must-play destination for golfers seeking an authentic Southwest experience.
Off the tee
Your tee shot strategy should focus on finding the optimal position for your second shot. Driver is the right play for most golfers here, as distance off the tee significantly impacts your approach options. Aim for the center-left portion of the fairway to set up the best angle for your layup or go-for-it decision. The straight layout means you don't need to work the ball dramatically, but a slight draw can add valuable roll in the desert conditions. Avoid the desert areas flanking the fairway - while there are no traditional hazards, finding the Sonoran Desert rough will quickly turn a birdie hole into a bogey struggle.
Approach & recovery
Your second shot presents the hole's key strategic decision. Longer hitters with 200-220 yards remaining have a legitimate chance to reach the small green in two, but the target demands precision. The green's compact size means even slight misses can leave challenging up-and-downs from the desert surroundings. For most players, a smart layup to wedge distance - around 100-120 yards from the pin - sets up the highest percentage birdie opportunity. Choose your layup distance based on your most comfortable wedge yardage, and favor the right side of the fairway for the best angle into the green.
On the green
The small green demands accurate approach shots and precise putting. Desert greens typically feature subtle breaks influenced by the surrounding terrain, so read putts carefully from multiple angles. Grain direction can be significant in Arizona conditions - pay attention to the grass growth patterns, especially late in the day when shadows reveal the grain more clearly. Lag putting is crucial on this smaller target; getting your first putt close is more important than being aggressive from long range. ## RISK VS REWARD This hole offers clear risk/reward decisions based on your driving distance and comfort level. Going for the green in two provides excellent eagle and birdie chances but requires precise execution to a small target. The conservative three-shot approach offers high-percentage birdie opportunities with minimal risk of big numbers. Consider factors like pin position, wind conditions, and your current round momentum when making this decision. The absence of major hazards makes the aggressive play more attractive than on typical par 5s. ## DIFFERENT SKILL LEVELS **High Handicappers**: Play this as a three-shot hole focusing on fairway position and comfortable yardages. Use driver off the tee, then layup to your favorite wedge distance. The straight layout and lack of hazards make this an excellent hole to be aggressive with your putting - don't leave birdie putts short. **Low Handicappers**: This hole rewards length and precision. If you can carry your drive 280+ yards, going for the green in two becomes very attractive given the small target and scoring opportunity. However, don't force the issue if conditions aren't favorable - a well-executed three-shot strategy still offers excellent birdie chances and protects against the big number that can derail a good round. The 9th hole exemplifies smart course management in desert golf - respect the natural surroundings while taking advantage of legitimate scoring opportunities when they present themselves.
Watch for
- Course conditioning and mapped hazards may affect line selection; confirm from the aerial.
Hole 9 Green Complex
Mapped green boundary
Green size: 4,211 sq ft
How did Hole 9 play?
How did this hole play today?
Frequently asked questions
Yardage reference: Championship tees · 539 yards.
Can this par 5 be reached in two?
↓
At 539 yards, A true three-shot hole for most players. Position your layup to leave a comfortable wedge distance.
How difficult is hole 9?
↓
This hole is a moderate challenge for most golfers. Key challenges include: heavily bunkered, small green.
How big is the green on hole 9?
↓
The green is small and requires precision. The green is wider than it is deep, rewarding shots that find the correct tier. Expect challenging pin positions with limited room for error.
What's a good score on hole 9?
↓
This hole is a solid birdie opportunity with smart layup strategy. Most golfers can reach in three. Position your layup to leave a comfortable wedge.