Hole 5 at Grayhawk Golf Club (Raptor course)
- Par
- 3
- Yardage
- 203 yds
- Stroke index
- 14
- Hazards
- 2 bunkers
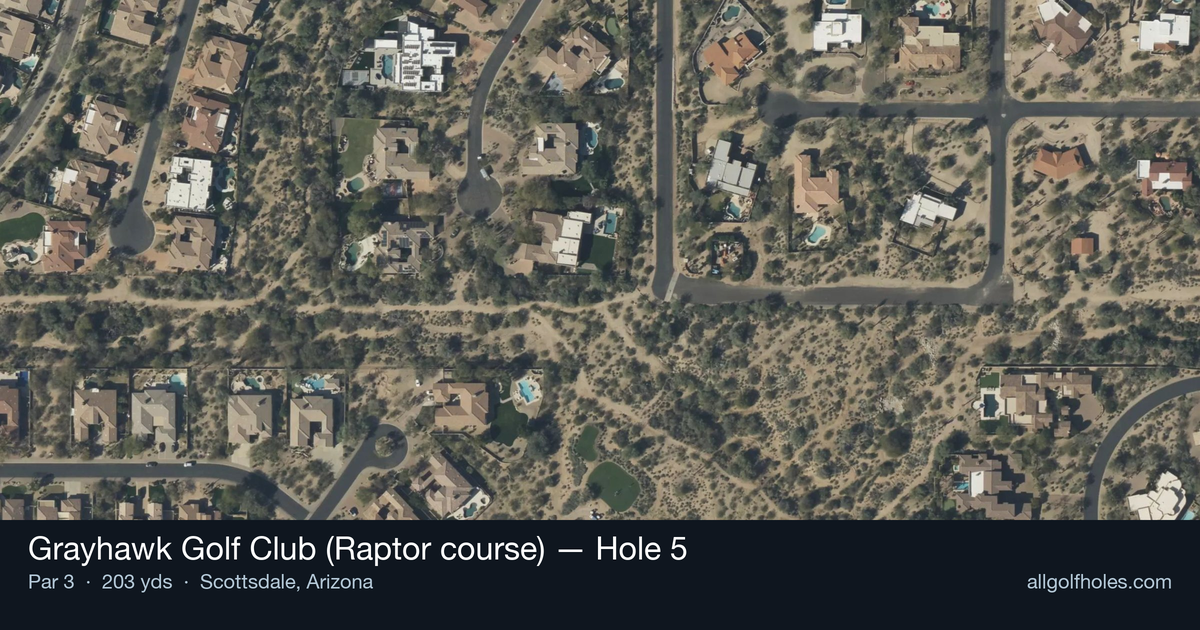
Aerial source not provided
Green size: 35 yds deep × 26 yds wide
Scorecard yardage is for Championship tees. The aerial shows its labeled reference position; distance rings measure to the green.
Championship tees · Par 3 · 203 yards
The plan for No. 5
The fifth hole at Grayhawk Golf Club's Raptor course presents a deceptively challenging par 3 that embodies Tom Fazio's masterful design philosophy. At 203 yards, this hole demands precise club selection and unwavering commitment from the elevated tee. The small green complex sits beautifully within the Sonoran Desert landscape, framed by the natural arroyos and gentle hills that define this acclaimed Scottsdale layout. What makes this tee shot particularly demanding is the premium placed on accuracy over distance - the compact target leaves little margin for error. The hole's strategic design rewards golfers who can execute under pressure, while the stunning desert vistas provide a breathtaking backdrop that exemplifies why the Raptor course earned recognition in Golf Magazine's "Top 100 You Can Play."
Off the tee
Your tee shot strategy centers on committed club selection based on pin position and wind conditions. Take one extra club to ensure you reach the back portion of the small green, as coming up short leaves difficult up-and-down opportunities. Aim for the center of the green regardless of pin position - the small target makes pin-hunting risky for most players. Focus on a smooth, controlled swing rather than trying to muscle the shot, as rhythm and tempo are crucial for accuracy on this length of shot.
Approach & recovery
Since this is a par 3, your tee shot IS your approach shot. The key is reading the conditions properly - Arizona's desert climate can create tricky wind patterns, especially during temperature transitions throughout the day. Factor in elevation changes and firm conditions that are common at desert courses. The small green demands precision, so commit fully to your yardage and club selection rather than second-guessing mid-swing.
On the green
The small green size means every putt matters significantly for scoring. Focus on lag putting to the correct tier or section of the green, as three-putts can quickly turn a scoring opportunity into a bogey. Pay attention to subtle breaks that may be influenced by the surrounding desert terrain and any elevation changes on the green surface. Speed control becomes critical on smaller greens where margin for error is reduced. ## RISK VS REWARD This hole offers a clear risk/reward decision in pin selection strategy. Playing aggressively to tucked pins on a small green increases birdie chances but also raises the stakes for missing the target entirely. The conservative play to the center of the green virtually guarantees a makeable par putt, while aggressive pin-hunting can lead to short-sided positions or missed greens that make par difficult to save. ## DIFFERENT SKILL LEVELS **High-handicap players** should focus exclusively on finding the green with a comfortable club, ignoring pin positions entirely. Take an extra club to ensure adequate distance and aim for the largest portion of the green. Accept that par is an excellent score and don't let the apparent simplicity of the hole lead to overconfidence. **Low-handicap players** can be more aggressive with pin positions, especially when the pin is in the center or back portions of the green. Use precise yardages and consider attacking pins that offer good angles for birdie putts. However, even skilled players should respect the small target and avoid overly aggressive plays to difficult pin positions. The 14 handicap rating suggests this hole plays easier than many others on the course, making it a legitimate birdie opportunity for players who execute solid course management and maintain their putting touch on the smaller target.
Watch for
- Course conditioning and mapped hazards may affect line selection; confirm from the aerial.
Hole 5 Green Complex
Mapped green boundary
Green size: 5,085 sq ft
How did Hole 5 play?
How did this hole play today?
Frequently asked questions
Yardage reference: Championship tees · 203 yards.
What club should I use on this par 3?
↓
At 203 yards, most golfers will need a long iron or hybrid (5-iron to 6-iron) to reach this green. Adjust for elevation, wind, and pin position.
What hazards should I watch out for on hole 5?
↓
Key hazards include: 2 greenside bunkers. Plan your shots to avoid these trouble spots.
How big is the green on hole 5?
↓
The green is medium-sized with moderate targets. Pay attention to pin placement when selecting your approach club.