Hole 14 at Grayhawk Golf Club (Raptor course)
- Par
- 4
- Yardage
- 429 yds
- Stroke index
- 13
- Hazards
- 3 bunkers
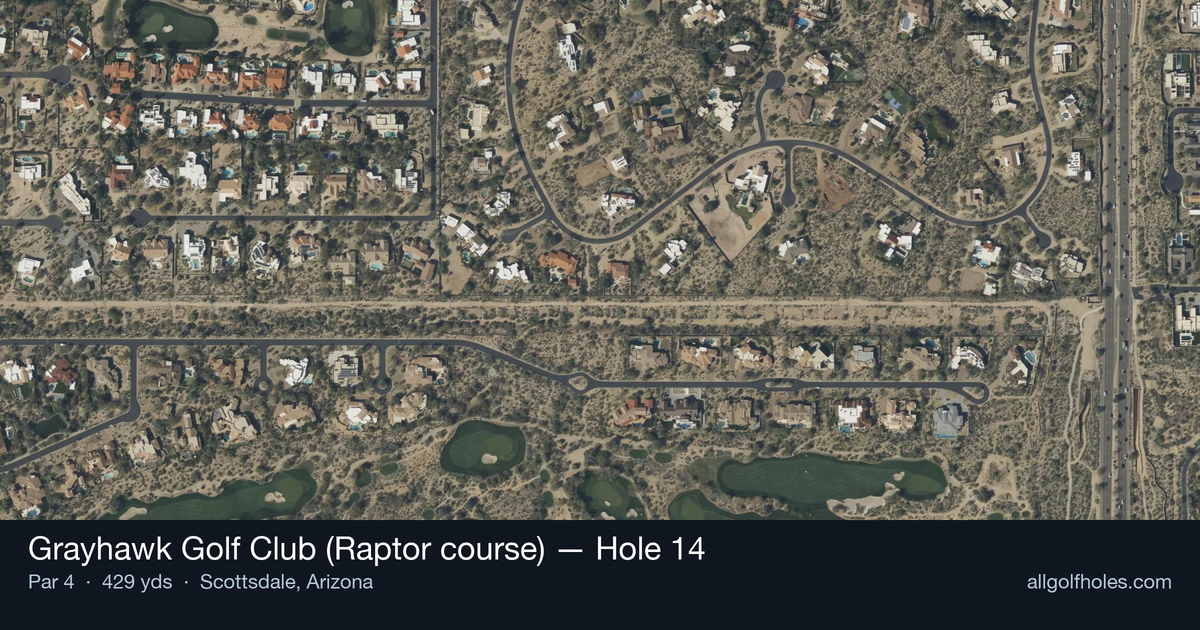
Aerial source not provided
Green size: 40 yds deep × 20 yds wide
Scorecard yardage is for Championship tees. The aerial shows its labeled reference position; distance rings measure to the green.
Championship tees · Par 4 · 429 yards
The plan for No. 14
Known as "Serenity," Grayhawk Golf Club (Raptor course) hole 14 offers a deceptively peaceful moment amid Tom Fazio's challenging desert masterpiece. This 429-yard par 4 presents a straight-forward layout that demands precision over power, with the tee shot requiring careful navigation around strategically placed bunkers. The right-side bunker sits farther down the fairway, creating a difficult carry for aggressive players, while conservative golfers can play safely short with a long iron or fairway wood. The approach shot targets a small, well-protected green that rewards accurate iron play. Despite its serene nickname, this hole exemplifies Fazio's signature risk-reward philosophy, where smart course management trumps brute force in the stunning Sonoran Desert setting.
Off the tee
The tee shot sets up the entire hole, with the key decision revolving around how aggressive to play toward the landing zone. Based on course knowledge, there's a right-side bunker positioned strategically in the fairway that creates the primary challenge off the tee. For most players, the conservative approach involves using a long iron or fairway wood to position the ball just short of this right bunker, ensuring a clear approach shot. This strategy typically leaves a mid-iron to short-iron into the green. More aggressive players can attempt to carry the bunker with driver, but the risk-reward calculation must account for the difficulty of the carry and potential trouble beyond. The target line should favor the left-center of the fairway, providing the best angle into the small green while avoiding the right-side trouble.
Approach & recovery
With a small green as the target, precision becomes paramount on the approach shot. The compact putting surface leaves little margin for error, making club selection and distance control critical factors. From the ideal fairway position, players will typically face a mid-iron approach that requires commitment to the yardage and pin position. The small green means that being slightly long or short can leave challenging recovery shots, so taking one extra club and swinging smoothly often proves more effective than forcing a shorter iron. Pay attention to pin position - when the flag is tucked behind bunkers or on the edges of the green, aim for the center and rely on putting rather than trying to attack the pin directly.
On the green
The small green at the 14th demands accurate putting and careful green reading. With limited real estate, lag putting becomes crucial when facing longer putts. The key is avoiding three-putts by ensuring your first putt finishes within a comfortable two-putt range. Given the green's compact size, subtle breaks can be more pronounced than they appear. Take time to read putts from multiple angles, especially on longer attempts where the break will have more time to take effect. ## RISK VS REWARD The primary risk-reward decision occurs on the tee shot. Attempting to carry the right fairway bunker with driver can set up a shorter approach shot, potentially with a wedge or short iron. However, failure to clear the bunker or pushing the drive too far right can lead to difficult recovery shots. The reward for successful aggressive play is a scoring opportunity with a short iron in hand. The risk is finding trouble that makes par difficult to achieve. Weather conditions, particularly wind, should heavily influence this decision. ## DIFFERENT SKILL LEVELS **High-Handicap Players:** Focus on the conservative strategy off the tee using a fairway wood or long iron to find the fairway short of trouble. Accept a longer approach shot in exchange for playing from the short grass. Aim for the center of the green regardless of pin position, and prioritize two-putting over aggressive pin-seeking. **Low-Handicap Players:** Can consider the more aggressive tee shot when conditions permit, but should still respect the strategic nature of the hole. With better distance control, these players can attack pins more directly, but the small green still demands precision. Use course management skills to identify when to be aggressive versus when to play conservatively based on match situation and conditions. **Mid-Handicap Players:** Should generally lean toward the conservative approach while occasionally taking calculated risks when feeling confident with the driver. Focus on finding the fairway first, then commit fully to the approach shot distance. The 14th hole rewards smart golf over heroic shots, making it a true test of course management skills that can separate good rounds from great ones.
Watch for
- Course conditioning and mapped hazards may affect line selection; confirm from the aerial.
Hole 14 Green Complex
Mapped green boundary
Green size: 4,679 sq ft
How did Hole 14 play?
How did this hole play today?
Frequently asked questions
Yardage reference: Championship tees · 429 yards.
What's the best strategy off the tee?
↓
For this 429-yard par 4, most players will hit driver to set up a comfortable approach.
How difficult is hole 14?
↓
This hole is a good scoring opportunity for most golfers.
How big is the green on hole 14?
↓
The green is medium-sized with moderate targets. The green is wider than it is deep, rewarding shots that find the correct tier. Pay attention to pin placement when selecting your approach club.