Hole 18 at Grayhawk Golf Club (Raptor course)
- Par
- 5
- Yardage
- 521 yds
- Stroke index
- 3
- Hazards
- 7 bunkers · Water
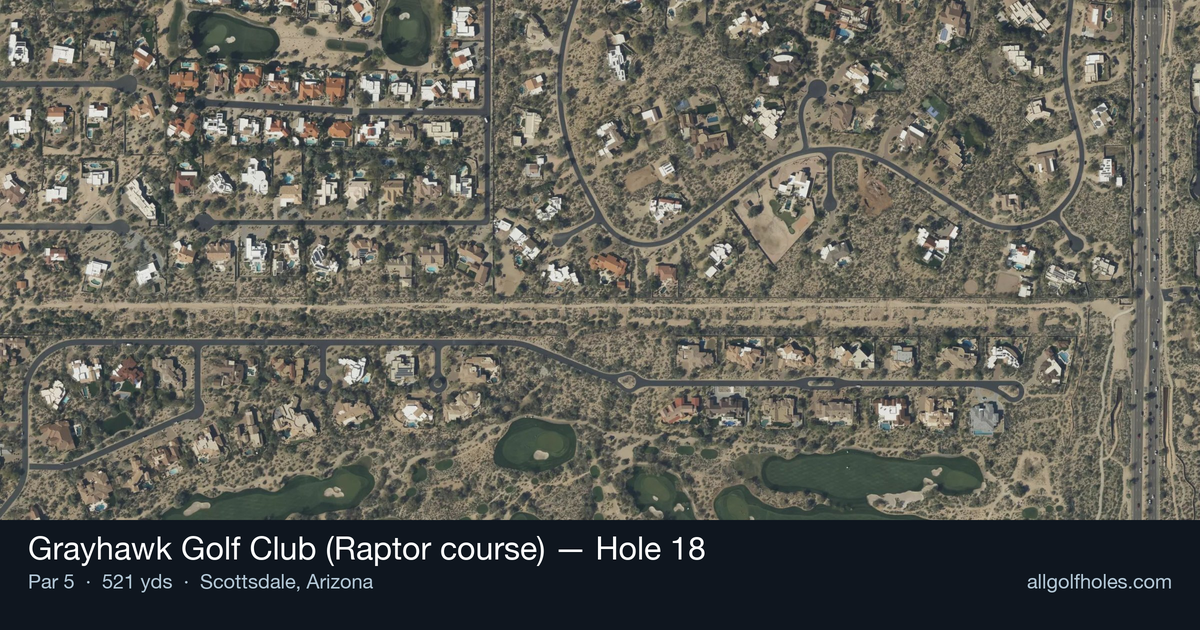
Aerial source not provided
Green size: 36 yds deep × 25 yds wide
Scorecard yardage is for Championship tees. The aerial shows its labeled reference position; distance rings measure to the green.
Championship tees · Par 5 · 521 yards
The plan for No. 18
The 18th hole at Grayhawk Golf Club's Raptor course delivers a dramatic finale to Tom Fazio's desert masterpiece, presenting golfers with strategic choices that can make or break their round. This 521-yard par 5 showcases the course's signature risk-reward philosophy, with a right-side bunker positioned to challenge aggressive tee shots. The conservative approach calls for a long iron or fairway wood to stay short of the hazard, setting up a manageable second shot. However, longer hitters who successfully carry the bunker gain a significant advantage toward the small green complex. With multiple ways to navigate this beautiful closing hole, players must weigh their options carefully—especially with the pressure of finishing strong on one of Scottsdale's most respected courses.
Off the tee
The opening shot sets up your entire strategy for this hole. The conservative and often smartest play is a long iron or fairway wood aimed just short of the right bunker, which sits at a difficult carry distance down the fairway. This approach keeps you in the short grass and sets up a manageable second shot. For longer hitters tempted to challenge the bunker, consider the risk carefully—the carry distance makes this a low-percentage play for most golfers. Focus your target line down the left-center of the fairway, giving yourself room to work with while avoiding the trouble on the right. Driver may not be the best club selection here, as precision trumps distance on this strategic hole.
Approach & recovery
Your second shot strategy depends heavily on your tee shot execution and distance capabilities. Most golfers will be laying up to their preferred wedge distance, making club selection crucial for setting up the ideal approach angle to the small green. When laying up, avoid getting too aggressive—position yourself in the fairway with a comfortable yardage for your third shot. The small green demands accuracy, so having your favorite wedge distance is more valuable than getting as close as possible with an awkward yardage. For the rare occasions when going for the green in two is viable, remember that the small target requires exceptional precision. The reward may not justify the risk, especially on a finishing hole where a safe par keeps your round intact.
On the green
The small green size makes putting strategy relatively straightforward but demands respect. Focus on getting your approach shot to the correct tier or section of the green, as short putts from the right level are preferable to longer putts across slopes. Pay attention to the natural contours and don't get overly aggressive with your putting—two-putting from anywhere on this small green should be your primary goal. The desert setting may create subtle breaks that aren't immediately obvious, so take time to read the green carefully. ## RISK VS REWARD This hole perfectly embodies the risk-reward philosophy of the Raptor course. The primary decision point comes with the tee shot—challenging the right bunker for a shorter approach versus playing conservatively for a guaranteed fairway lie. The smart money is almost always on the conservative play, especially as a finishing hole. A safe par here is a victory, and the penalty for finding trouble can be severe. The hole's beauty shouldn't distract from the importance of sound course management. ## DIFFERENT SKILL LEVELS **High Handicappers**: Embrace the conservative strategy completely. Use a long iron or fairway wood off the tee, lay up to your most comfortable wedge distance, and focus on making solid contact. Your goal should be avoiding big numbers rather than chasing birdies on this challenging finisher. **Low Handicappers**: While you may have the distance to challenge the bunker, consider the context of your round and the tournament situation. The conservative play still makes sense most of the time. If you do go aggressive off the tee, ensure you have a clear plan for the approach shot and don't compound one risky decision with another. **Mid Handicappers**: This hole rewards patience and smart club selection. Stick with the percentage play off the tee, and don't let the par 5 designation tempt you into overly aggressive decisions. Focus on putting together three solid shots rather than trying to get home in two. The 18th at Grayhawk's Raptor course is a fitting finale that rewards thoughtful golf strategy and punishes impatience—make your decisions based on your capabilities rather than the hole's stunning desert beauty.
Watch for
- Course conditioning and mapped hazards may affect line selection; confirm from the aerial.
Hole 18 Green Complex
Mapped green boundary
Green size: 4,797 sq ft
How did Hole 18 play?
How did this hole play today?
Frequently asked questions
Yardage reference: Championship tees · 521 yards.
Can this par 5 be reached in two?
↓
At 521 yards, A true three-shot hole for most players. Position your layup to leave a comfortable wedge distance.
How difficult is hole 18?
↓
This hole is a moderate challenge for most golfers. Key challenges include: water in play, heavily bunkered.
How big is the green on hole 18?
↓
The green is medium-sized with moderate targets. Pay attention to pin placement when selecting your approach club.
What's a good score on hole 18?
↓
This hole is a solid birdie opportunity with smart layup strategy. Most golfers can reach in three. Position your layup to leave a comfortable wedge.