Hole 17 at Troon North Golf Club (Monument course)
- Par
- 4
- Yardage
- 452 yds
- Hazards
- 2 bunkers
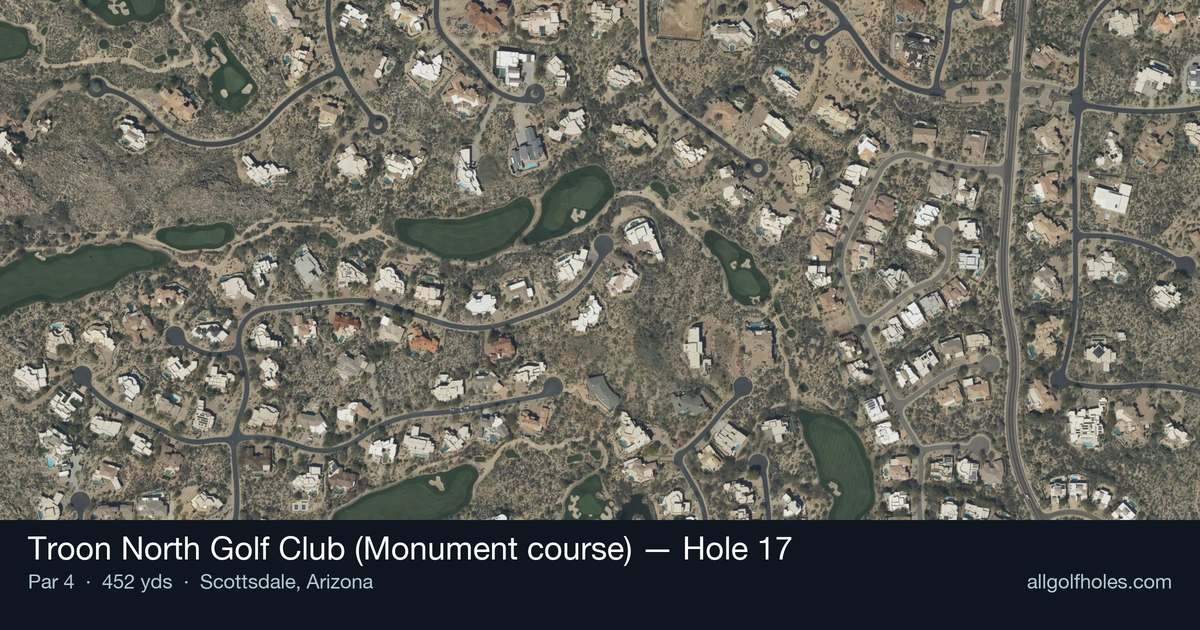
Aerial source not provided
Green size: 39 yds deep × 31 yds wide
Scorecard yardage is for Championship tees. The aerial shows its labeled reference position; distance rings measure to the green.
Championship tees · Par 4 · 452 yards
The plan for No. 17
As part of Troon North Golf Club (Monument course)'s signature stretch of holes 15-17, the 17th hole stands as a formidable 452-yard par 4 that demands both precision and power. This straight, no-nonsense design features the course's most challenging handicap rating, earning its stroke-play designation through sheer length and strategic complexity. The tee shot requires careful placement to set up the ideal approach angle to a compact, well-protected green complex nestled against the dramatic Sonoran Desert landscape. With the Pinnacle Peak backdrop creating a stunning visual frame, golfers must navigate this penultimate test with both technical skill and mental fortitude. The hole's reputation as one of Monument's signature challenges makes it a memorable precursor to the closing hole, epitomizing the course's desert golf excellence.
Off the tee
Your tee shot strategy should focus on finding the optimal position for your approach rather than maximum distance. A well-struck driver or strong 3-wood should leave you with a manageable mid-iron to long-iron into the green, depending on conditions and pin position. The key is establishing a solid target line down the center of the fairway, as the straight layout rewards accurate drives. Consider the desert conditions when selecting your club - the firm fairways can provide significant roll, so factor in wind direction and firmness when making your selection. Avoid the temptation to over-swing; a controlled, confident swing will serve you better than trying to crush one.
Approach & recovery
The approach shot is where this hole truly tests your skills. With a small green as your target, club selection becomes critical. The lack of significant hazards means you can be more aggressive with your line, but the green size demands precision over power. Pay close attention to pin position - with a small green, there's less margin for error regardless of where the flag is located. A mid-iron to long-iron will typically be required, and you'll want to favor the center of the green unless you're completely confident in your distance control. The desert setting means firm conditions are common, so consider how the ball will react upon landing.
On the green
The small green complex at the 17th requires careful putting strategy. Read the green thoroughly, as subtle breaks can be deceiving in the desert environment. Focus on lag putting to the correct level if the green has multiple tiers, and prioritize getting your first putt close rather than being overly aggressive. Given the pressure of this signature hole, trust your read and commit to your line. The putting surfaces at Troon North are typically well-maintained, so focus on speed control to avoid leaving yourself difficult comeback putts. ## RISK VS REWARD The primary risk/reward decision comes with your tee shot club selection. While driver may leave you with a shorter approach, the added distance also increases the margin for error. The reward of a shorter iron into the small green must be weighed against the risk of finding trouble with an errant drive. The approach shot offers another risk/reward scenario - attacking pins versus playing to the center of the green. Given the green's small size, the conservative play to the middle often proves wise, especially when the pin is tucked in a challenging position. ## DIFFERENT SKILL LEVELS **Low-Handicap Players:** Can be more aggressive with driver off the tee and attack pins with confidence. Focus on precise distance control with your approach and trust your putting stroke under pressure. **Mid-Handicap Players:** Consider 3-wood or hybrid off the tee for improved accuracy, then play to the center of the green regardless of pin position. Two-putt pars are excellent scores here. **High-Handicap Players:** Prioritize finding the fairway with whatever club gives you the most confidence. Play conservatively to the middle of the green and focus on avoiding big numbers. A bogey here is not a disaster given the hole's difficulty rating. This signature hole rewards patience and precision over raw power. As part of Monument's celebrated finishing stretch, embrace the challenge while maintaining smart course management throughout.
Watch for
- Course conditioning and mapped hazards may affect line selection; confirm from the aerial.
Hole 17 Green Complex
Mapped green boundary
Green size: 6,364 sq ft
How did Hole 17 play?
How did this hole play today?
Frequently asked questions
Yardage reference: Championship tees · 452 yards.
What's the best strategy off the tee?
↓
For this 452-yard par 4, most players will hit driver to set up a comfortable approach.
How difficult is hole 17?
↓
This hole is a moderate challenge for most golfers. Key challenges include: long par 4.
How big is the green on hole 17?
↓
The green is fairly large with multiple pin positions. Lag putting becomes important on longer putts.
What's a good score on hole 17?
↓
This hole is one of the tougher holes where par feels like birdie. A challenging par 4. Accept that bogey happens and avoid big numbers.