Hole 11 at Grayhawk Golf Club (Raptor course)
- Par
- 5
- Yardage
- 572 yds
- Stroke index
- 1
- Hazards
- 8 bunkers
Aerial source not provided
Green size: 29 yds deep × 25 yds wide
Scorecard yardage is for Championship tees. The aerial shows its labeled reference position; distance rings measure to the green.
Championship tees · Par 5 · 572 yards
The plan for No. 11
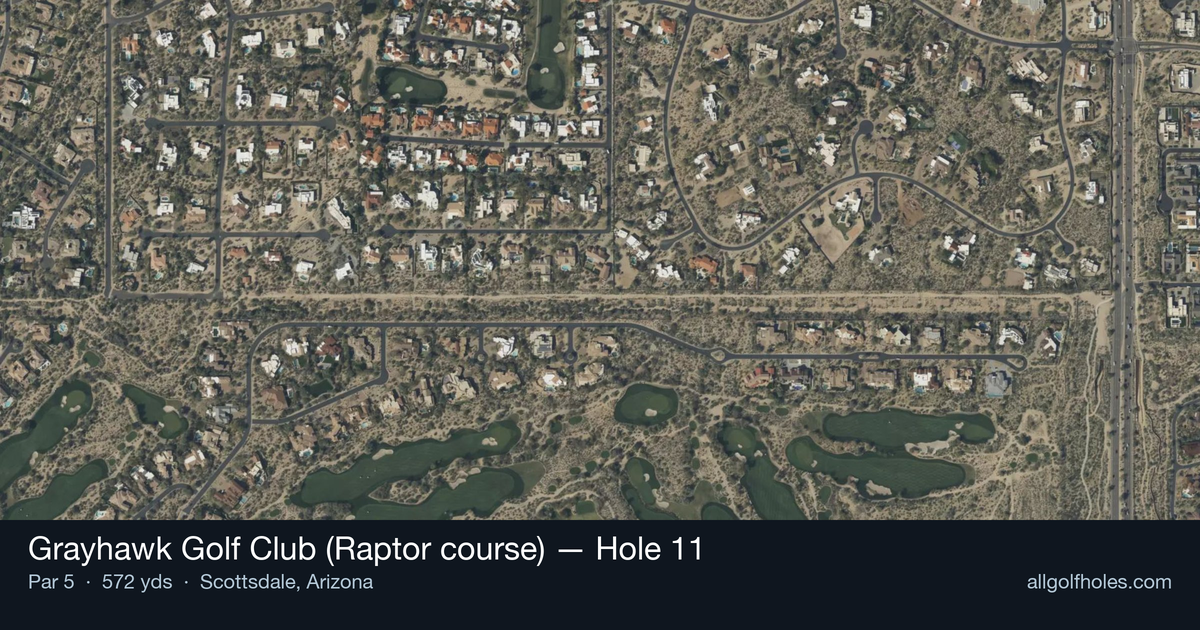
The signature par 5 eleventh at Grayhawk Golf Club's Raptor course serves as the layout's number one handicap hole, demanding both power and precision across its 572-yard journey. From the elevated tee, golfers face an immediate strategic decision as a gaping fairway bunker lurks on the right side, threatening aggressive tee shots. The hole's generous fairway rewards those who accept the three-shot reality, with driver being the optimal choice off the tee to set up favorable positioning. The approach reveals the hole's true defense: an elevated, crowned green that slopes dramatically from back to front, featuring a lower left tier protected by deep bunkers. This classic risk-reward design epitomizes the Raptor course's philosophy of presenting clear challenges that reward thoughtful course management over brute force.
Off the tee
Driver is the recommended club choice for most golfers on this lengthy par 5, as you'll need every yard you can get to set up a manageable approach sequence. The primary concern off the tee is avoiding the large fairway bunker positioned on the right side of the landing zone. Aim for the left-center of the fairway to give yourself the best angle and maximum distance while staying clear of trouble. The generous fairway width allows for this conservative target line without sacrificing distance.
Approach & recovery
For your second shot, resist the temptation to go for the green in two - this is where course management becomes crucial. The conservative and smart play is to hit a long iron or fairway wood to position yourself just short of any hazards, ideally leaving yourself with a comfortable wedge distance to the elevated green. Focus on finding the center of the fairway to give yourself the best angle for your third shot. This strategic approach shot sets up your scoring opportunity rather than risking a big number.
On the green
The green presents its own challenges with significant slope from back to front and a lower tier on the left side that's protected by a deep bunker. When the pin is on this lower left tier, approach shots must be precise to avoid the greenside sand. The back-to-front slope means approach shots landing above the hole will have fast putts coming back down. Club selection on your third shot should account for the elevated nature of the green, often requiring one extra club than the yardage suggests. ## RISK VS REWARD The primary risk/reward decision comes on the second shot - attempting to reach the green versus laying up strategically. Given the small green size and elevated position, the reward rarely justifies the risk for most golfers. The smart money is on the three-shot strategy, accepting that par is an excellent score on this hole. Aggressive plays that find trouble can quickly turn this scoring opportunity into a big number. ## DIFFERENT SKILL LEVELS **High-Handicap Players:** Focus entirely on the three-shot strategy. Use driver off the tee if you can keep it in play, then hit your most reliable fairway club for position on the second shot. Don't worry about distance on the approach - just find the center of the green and two-putt for a solid score. **Low-Handicap Players:** While the three-shot approach remains optimal, stronger players might consider going for the green in two when conditions are favorable and they're in perfect position. However, this should only be attempted when you're confident in your long iron or hybrid accuracy. Even scratch golfers often find par to be a satisfying score on this challenging hole. The 11th hole rewards patience and strategic thinking over raw power - embrace the challenge and focus on smart course management for your best chance at a good score.
Watch for
- Course conditioning and mapped hazards may affect line selection; confirm from the aerial.
Hole 11 Green Complex
Mapped green boundary
Green size: 3,458 sq ft
How did Hole 11 play?
How did this hole play today?
Frequently asked questions
Yardage reference: Championship tees · 572 yards.
Can this par 5 be reached in two?
↓
At 572 yards, A true three-shot hole for most players. Position your layup to leave a comfortable wedge distance.
How difficult is hole 11?
↓
This hole is a moderate challenge for most golfers. Key challenges include: long par 5, heavily bunkered, small green.
How big is the green on hole 11?
↓
The green is small and requires precision. The green is wider than it is deep, rewarding shots that find the correct tier. Expect challenging pin positions with limited room for error.
What's a good score on hole 11?
↓
This hole is a true three-shot hole where birdie requires execution. This longer par 5 demands patience. Two good shots set up the scoring opportunity.