Hole 9 at Bethpage State Park (Black Course)
- Par
- 4
- Yardage
- 418 yds
- Hazards
- 2 bunkers
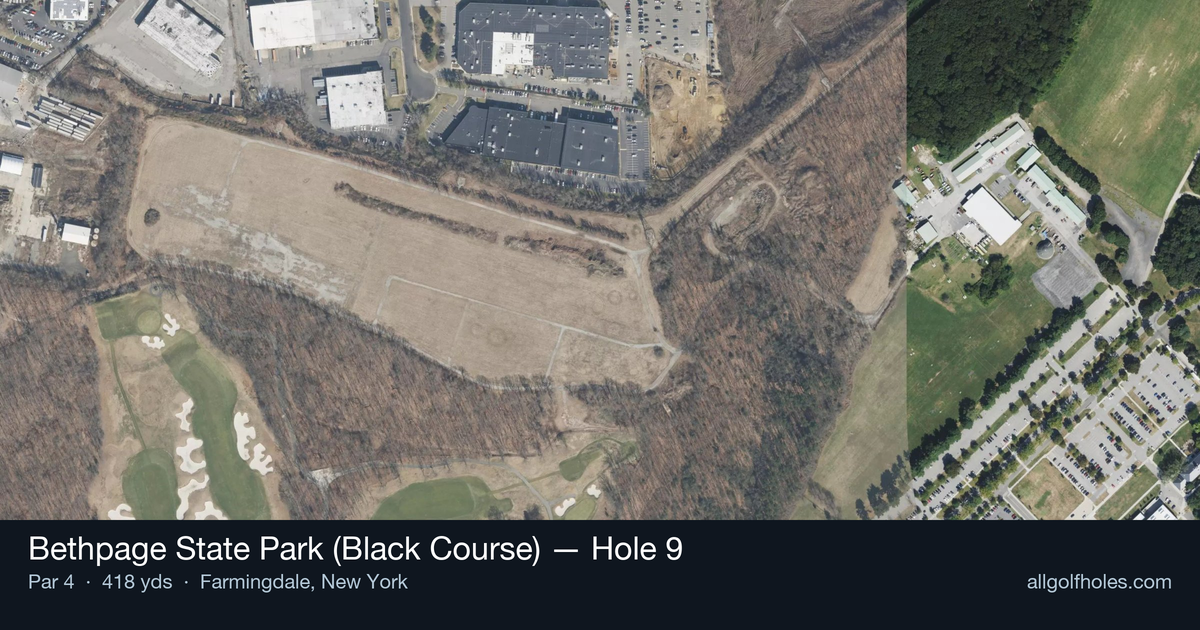
Aerial source not provided
Green size: 32 yds deep × 28 yds wide
Scorecard yardage is for Championship tees. The aerial shows its labeled reference position; distance rings measure to the green.
Championship tees · Par 4 · 418 yards
The plan for No. 9
The ninth hole at Bethpage State Park (Black Course) marks the beginning of what experts call "the meat of the golf course" - a brutal four-hole stretch that separates contenders from pretenders. This deceptively challenging par 4 stretches 418 yards down a straight corridor, demanding both precision and power from the championship tees. The tee shot must find the optimal position on a fairway that appears generous but punishes wayward drives with thick rough that can derail scoring opportunities. The approach shot plays to a small, well-protected green complex that requires pinpoint accuracy, especially under tournament pressure. As the final hole before entering Bethpage Black's most demanding stretch, the ninth serves as both a scoring opportunity and a stern warning of the challenges ahead. This hole epitomizes the course's reputation for testing every aspect of a golfer's game.
Off the tee
The tee shot strategy centers on positioning for the optimal approach angle rather than maximum distance. With no significant hazards listed, the challenge lies in the subtleties of the fairway contours and finding the ideal landing zone. Target the center-left portion of the fairway to open up the best angle to the small green. Club selection should prioritize accuracy - consider a 3-wood or hybrid if driver accuracy has been inconsistent during the round. The key is avoiding any rough or uneven lies that could complicate the critical approach shot.
Approach & recovery
The approach shot to this small green demands surgical precision. From the ideal tee shot position, you'll likely face a mid-iron to long-iron depending on conditions and pin position. The small green size means there's little margin for error - focus on the center of the green rather than attacking pins. Pay close attention to wind conditions, as they can significantly affect club selection on this exposed hole. A controlled, committed swing is essential, as tentative approaches often find trouble around this demanding green.
On the green
The small green creates challenging putting scenarios where distance control becomes paramount. Expect subtle breaks that can be difficult to read, and remember that leaving putts short on small greens often means longer comeback attempts. Focus on getting your first putt to the hole with proper pace - aggressive putting can pay dividends here since the green size limits extremely long putts. Study the green carefully during your approach to identify any slopes or tiers. ## RISK VS REWARD This hole offers limited risk/reward opportunities, instead demanding consistent execution. The reward comes from playing within your abilities and avoiding the big numbers that can derail a round. The risk lies in being overly aggressive with either the tee shot or approach, as recovery shots around the small green can be particularly challenging. Smart course management - choosing the right clubs and targets - provides the best scoring opportunity. ## DIFFERENT SKILL LEVELS **High-handicap players** should prioritize keeping the ball in play off the tee, even if it means using a shorter club. Focus on reaching the green in regulation rather than attacking pins, and be content with longer putts on this small target. Two-putting from anywhere on the green represents success. **Low-handicap players** can be more aggressive with driver off the tee but must still respect the precision required on approach. Consider pin position when selecting your target line, and don't hesitate to take dead aim at the center of the green when pins are tucked. This hole rewards patient, strategic play over hero shots. The 9th hole at Bethpage Black exemplifies championship golf design - straightforward in appearance but demanding in execution. Success requires combining distance control, accuracy, and smart decision-making to conquer this pivotal hole as you make the turn.
Watch for
- 2 mapped bunkers influence club selection and recovery options on this hole.
- Fairway width is roughly 50 yards at the landing zone.
Hole 9 Green Complex
Mapped green boundary
Green size: 5,664 sq ft
How did Hole 9 play?
How did this hole play today?
Frequently asked questions
Yardage reference: Championship tees · 418 yards.
What's the best strategy off the tee?
↓
For this 418-yard par 4, most players will hit driver to set up a comfortable approach.
How difficult is hole 9?
↓
This hole is a good scoring opportunity for most golfers.
What hazards should I watch out for on hole 9?
↓
Key hazards include: 2 greenside bunkers. Plan your shots to avoid these trouble spots.
How big is the green on hole 9?
↓
The green is medium-sized with moderate targets. Pay attention to pin placement when selecting your approach club.