Hole 11 at Bethpage State Park (Black Course)
- Par
- 4
- Yardage
- 435 yds
- Hazards
- 8 bunkers
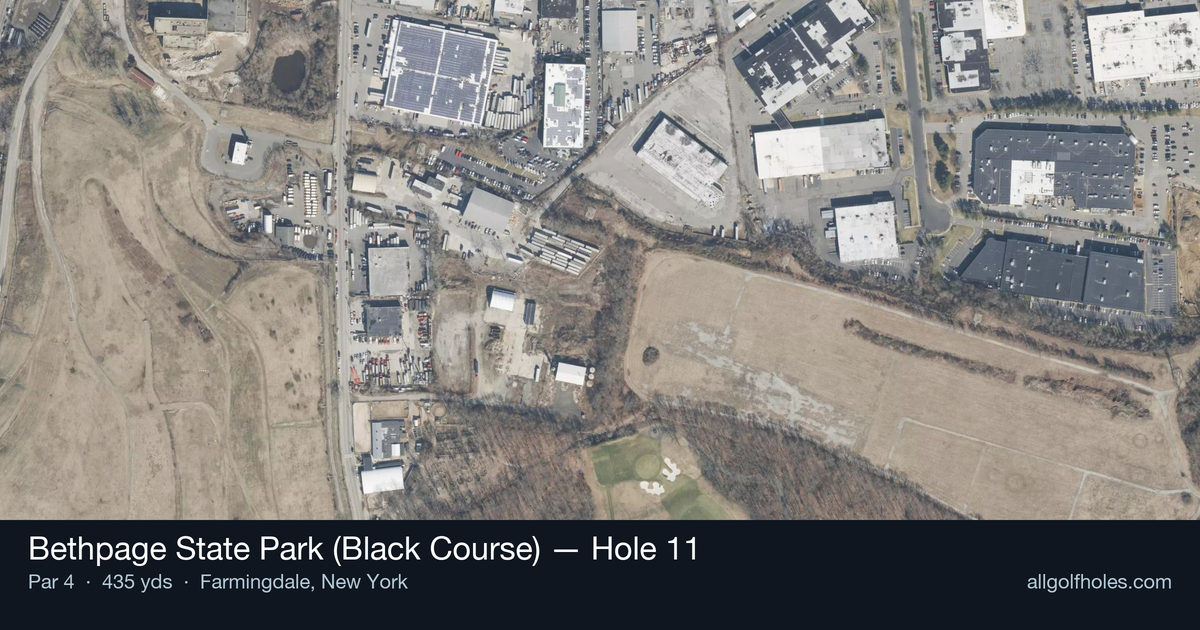
Aerial source not provided
Green size: 28 yds deep × 28 yds wide
Scorecard yardage is for Championship tees. The aerial shows its labeled reference position; distance rings measure to the green.
Championship tees · Par 4 · 435 yards
The plan for No. 11
The eleventh hole at Bethpage State Park (Black Course) stands as a deceptively challenging par 4 that forms part of the course's notorious middle stretch. At 435 yards, this straight-away hole may appear manageable on paper, but its reputation as part of "the meat of the golf course" is well-earned. The tee shot demands precision down a corridor that punishes wayward drives, while the approach shot to a compact green requires careful club selection and accurate distance control. With its designation as the handicap hole, this unforgiving test separates contenders from pretenders. The small green complex offers little margin for error, making par a genuine achievement on this relentless Bethpage Black examination that has challenged major championship fields for decades.
Off the tee
The tee shot strategy centers on finding the optimal position in the landing zone while avoiding trouble areas. With the fairway running straight ahead, focus on selecting a target line that sets up the best angle for your approach shot. Consider using a 3-wood or hybrid if driver tends to get you in trouble - accuracy is far more valuable than distance on this hole. The key is positioning yourself in the prime landing area, typically around 250 yards out, which leaves a manageable mid-iron approach to the small green.
Approach & recovery
The approach shot to the small green demands precision club selection and commitment to your target line. With limited green space to work with, focus on hitting the center of the putting surface rather than attacking pins. A mid-iron to long-iron (depending on conditions and your tee shot position) should be sufficient, but club up if there's any doubt - short-siding yourself on this green can lead to difficult recovery shots. The straight layout means you won't have to worry about dramatic angles, but the premium is on solid contact and distance control.
On the green
The small green size makes putting strategy relatively straightforward but unforgiving of poor approaches. Focus on getting your first putt close rather than being overly aggressive, as three-putts can quickly derail your score on this challenging hole. Pay attention to any subtle breaks and remember that lag putting becomes crucial when the green doesn't offer much margin for error. Pin positions in the corners or edges of this small green can be particularly challenging. ## RISK VS REWARD This hole offers limited risk/reward opportunities, making it more about solid, conservative play. The main strategic decision comes with tee shot club selection - aggressive drivers might gain you a shorter iron in, but the penalty for missing the fairway can be severe. The reward for playing smart and hitting the center of both fairway and green is a realistic par with birdie potential, while aggressive play can quickly lead to bogey or worse. ## DIFFERENT SKILL LEVELS **High-handicap players** should prioritize keeping the ball in play above all else. Consider using a 3-wood or hybrid off the tee to ensure you find the fairway, then focus on hitting the largest part of the green with your approach. Don't worry about pin hunting - the center of the green is your friend on this hole. **Low-handicap players** can be more aggressive with driver off the tee if they're confident in their accuracy, setting up shorter irons for better scoring opportunities. However, even skilled players should respect this hole's difficulty and avoid unnecessary risks. Focus on solid fundamentals and course management rather than trying to overpower the hole. The 11th at Bethpage Black proves that shorter doesn't mean easier - it's a hole where strategic thinking and precise execution separate good scores from disaster rounds.
Watch for
- 8 mapped bunkers influence club selection and recovery options on this hole.
- Fairway width is roughly 26 yards at the landing zone.
Hole 11 Green Complex
Mapped green boundary
Green size: 5,018 sq ft
How did Hole 11 play?
How did this hole play today?
Frequently asked questions
Yardage reference: Championship tees · 435 yards.
What's the best strategy off the tee?
↓
For this 435-yard par 4, most players will hit driver to set up a comfortable approach.
How difficult is hole 11?
↓
This hole is a moderate challenge for most golfers. Key challenges include: heavily bunkered.
How big is the green on hole 11?
↓
The green is medium-sized with moderate targets. Pay attention to pin placement when selecting your approach club.
What's a good score on hole 11?
↓
This hole is a demanding hole where bogey is not unusual. This longer par 4 will test most golfers. Focus on position over distance.