Hole 4 at Bethpage State Park (Black Course)
- Par
- 5
- Yardage
- 517 yds
- Hazards
- 5 bunkers
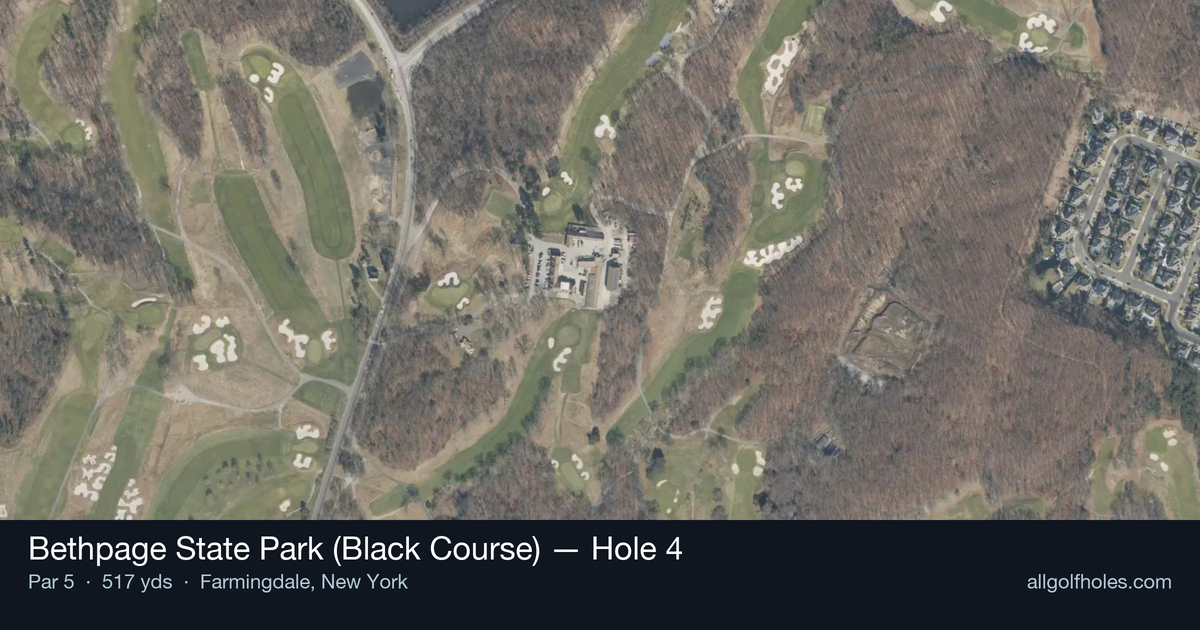
Aerial source not provided
Green size: 27 yds deep × 29 yds wide
Scorecard yardage is for Championship tees. The aerial shows its labeled reference position; distance rings measure to the green.
Championship tees · Par 5 · 517 yards
The plan for No. 4
Known as the "Great Hazard Hole," Bethpage State Park (Black Course) hole 4 stands as one of golf's most strategically demanding par 5s at 517 yards. This signature hole features a dramatic double dogleg that winds uphill through a tree-lined corridor, with criss-crossing bunkers creating a chess match from tee to green. The fairway's undulating terrain and strategic bunkering force players to carefully plot their route, as aggressive lines offer rewards but severe penalties await wayward shots. Having tested the world's best during multiple major championships, this uphill par 5 epitomizes Bethpage Black's reputation as a true championship test. The small green demands precision on the approach shot, making this hole a memorable centerpiece of one of America's most celebrated public golf courses.
Off the tee
The opening shot requires careful club selection and target line consideration. While the fairway appears generous, the criss-crossing bunkers create specific landing zones that must be navigated. Focus on positioning your drive in the optimal spot for your second shot approach angle, rather than simply bombing it as far as possible. A well-placed drive about 250-280 yards out will set up the ideal approach angle while avoiding the fairway bunkers that guard the landing area.
Approach & recovery
The uphill nature and double dogleg design make the approach shot critical for scoring. The key is working your way through the bunker system methodically - this isn't typically a green-light, go-for-it-in-two type of hole for most players. Consider laying up to your favorite wedge distance, especially given the small green that demands precision. The trees framing the fairway limit recovery options, making accuracy more important than distance on your second shot.
On the green
The small green size demands pinpoint accuracy on your approach shot, whether attempting to reach in two or laying up for a wedge. Pin position will greatly influence your strategy throughout the hole - back pins make going for the green in two even more challenging, while front pins might offer slightly more accessibility. Focus on hitting the center of the green and taking your par, as this hole's design makes bogey very easy if you get aggressive at the wrong time. ## RISK VS REWARD This hole epitomizes strategic risk/reward golf. While the 517-yard length suggests reachability in two shots, the uphill climb, bunker placement, and small green make this a low-percentage play for most golfers. The smart play is typically a conservative three-shot approach, using the fairway bunkers as guides for optimal positioning. The reward for patience and precision is a legitimate birdie opportunity with a short iron into the green. ## DIFFERENT SKILL LEVELS **High-handicap players** should embrace the three-shot strategy completely, focusing on keeping the ball in play and avoiding the bunkers. Use the hole's design to your advantage by playing to the widest parts of the fairway and setting up comfortable approach distances. **Low-handicap players** can be more aggressive in their positioning and might consider going for the green in favorable conditions, but should still respect the hole's strategic demands. The key is reading the specific pin position and wind conditions before committing to an aggressive line. This hole rewards strategic thinking and punishes overly aggressive play, making it a perfect example of championship golf course design that separates thoughtful players from those who rely solely on power.
Watch for
- 5 mapped bunkers influence club selection and recovery options on this hole.
- Fairway width is roughly 32 yards at the landing zone.
Hole 4 Green Complex
Mapped green boundary
Green size: 4,658 sq ft
How did Hole 4 play?
How did this hole play today?
Frequently asked questions
Yardage reference: Championship tees · 517 yards.
Can this par 5 be reached in two?
↓
At 517 yards, Reachable in two for longer hitters. Consider laying up short of hazards if going for it is risky.
How difficult is hole 4?
↓
This hole is a good scoring opportunity for most golfers. Key challenges include: heavily bunkered.
How big is the green on hole 4?
↓
The green is medium-sized with moderate targets. Pay attention to pin placement when selecting your approach club.
What's a good score on hole 4?
↓
This hole is a solid birdie opportunity with smart layup strategy. Most golfers can reach in three. Position your layup to leave a comfortable wedge.