Hole 6 at Bethpage State Park (Black Course)
- Par
- 4
- Yardage
- 408 yds
- Hazards
- 4 bunkers
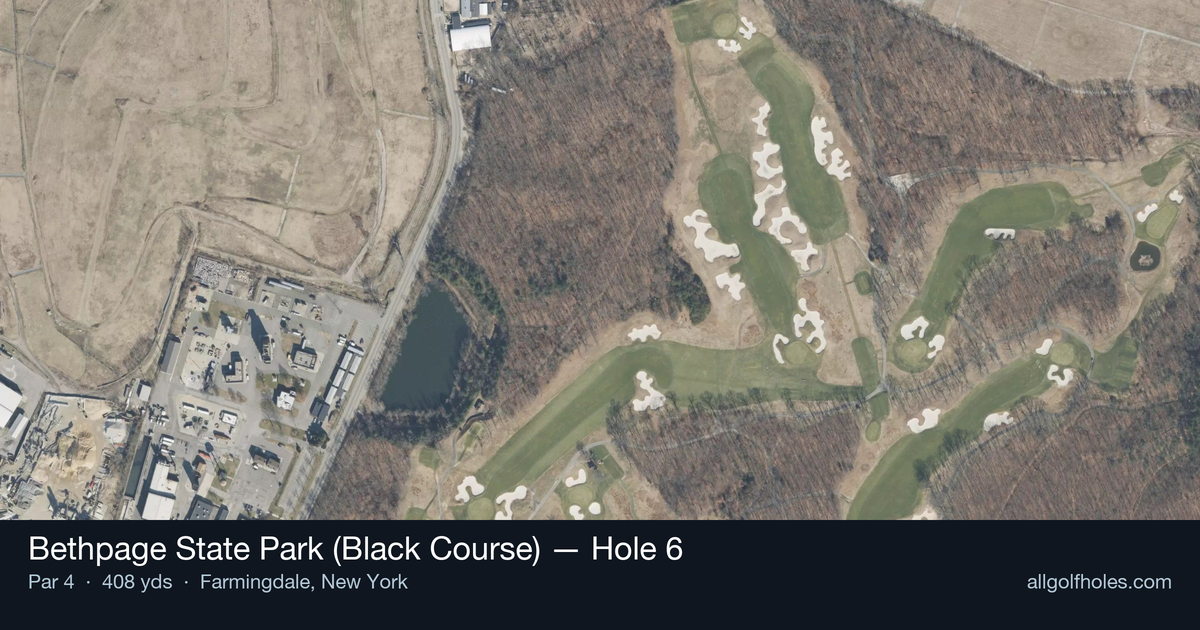
Aerial source not provided
Green size: 30 yds deep × 25 yds wide
Scorecard yardage is for Championship tees. The aerial shows its labeled reference position; distance rings measure to the green.
Championship tees · Par 4 · 408 yards
The plan for No. 6
The sixth hole at Bethpage State Park (Black Course) presents a fascinating dichotomy that perfectly embodies the championship pedigree of this legendary Long Island venue. This 408-yard par 4 creates one of golf's most intriguing strategic puzzles, ranking among the most challenging holes for everyday golfers while simultaneously being one of the easiest for tour professionals. The straight layout demands precision from the tee shot, where accuracy trumps distance on the relatively open fairway. The approach shot to the small green complex requires careful club selection and pinpoint accuracy, as the compact target leaves little margin for error. This famous hole's deceptive nature has tested champions through multiple U.S. Opens and a PGA Championship, making it a true measure of both skill and course management at the home of the 2025 Ryder Cup.
Off the tee
Your tee shot strategy should focus on finding the optimal position in the landing zone, typically around the 250-yard mark for longer hitters. The straight layout allows you to aim down the center line, but course management becomes crucial here. Consider taking one less club than you might normally hit to ensure you stay in the fairway - accuracy trumps distance on this hole. The key is positioning yourself for the best approach angle to the small green, which means favoring the center or slightly right side of the fairway for most pin positions.
Approach & recovery
The approach shot is where this hole reveals its true character. With a small green as your target, club selection becomes paramount. Most players will face a mid-iron to long-iron depending on conditions and tee shot positioning. The absence of major hazards means you can be aggressive with your target line, but the small green demands precision. Focus on the center of the green unless you're confident in your iron play - the risk of missing this compact target and facing a difficult recovery shot isn't worth the reward of getting closer to most pin positions.
On the green
The small green at the 6th hole requires careful attention to speed control and read. While specific break patterns aren't detailed, small greens typically feature subtle undulations that can be tricky to navigate. Focus on getting your approach putt within a comfortable two-putt range rather than being overly aggressive. The key is avoiding three-putts, which can quickly turn a scoring opportunity into a bogey or worse. ## RISK VS REWARD This hole offers a classic risk/reward scenario in club selection rather than target selection. The temptation to go after the pin with a shorter iron after a good drive must be weighed against the precision required to hit and hold the small green. The reward for accurate play is significant - a legitimate birdie opportunity on one of golf's most challenging courses. However, the risk of missing the green entirely and facing a difficult up-and-down can quickly derail your round. ## DIFFERENT SKILL LEVELS **High-Handicap Players:** Focus on playing conservatively and accept that par is an excellent score here. Use a fairway wood or hybrid off the tee to ensure accuracy, then play for the center of the green with your approach. Don't get drawn into trying to attack pins - the small green rewards patience and precision over aggression. **Low-Handicap Players:** You can be more aggressive with your driver off the tee, but maintain discipline in your approach strategy. This is where the hole becomes a scoring opportunity for skilled players. With precise iron play, you can attack the green and create legitimate birdie chances. However, remember that even tour professionals respect this hole - don't let confidence override smart course management. The 6th hole at Bethpage Black perfectly embodies the strategic challenges that make this course a championship venue. Success comes from understanding your limitations, playing within your capabilities, and executing your chosen strategy with precision and confidence.
Watch for
- 4 mapped bunkers influence club selection and recovery options on this hole.
- Fairway width is roughly 34 yards at the landing zone.
Hole 6 Green Complex
Mapped green boundary
Green size: 4,544 sq ft
How did Hole 6 play?
How did this hole play today?
Frequently asked questions
Yardage reference: Championship tees · 408 yards.
What's the best strategy off the tee?
↓
For this 408-yard par 4, most players will hit driver to set up a comfortable approach.
How difficult is hole 6?
↓
This hole is a moderate challenge for most golfers. Key challenges include: heavily bunkered.
How big is the green on hole 6?
↓
The green is medium-sized with moderate targets. Pay attention to pin placement when selecting your approach club.