Hole 6 at Wolf Creek Golf Course
- Par
- 4
- Yardage
- 447 yds
- Stroke index
- 11
- Hazards
- 8 bunkers · Water
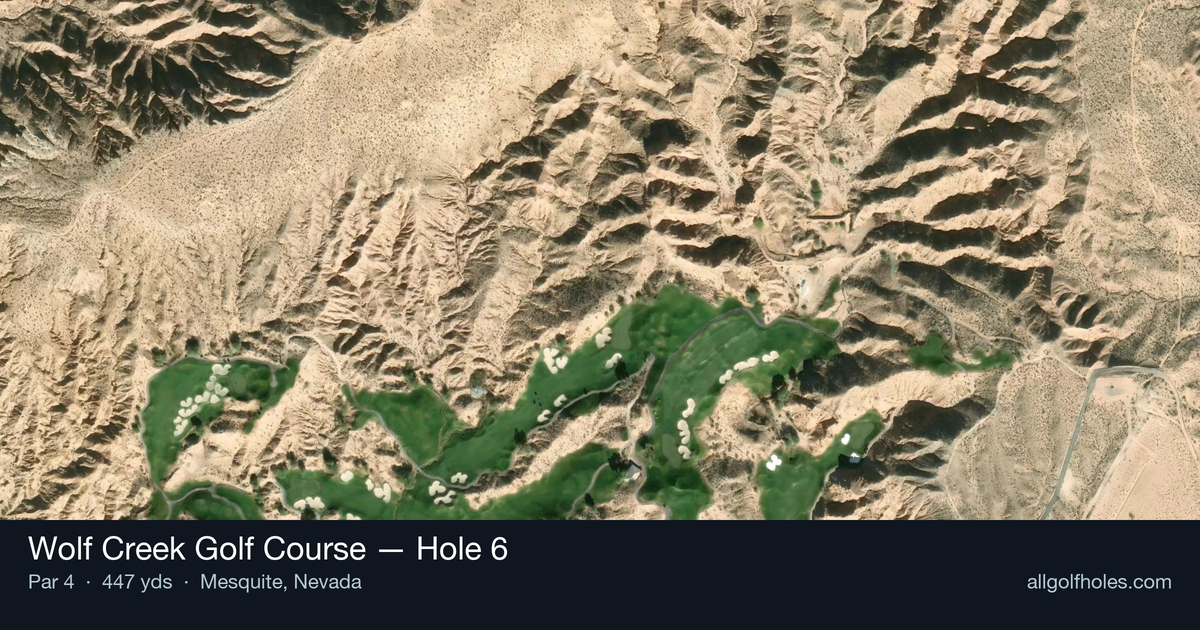
Aerial source not provided
Green size: 36 yds deep × 24 yds wide
Scorecard yardage is for Championship tees. The aerial shows its labeled reference position; distance rings measure to the green.
Championship tees · Par 4 · 447 yards
The plan for No. 6
Wolf Creek Golf Course hole 6 presents a deceptively challenging par 4 that embodies the dramatic desert architecture this Nevada masterpiece is renowned for. At 447 yards, this straight hole demands precision over power, with the spectacular red rock canyon backdrop creating one of those signature moments that could headline any other course. The tee shot requires careful placement to set up the optimal approach angle to a small, well-defended green complex. Without significant hazards cluttering the landscape, golfers can focus on course management and club selection, but the compact green demands pinpoint accuracy on the approach shot. This hole perfectly captures Wolf Creek's philosophy of delivering an ultimate golf experience where strategic thinking trumps brute force.
Off the tee
Your tee shot strategy should focus on positioning for an optimal approach angle to the small green. With no significant hazards listed, the fairway provides a generous target line, but placement becomes critical for setting up your second shot. Most players should favor a controlled driver or strong 3-wood to leave a comfortable mid-iron approach. The key is finding the ideal distance that gives you your most confident approach club - typically leaving yourself between 130-150 yards for better players, or closer for higher handicappers. Avoid the temptation to blast driver if it leaves you an awkward yardage or forces you into a longer iron you're not comfortable with.
Approach & recovery
The approach shot is where this hole's true challenge reveals itself. The small green demands precision over power, making club selection and target line crucial for success. Aim for the center of the green regardless of pin position, as the compact putting surface leaves little margin for error. Take one extra club and swing smoothly rather than forcing a shot - the desert conditions and potential elevation changes can affect ball flight significantly. Pay attention to wind conditions, which can be particularly tricky in the canyon setting. A controlled approach to the middle of the green will always leave you with a reasonable birdie putt.
On the green
Wolf Creek's small greens typically feature subtle breaks that can be deceiving against the dramatic canyon backdrop. Focus on speed control over reading complex breaks - the compact surface means most putts will be relatively straight. From the center of the green, you'll have manageable putts to any pin position. The key putting strategy is to ensure your first putt finishes below the hole when possible, as uphill putts are generally easier to judge on these smaller targets. ## RISK VS REWARD This hole offers a clear risk/reward scenario: aggressive tee shots can leave shorter approaches but may compromise accuracy, while conservative play ensures you stay in position but requires longer, more challenging approach shots. The reward for precise play is significant - this represents one of your better birdie opportunities on the course. However, the small green punishes wayward approaches severely, potentially leading to difficult up-and-downs that can quickly turn a scoring chance into a bogey. ## DIFFERENT SKILL LEVELS **Low Handicappers** should view this as a birdie hole, using driver to leave a wedge or short iron approach. Focus on attacking pins when they're accessible, but always respect the small green size. Your superior short game skills allow for more aggressive approach play. **Mid Handicappers** benefit from a more conservative approach - use the club that leaves your most comfortable approach distance, even if it means a longer second shot. Aim for the center of the green regardless of pin position, and focus on two-putting for par with an occasional birdie. **High Handicappers** should prioritize keeping the ball in play off the tee and giving themselves the best chance at a stress-free approach. Consider laying up to your favorite wedge distance if driver leaves you uncomfortable, and always aim for the fat part of the green. A solid par here keeps momentum going for the challenging holes ahead.
Watch for
- Course conditioning and mapped hazards may affect line selection; confirm from the aerial.
Hole 6 Green Complex
Mapped green boundary
Green size: 4,297 sq ft
How did Hole 6 play?
How did this hole play today?
Frequently asked questions
Yardage reference: Championship tees · 447 yards.
What's the best strategy off the tee?
↓
For this 447-yard par 4, most players will hit driver to set up a comfortable approach.
How difficult is hole 6?
↓
This hole is one of the tougher holes on the course for most golfers. Key challenges include: water in play, heavily bunkered, small green.
How big is the green on hole 6?
↓
The green is small and requires precision. The green is wider than it is deep, rewarding shots that find the correct tier. Expect challenging pin positions with limited room for error.
Which side of the fairway is safer on hole 6?
↓
Aim for the right side of the fairway when possible. Missing left (water) brings more trouble into play.
What's a good score on hole 6?
↓
This hole is a demanding hole where bogey is not unusual. This longer par 4 will test most golfers. Focus on position over distance.