Hole 2 at TPC Southwind
- Par
- 4
- Yardage
- 401 yds
- Stroke index
- 15
- Hazards
- 5 bunkers
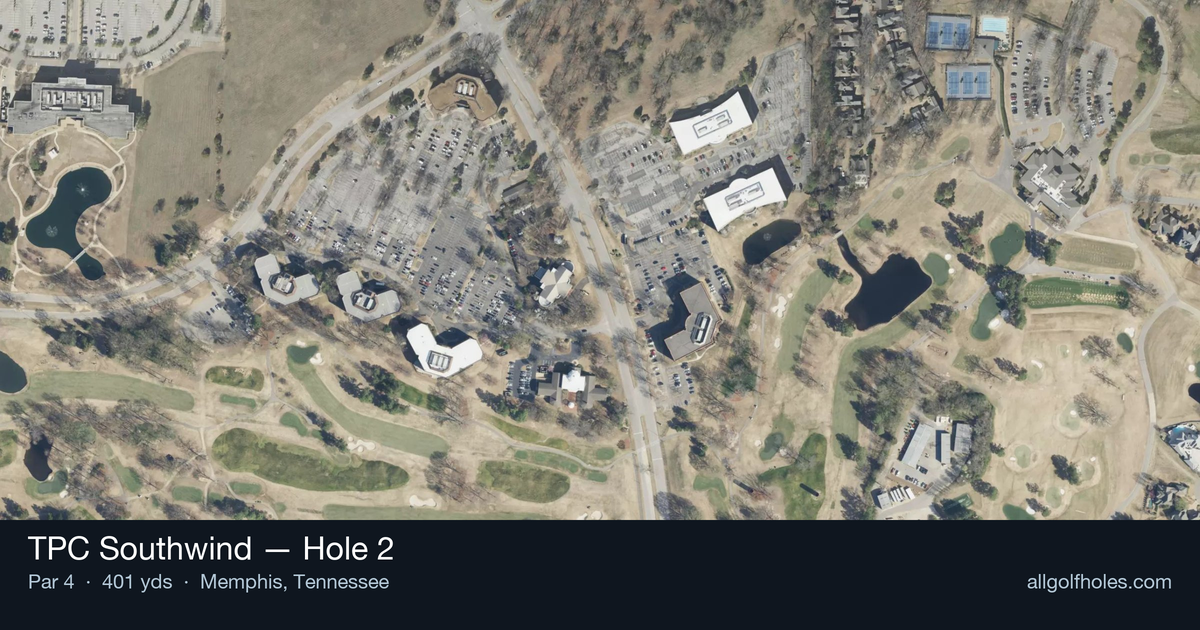
Aerial source not provided
Green size: 30 yds deep × 23 yds wide
Scorecard yardage is for Championship tees. The aerial shows its labeled reference position; distance rings measure to the green.
Championship tees · Par 4 · 401 yards
The plan for No. 2
The second hole at TPC Southwind presents a deceptively straightforward par 4 that exemplifies the course's reputation for rewarding precision over power. At 401 yards, this straight hole may appear generous from the tee, but its true character emerges in the approach shot to a compact green complex. The tee shot offers a relatively forgiving target, allowing players to find their rhythm early in the round on this former dairy farm turned PGA Tour venue. However, the small green demands accuracy with mid-to-short irons, as errant approach shots will find trouble around the putting surface. With TPC Southwind's famously fast greens, even finding the target requires careful speed control. This hole serves as an early test of the course management skills that become crucial on the water-laden challenges ahead, setting the tone for a round where precision trumps distance.
Off the tee
Your tee shot strategy should focus on positioning for an optimal approach angle to the small green. With the straight layout, driver is certainly in play for most golfers, as finding the fairway sets up a comfortable mid-iron approach. However, consider the conditions - if the fairway is firm, a controlled 3-wood or hybrid might leave you in the ideal distance range while ensuring accuracy. Target the center of the fairway, as the straight design doesn't favor one side over the other. The key is avoiding any rough that could complicate your approach to the small green. Given TPC Southwind's reputation for immaculate conditioning, expect the fairway to be fast and true, so trust your normal swing and let the course work in your favor.
Approach & recovery
The approach shot is where this hole can make or break your score. The small green size demands precision with your club selection and target line. From a typical driving distance, you'll likely face a mid-iron to short-iron approach, depending on conditions and pin position. Focus on the center of the green regardless of pin placement - the small target makes aggressive pin-hunting a risky proposition. The green's compact size means even a center-focused shot will leave you with a reasonable putt. Pay attention to the wind, as it can significantly affect club selection on this exposed hole.
On the green
TPC Southwind's reputation for fast, true greens means your putting game needs to be sharp. The small green size actually works in your favor here, as most putts will be relatively short. Focus on pace control rather than trying to be overly aggressive with line. Read the green carefully from multiple angles, as subtle breaks can be deceiving on TPC Southwind's meticulously maintained surfaces. Given the course's location on former farmland, expect some gentle undulation that may not be immediately apparent. ## RISK VS REWARD This hole offers a clear risk/reward scenario: aggressive play can yield birdie opportunities, while conservative strategy virtually guarantees par. The lack of significant hazards means you can afford to be more aggressive than on other holes at TPC Southwind. The primary reward comes from attacking with driver off the tee and going straight at pins when conditions allow. The risk is minimal compared to other holes on this course, making it an ideal place to build confidence and momentum for the round. ## DIFFERENT SKILL LEVELS **Low Handicappers:** This is your birdie hole. Attack with driver, aim for the center-left or center-right of the fairway depending on pin position, and be aggressive with your approach. The small green rewards precision, so trust your distance control and go after scoring opportunities. **Mid Handicappers:** Play smart with a fairway wood or hybrid off the tee if driver accuracy is inconsistent. Focus on hitting the green rather than chasing pins, and two-putt for par will keep you in good position for the round. **High Handicappers:** Use whatever club gives you the most confidence off the tee, even if it's a long iron. The straight layout is forgiving, and getting on the green in regulation should be your primary goal. Don't be tempted to force aggressive shots - steady play here sets up success on more challenging holes ahead. Remember, this early scoring opportunity at TPC Southwind can set a positive tone for your round before you encounter the course's more famous and challenging holes later in the round.
Hole 2 Green Complex
Mapped green boundary
Green size: 3,088 sq ft
Course coverage
Tournament and creator videos about TPC Southwind — shared course coverage, not hole-specific clips.
Tournament coverage
FedEx St. Jude Championship highlights
FedEx St. Jude Championship | Final Round Highlights
2025
How did Hole 2 play?
How did this hole play today?
Frequently asked questions
Yardage reference: Championship tees · 401 yards.
What's the best strategy off the tee?
↓
For this 401-yard par 4, most players will hit driver to set up a comfortable approach.
How difficult is hole 2?
↓
This hole is a moderate challenge for most golfers. Key challenges include: heavily bunkered, small green.
How big is the green on hole 2?
↓
The green is small and requires precision. The green is wider than it is deep, rewarding shots that find the correct tier. Expect challenging pin positions with limited room for error.