Hole 2 at Caledonia Golf & Fish Club
- Par
- 5
- Yardage
- 571 yds
- Stroke index
- 8
- Hazards
- 6 bunkers
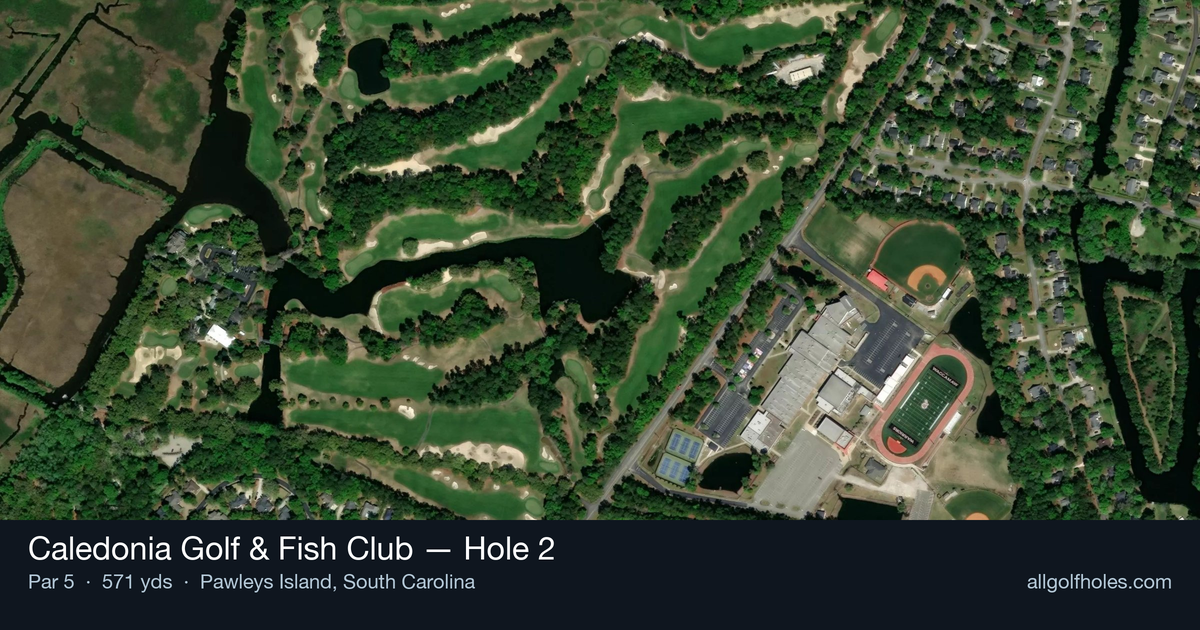
Aerial source not provided
Green size: 31 yds deep × 32 yds wide
Scorecard yardage is for Championship tees. The aerial shows its labeled reference position; distance rings measure to the green.
Championship tees · Par 5 · 571 yards
The plan for No. 2
The second hole at Caledonia Golf & Fish Club presents a strategic par 5 that embodies Mike Strantz's masterful design philosophy within this Lowcountry legend. Stretching 571 yards through corridors framed by ancient live oaks draped in Spanish moss, this straight layout offers multiple route options for golfers of varying abilities. The generous fairway invites aggressive tee shots, but the small green complex demands precision on the approach, whether going for the green in two or laying up for a wedge. With minimal hazards to navigate, success hinges on course management and club selection rather than hazard avoidance. The intimate green size creates a compelling risk-reward scenario that perfectly captures Caledonia's reputation for strategic challenge over brute force, setting an early tone for the memorable round ahead.
Off the tee
Your tee shot strategy should focus on finding the optimal position for your second shot rather than simply bombing driver as far as possible. The fairway offers a generous landing area, but consider the wind conditions and pin position when selecting your target line. A well-struck 3-wood or hybrid can often provide better positioning than an aggressive driver, especially if accuracy has been inconsistent. Aim for the center-right portion of the fairway to open up the best angles to the green, and avoid getting too far left where approach angles become more challenging.
Approach & recovery
The approach shot presents the hole's primary strategic decision point. Most golfers will face a choice between laying up to their preferred wedge distance or attempting to reach the small green in two. If going for the green, target the center and allow for the green's size - missing short is typically preferable to long or wide misses. For layup shots, position yourself around 80-100 yards from the pin, favoring the right side of the fairway for better sight lines. The small green demands precision on your third shot, so ensure you're hitting from a comfortable distance with a club you can control effectively.
On the green
The small green at the 2nd requires careful attention to speed control and line reading. With limited surface area, even slight misjudgments in pace can leave difficult second putts. Study the subtle breaks carefully, as Strantz's greens often feature more movement than initially apparent. Focus on getting your first putt close rather than being overly aggressive with birdie attempts - two-putting from anywhere on this green represents solid execution given its size. ## RISK VS REWARD The primary risk/reward decision comes with the second shot choice between going for the green or laying up. Players who can consistently carry the ball 220+ yards and control trajectory should consider the aggressive play, especially with favorable wind conditions. However, the small green severely penalizes misses, making the conservative approach often the smarter play. The reward of a potential eagle or easy birdie must be weighed against the difficulty of recovery shots and the challenge of getting up and down from around this compact green. ## DIFFERENT SKILL LEVELS **Low Handicappers** should view this as a genuine birdie opportunity, with the skill to either reach the green in two or execute precise wedge shots from ideal layup positions. Focus on course management and wind reading to optimize scoring chances. **Mid Handicappers** benefit most from a conservative three-shot approach, prioritizing good positioning over distance. Use the hole as a confidence builder by playing within your abilities and targeting the center of landing areas. **High Handicappers** should treat this as a par hole with bonus potential. Focus on keeping the ball in play off the tee, advancing it safely on the second shot, and giving yourself a manageable third shot to the green. Avoid the temptation to overswing and maintain steady tempo throughout. The 2nd hole exemplifies Caledonia's reputation for rewarding strategic thinking over raw power, setting the tone for the memorable round ahead in this Lowcountry gem.
Watch for
- Course conditioning and mapped hazards may affect line selection; confirm from the aerial.
Hole 2 Green Complex
Mapped green boundary
Green size: 4,280 sq ft
How did Hole 2 play?
How did this hole play today?
Frequently asked questions
Yardage reference: Championship tees · 571 yards.
Can this par 5 be reached in two?
↓
At 571 yards, A true three-shot hole for most players. Position your layup to leave a comfortable wedge distance.
How difficult is hole 2?
↓
This hole is a moderate challenge for most golfers. Key challenges include: long par 5, heavily bunkered, small green.
How big is the green on hole 2?
↓
The green is small and requires precision. The green is wider than it is deep, rewarding shots that find the correct tier. Expect challenging pin positions with limited room for error.
What's a good score on hole 2?
↓
This hole is a true three-shot hole where birdie requires execution. This longer par 5 demands patience. Two good shots set up the scoring opportunity.