Hole 9 at National Golf Links of America
- Par
- 5
- Yardage
- 540 yds
- Hazards
- 14 bunkers · Water
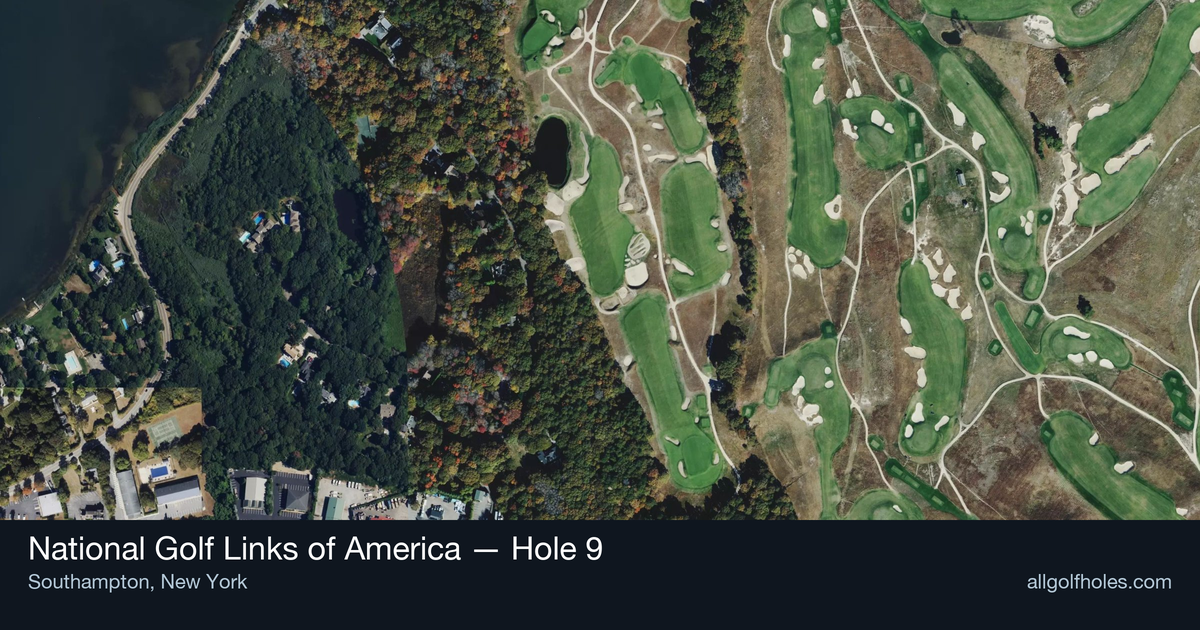
Aerial source not provided
Green size: 40 yds deep × 37 yds wide
Scorecard yardage is for Pro tees. The aerial shows its labeled reference position; distance rings measure to the green.
Pro tees · Par 5 · 540 yards
The plan for No. 9
The ninth hole at National Golf Links of America presents a strategic par 5 that epitomizes C.B. Macdonald's genius for creating risk-reward opportunities within the confines of classic golf architecture. At 540 yards, this straight-away hole offers multiple playing options across its generous fairway, allowing aggressive players to challenge the green in two while rewarding conservative approaches with manageable scoring chances. The tee shot demands precision to find the optimal angle for the approach, as the small green complex requires thoughtful club selection and accurate execution. Without significant hazards to intimidate, the hole's challenge lies in its subtle strategic nuances and the premium placed on approach shot accuracy. This National Golf Links of America hole 9 exemplifies the course's philosophy of rewarding strategic thinking over pure power, making it a memorable test that concludes the front nine with both opportunity and consequence.
Off the tee
Your tee shot strategy should focus on finding the optimal position for your second shot rather than maximum distance. Driver is typically the play here, but accuracy takes precedence over pure length. Aim for the center-right portion of the fairway to give yourself the best angle into the small green. The straight layout allows for an aggressive line, but stay disciplined - a well-positioned drive in the fairway trumps extra yardage in the rough every time.
Approach & recovery
The second shot is where this hole's strategic complexity reveals itself. Most players will be hitting a mid-iron to long-iron, depending on conditions and their tee shot success. The key decision is whether to go for the green in two or lay up to your preferred wedge distance. Given the small green size, going for it requires exceptional precision - consider the pin position, wind conditions, and your current form. A conservative lay-up to about 80-100 yards out often yields better scoring opportunities than a marginal attempt at the green.
On the green
The small green demands respect and precision with your putting. Every approach shot, whether your second or third, must account for the limited target area. Pin position becomes crucial - back pins are particularly challenging given the green's compact nature. Focus on hitting the center of the green and taking your two-putt par, as aggressive pin-hunting can easily lead to bogey or worse. The putting surface likely features subtle breaks that become more pronounced in the coastal winds common to this Long Island layout. ## RISK VS REWARD This hole presents a classic risk/reward scenario typical of Macdonald's design philosophy. The reward of reaching the green in two shots is substantial - eagle opportunities and easy birdies. However, the risk of missing the small target can lead to difficult up-and-down situations. The smart play often involves laying up to your most comfortable wedge distance, where you can attack the pin with confidence. Weather conditions, particularly wind, should heavily influence your decision-making process. ## DIFFERENT SKILL LEVELS **Low Handicappers:** Consider going for the green in two when conditions are favorable and you've hit a quality drive. Your precision with mid-irons makes this a viable scoring opportunity, but don't force it if the angles aren't right. **Mid-to-High Handicappers:** Embrace the three-shot strategy. Focus on two solid shots that position you for a comfortable wedge into the green. This approach minimizes big numbers and gives you the best chance for birdie while virtually guaranteeing par with good execution. The 9th hole at National Golf Links exemplifies strategic golf design - rewarding thoughtful course management while punishing overly aggressive play. Success comes from playing within your abilities and making smart decisions based on conditions and pin position.
Watch for
- Course conditioning and mapped hazards may affect line selection; confirm from the aerial.
Hole 9 Green Complex
Mapped green boundary
Green size: 9,132 sq ft
Course coverage
Tournament and creator videos about National Golf Links of America — shared course coverage, not hole-specific clips.
Official & tour
Tour & network videos
Official coverage mentioning National Golf Links of America.
Inside Trump International Golf Links, Doonbeg | 3 Key Holes
Featured by these creators
Creator videos about this course
YouTube creators who filmed or featured National Golf Links of America. · Stats as of Oct 12, 2026 · 5d ago
All eyes on the leaders 👀 The final round is underway at Trump International Golf Links.
How did Hole 9 play?
How did this hole play today?
Frequently asked questions
Yardage reference: Pro tees · 540 yards.
Can this par 5 be reached in two?
↓
At 540 yards, A true three-shot hole for most players. Position your layup to leave a comfortable wedge distance.
How difficult is hole 9?
↓
This hole is a moderate challenge for most golfers. Key challenges include: water in play, large green requiring good lag putting.
What hazards should I watch out for on hole 9?
↓
Key hazards include: water at 120.2 yards. Plan your shots to avoid these trouble spots.
How big is the green on hole 9?
↓
The green is large and can play quite long. Three-putt territory if you don't manage your approach distance well.