Hole 14 at Wolf Creek Golf Course
- Par
- 4
- Yardage
- 444 yds
- Stroke index
- 4
- Hazards
- 6 bunkers
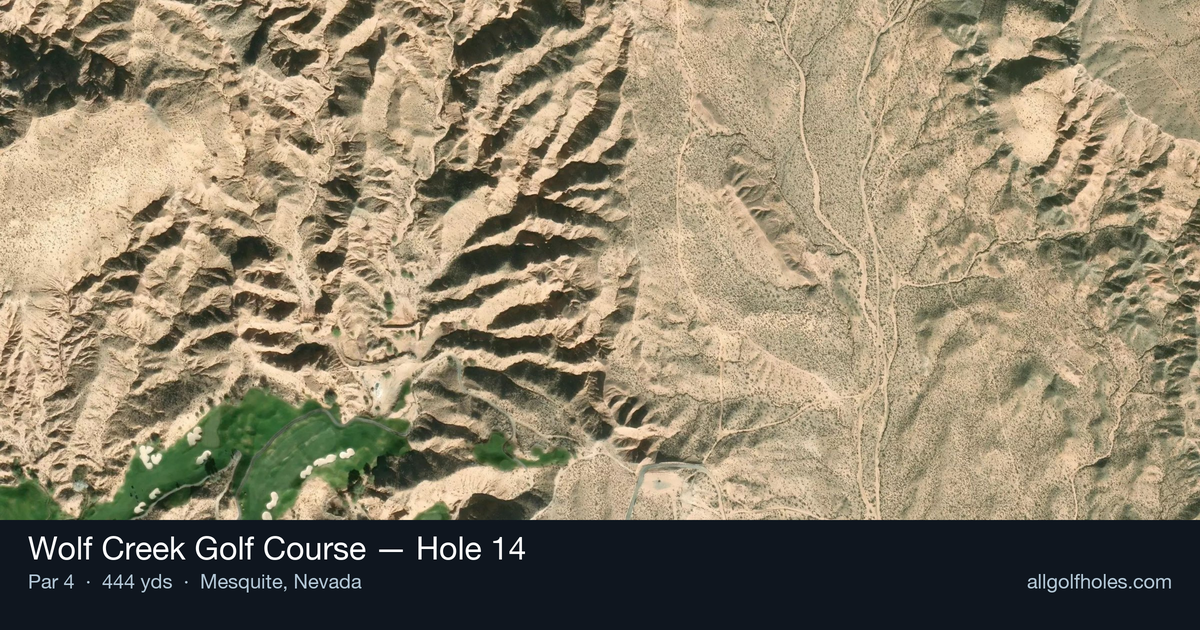
Aerial source not provided
Green size: 18 yds deep × 41 yds wide
Scorecard yardage is for Championship tees. The aerial shows its labeled reference position; distance rings measure to the green.
Championship tees · Par 4 · 444 yards
The plan for No. 14
Wolf Creek Golf Course hole 14 presents a breathtaking canvas that exemplifies the desert course's dramatic visual appeal. This 444-yard par 4 showcases the signature striped emerald fairway carved through red-rock canyon terrain, creating one of golf's most photogenic tee shots. The straight layout demands precision off the tee to navigate the strategically placed brilliant white sand bunkers that frame the landing area. With breathtaking elevation changes characteristic of Wolf Creek's unforgettable shot values, players face a challenging approach to a small green complex that requires accurate club selection. The hole's stunning desert backdrop and meticulous conditioning deliver the ultimate golf experience, making this par 4 a memorable test that combines visual drama with strategic shot-making demands in Mesquite's spectacular canyon setting.
Off the tee
The elevated tee provides a spectacular view down to the striped fairway below, but don't let the scenery distract from the task at hand. Your target line should favor the center-right portion of the fairway, giving you the best angle for your approach shot. Driver is the play for most golfers here, as the 444-yard length demands distance to leave a manageable approach. However, the brilliant white sand bunkers lining the fairway require precision - focus on tempo and balance rather than trying to overpower the hole. The elevation drop will add significant distance to your tee shot, so trust your swing and aim for the heart of the landing zone.
Approach & recovery
With the small green as your target, club selection becomes critical on your approach shot. The elevated tee shot typically leaves you with a mid-iron to short-iron into the green, but factor in any wind and the continuing elevation changes. The small green demands accuracy over distance, so take one more club and swing smoothly rather than forcing a shot. Pin position will dictate your strategy - when the flag is tucked behind bunkers, aim for the center of the green and two-putt for par. The desert setting means missing the green can lead to difficult recovery shots, making the middle of the green your best friend on this hole.
On the green
The small green at Wolf Creek's 14th requires precision putting and careful green reading. Desert greens typically run faster than their lush counterparts, especially later in the day. Focus on lag putting to avoid three-putts, as the small surface means even short misses can leave challenging second putts. Pay attention to any subtle breaks that flow with the natural desert terrain, and remember that uphill putts will play slower while downhill putts can get away quickly. ## RISK VS REWARD The primary risk/reward decision comes with tee shot strategy - playing aggressively down the ideal line versus taking a more conservative approach. The reward for a well-positioned drive is a shorter, more manageable approach to the small green. However, the punishment for missing the fairway into the desert waste areas or bunkers can quickly turn this scoring opportunity into a bogey or worse. The smart play is controlled aggression: commit to your target line but prioritize solid contact over maximum distance. ## DIFFERENT SKILL LEVELS **High-Handicap Players:** Focus on keeping the ball in play off the tee, even if it means using a 3-wood or hybrid for better accuracy. The desert setting is unforgiving, so prioritize finding the fairway over distance. On your approach, aim for the center of the green regardless of pin position - the small target demands conservative strategy. **Low-Handicap Players:** This hole rewards precise execution and course management. Use driver confidently, but with a specific target in mind rather than just trying to bomb it. Your superior short game skills allow for more aggressive pin-seeking on approach shots, but still respect the small green size. Look to attack when the pin is accessible, but don't force difficult shots when the flag is in a challenging position. The 14th hole at Wolf Creek exemplifies desert golf at its finest - visually spectacular yet strategically demanding, rewarding smart play while punishing careless execution.
Watch for
- Course conditioning and mapped hazards may affect line selection; confirm from the aerial.
Hole 14 Green Complex
Mapped green boundary
Green size: 3,744 sq ft
How did Hole 14 play?
How did this hole play today?
Frequently asked questions
Yardage reference: Championship tees · 444 yards.
What's the best strategy off the tee?
↓
For this 444-yard par 4, most players will hit driver to set up a comfortable approach.
How difficult is hole 14?
↓
This hole is a moderate challenge for most golfers. Key challenges include: heavily bunkered, small green.
How big is the green on hole 14?
↓
The green is small and requires precision. The green is deeper than wide, so club selection is crucial. Expect challenging pin positions with limited room for error.
What's a good score on hole 14?
↓
This hole is a demanding hole where bogey is not unusual. This longer par 4 will test most golfers. Focus on position over distance.