Hole 6 at Shadow Creek Golf Course
- Par
- 4
- Yardage
- 507 yds
- Stroke index
- 3
- Hazards
- 3 bunkers
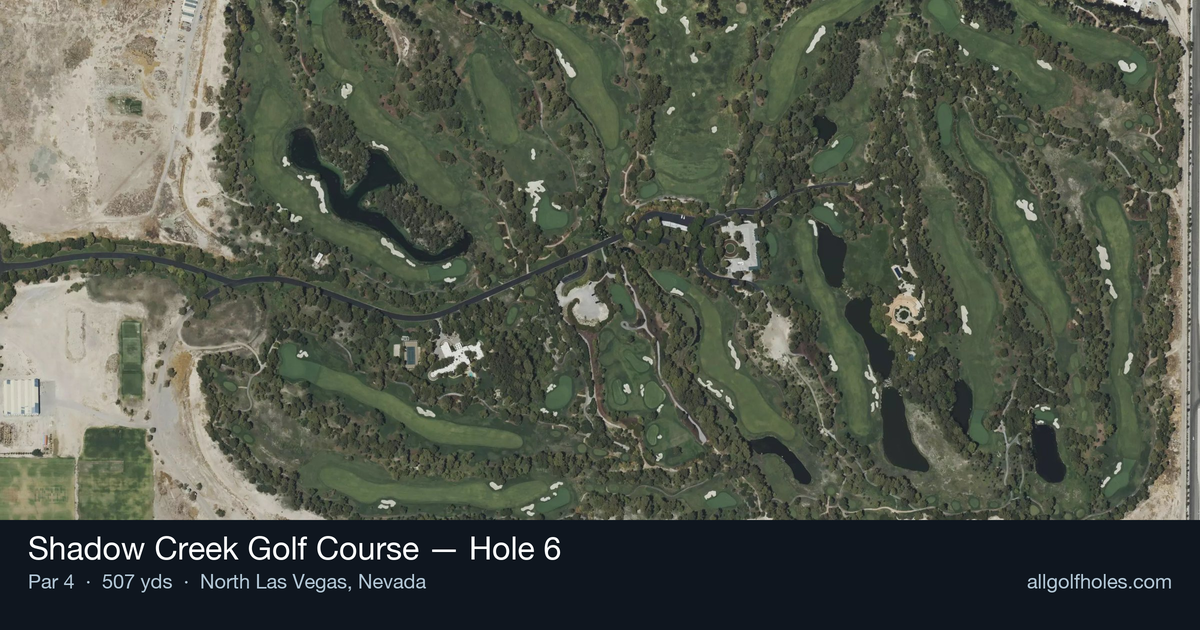
Aerial source not provided
Green size: 40 yds deep × 38 yds wide
Scorecard yardage is for Championship tees. The aerial shows its labeled reference position; distance rings measure to the green.
Championship tees · Par 4 · 507 yards
The plan for No. 6
Shadow Creek Golf Course hole 6 presents a formidable 507-yard par 4 that epitomizes Tom Fazio's masterful desert design philosophy. This straight-away challenge demands both power and precision, with the Nevada mountains providing a dramatic backdrop to the lush fairway that seems to emerge miraculously from the surrounding desert landscape. The tee shot requires careful placement to set up an optimal approach angle to the compact green complex, where the small target demands surgical accuracy with mid to long irons. Against the stark desert contrasts that define Shadow Creek's unique character, this hole rewards aggressive play while punishing wayward shots, creating the perfect risk-reward scenario that makes Fazio's Vegas masterpiece so memorable for golfers seeking a world-class experience just minutes from the Strip.
Off the tee
The tee shot strategy centers on maximizing distance while maintaining position for the lengthy approach ahead. With the straight layout, aim down the center of the fairway and commit to your most reliable driver swing. The absence of major hazards allows for an aggressive approach off the tee - this is a hole where you need every yard you can get. Focus on a smooth tempo and solid contact rather than trying to overpower the shot. In the desert conditions, expect some extra roll on firm fairways, so factor that into your target line selection.
Approach & recovery
The approach shot is where this hole truly shows its teeth. With the small green size, precision becomes critical from what will likely be a long iron or hybrid for most players. Study the pin position carefully and aim for the center of the green unless you're completely confident in your distance control. The compact target means there's little room for error - a shot that's slightly off-line or comes up short can easily find trouble around the green. Consider taking one extra club and making a smooth swing rather than forcing a shot that might come up short.
On the green
The small green demands respect with your putting approach. With limited real estate, lag putting becomes crucial - focus on getting your first putt close rather than being overly aggressive. Read the green carefully from multiple angles, as subtle breaks can be magnified on a smaller surface. The desert environment often creates firm, fast greens, so err on the side of leaving putts short of the hole rather than racing them past. ## RISK VS REWARD This hole offers a clear risk/reward scenario: the more aggressive you are off the tee, the shorter iron you'll have into the small green. However, the punishment for missing the green from closer range can be severe given the limited target. The smart play is controlled aggression - take driver if it's your most reliable club, but don't sacrifice accuracy for an extra 10-15 yards. The reward for finding the green in regulation is significant, as this small target makes up-and-down attempts challenging. ## DIFFERENT SKILL LEVELS **Low Handicappers:** Attack this hole with driver and aim to get as close to the green as possible. Your superior iron play gives you the best chance to hit and hold the small green. Focus on committing fully to both shots and trust your distance control. **Mid Handicappers:** Play conservatively smart - use your most reliable tee shot club even if it's a 3-wood, then take plenty of club on the approach and aim for the center of the green. Two-putting from anywhere on this small surface is a victory. **High Handicappers:** Course management is key here. Consider laying up to your most comfortable wedge distance if the approach shot would require a long iron you're not confident with. Sometimes playing this as a three-shot hole leads to better scores than forcing a difficult approach. The 6th hole at Shadow Creek exemplifies Tom Fazio's design philosophy - rewarding good shots while severely punishing poor ones. Success here comes from honest self-assessment and playing within your capabilities while still being aggressive when the situation calls for it.
Watch for
- Course conditioning and mapped hazards may affect line selection; confirm from the aerial.
Hole 6 Green Complex
Mapped green boundary
Green size: 6,529 sq ft
How did Hole 6 play?
How did this hole play today?
Frequently asked questions
Yardage reference: Championship tees · 507 yards.
What's the best strategy off the tee?
↓
For this 507-yard par 4, most players will hit driver to set up a comfortable approach.
How difficult is hole 6?
↓
This hole is a moderate challenge for most golfers. Key challenges include: long par 4.
How big is the green on hole 6?
↓
The green is fairly large with multiple pin positions. Lag putting becomes important on longer putts.
What's a good score on hole 6?
↓
This hole is one of the tougher holes where par feels like birdie. A challenging par 4. Accept that bogey happens and avoid big numbers.