Hole 4 at Shadow Creek Golf Course
- Par
- 5
- Yardage
- 581 yds
- Stroke index
- 7
- Hazards
- 9 bunkers · Water
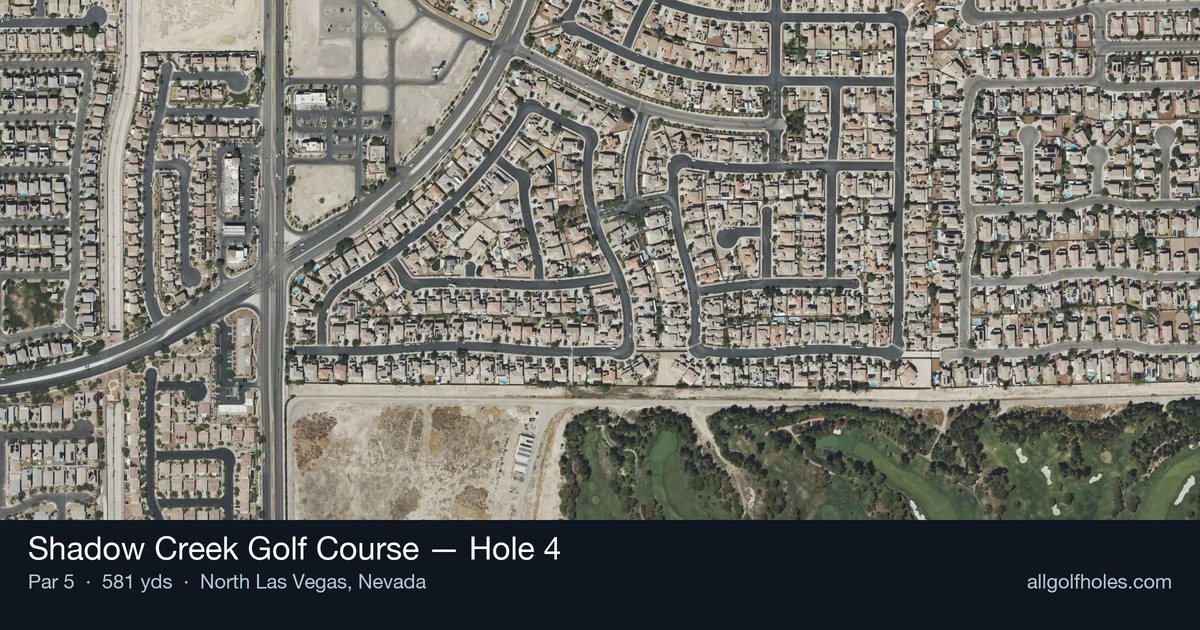
Aerial source not provided
Green size: 22 yds deep × 33 yds wide
Scorecard yardage is for Championship tees. The aerial shows its labeled reference position; distance rings measure to the green.
Championship tees · Par 5 · 581 yards
The plan for No. 4
Shadow Creek Golf Course hole 4 presents a deceptively strategic par 5 that epitomizes Tom Fazio's masterful desert design philosophy. At 581 yards, this straight-away layout appears inviting from the championship tee, but the small green complex demands precision throughout the entire hole. The tee shot plays through a generous corridor framed by Shadow Creek's signature lush conditioning that contrasts dramatically with the surrounding Nevada desert landscape. Length alone won't conquer this hole—accurate placement becomes increasingly critical as players approach the diminutive putting surface. The small green rewards those who resist the temptation to attack aggressively, instead favoring controlled approach shots that respect Fazio's subtle but punishing design elements that make this MGM Resorts gem a true test of golf strategy.
Off the tee
Your tee shot strategy should focus on finding the center of the fairway while maximizing distance within your comfort zone. With no hazards to navigate, this is an ideal hole to let the driver rip, but accuracy remains paramount. Aim for the middle of the fairway and commit to your swing - the generous landing area allows for slight misses in either direction. Players who struggle with driver consistency should consider a 3-wood or hybrid to ensure they stay in play and maintain good positioning for the second shot.
Approach & recovery
The approach shot varies dramatically based on your tee shot success and personal distance capabilities. Longer hitters may have a legitimate chance to reach in two, making this a risk/reward decision point. For most players, the second shot becomes a positioning play - advance the ball as far as possible while staying in the fairway's center. A mid-iron to long-iron, depending on conditions and your remaining distance, should leave you with a manageable short iron into the green. Avoid the temptation to force a shot you're not comfortable with; the small green will punish overly aggressive approaches.
On the green
The small green size makes precision crucial on your final approach. Focus on hitting to the center of the green rather than attacking specific pin positions, as the limited surface area leaves little room for error. Putting strategy should emphasize lag putting to avoid three-putts, as the green's size means most approach shots from the fairway should leave reasonable birdie opportunities. Pay attention to the grain and any subtle slopes that Fazio incorporated into this putting surface. ## RISK VS REWARD This hole presents multiple risk/reward scenarios depending on your skill level. Long hitters face the decision of whether to attempt reaching the green in two shots, weighing the birdie or eagle opportunity against the challenge of hitting the small target. For most players, the reward comes from playing conservatively and setting up a short iron third shot - a much more manageable way to attack the pin. The lack of hazards means the primary risk is simply missing the small green with your approach. ## DIFFERENT SKILL LEVELS **High-handicap players** should embrace the three-shot strategy without hesitation. Use whatever clubs ensure you stay in the fairway, advance the ball steadily, and give yourself the best chance at a short iron approach. Par is an excellent score here, and bogey shouldn't be disappointing given the scoring opportunities that lie ahead. **Low-handicap players** can be more aggressive, potentially reaching in two or positioning themselves for very short approach shots. The key is recognizing when conditions and your ball-striking form warrant aggression versus when a conservative approach makes more sense. Even scratch players should view this as a birdie hole rather than forcing eagle attempts that might lead to unnecessary mistakes. The 4th hole at Shadow Creek exemplifies smart golf course design - rewarding good course management while punishing poor execution around the green. Take advantage of this scoring opportunity by playing within your abilities and trusting your short game to capitalize on the birdie chances you create.
Watch for
- Course conditioning and mapped hazards may affect line selection; confirm from the aerial.
Hole 4 Green Complex
Mapped green boundary
Green size: 3,520 sq ft
How did Hole 4 play?
How did this hole play today?
Frequently asked questions
Yardage reference: Championship tees · 581 yards.
Can this par 5 be reached in two?
↓
At 581 yards, A true three-shot hole for most players. Position your layup to leave a comfortable wedge distance.
How difficult is hole 4?
↓
This hole is one of the tougher holes on the course for most golfers. Key challenges include: long par 5, water in play, heavily bunkered, small green.
How big is the green on hole 4?
↓
The green is small and requires precision. Expect challenging pin positions with limited room for error.
What's a good score on hole 4?
↓
This hole is a true three-shot hole where birdie requires execution. This longer par 5 demands patience. Two good shots set up the scoring opportunity.