Hole 5 at Shadow Creek Golf Course
- Par
- 3
- Yardage
- 202 yds
- Stroke index
- 15
- Hazards
- 3 bunkers
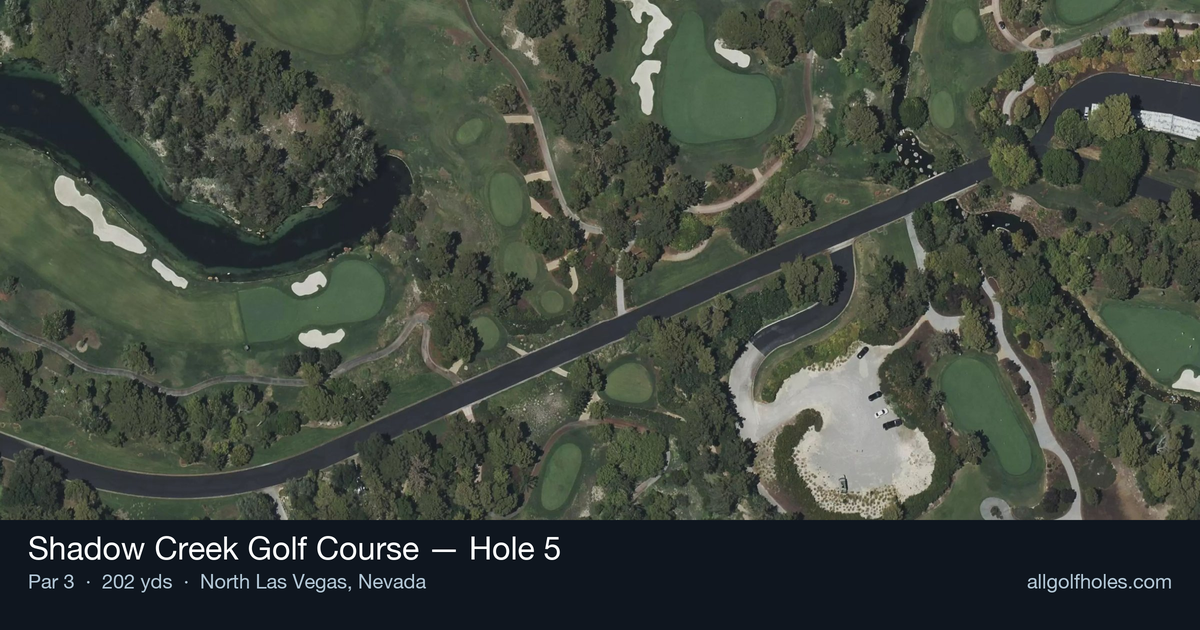
Aerial source not provided
Green size: 26 yds deep × 40 yds wide
Scorecard yardage is for Championship tees. The aerial shows its labeled reference position; distance rings measure to the green.
Championship tees · Par 3 · 202 yards
The plan for No. 5
Known as "The Abyss," Shadow Creek Golf Course hole 5 presents one of golf's most dramatic par 3 challenges at 202 yards. This stunning one-shotter plays uphill over a tree-filled wasteland that resembles a natural amphitheater, with towering pines creating a daunting visual barrier between tee and target. The elevated tee shot must carry entirely over this forested chasm to reach the small green perched on the opposite ridge. Against the backdrop of soaring Nevada mountains, this hole epitomizes Shadow Creek's desert oasis design philosophy, transforming what could be barren terrain into a lush, intimidating test. The all-or-nothing nature of the shot, combined with the spectacular mountain vistas, makes The Abyss an unforgettable centerpiece of this world-renowned Tom Fazio masterpiece.
Off the tee
Club selection is paramount on this all-or-nothing par 3. The uphill nature of the shot, combined with potential desert wind conditions, typically requires one to two clubs more than the yardage suggests. Consider a long iron or hybrid to ensure adequate carry distance over the tree-filled abyss. The target line should be directly at the center of the green, as the small putting surface offers little margin for error. Avoid the temptation to aim for specific pin positions - the priority is simply reaching the green safely. Take extra time to visualize the shot and commit fully to your club selection, as any doubt can lead to deceleration through impact.
Approach & recovery
Since this is a par 3, the tee shot serves as your approach to the green. The key is accepting that this green demands respect - there's no safe miss here. The uphill trajectory helps hold shots on the putting surface, but the small green size means precision is essential. Focus on a smooth, committed swing rather than trying to muscle the ball across the chasm. The elevated green position can create optical illusions about distance, so trust your yardage and club selection rather than visual cues.
On the green
The small green at "The Abyss" rewards accurate approach shots but punishes those who miss the target. Once safely on the putting surface, read putts carefully as the elevated position can create subtle breaks that aren't immediately obvious. The green's compact size means most putts will be relatively short, making this a genuine birdie opportunity if you've navigated the carry successfully. Pay attention to the grain direction, which can be influenced by the desert environment and prevailing winds. ## RISK VS REWARD This hole presents a binary risk/reward scenario - you either clear the abyss or you don't. There's no middle ground for a safe layup or recovery shot. The reward for a successful carry is significant: a relatively short putt for birdie on what many consider one of the most memorable par 3s in golf. The risk is equally clear - failure to carry the trees likely means a lost ball and a difficult up-and-down for bogey or worse. The hole's moderate handicap rating of 15 suggests that while challenging, it's very scorable when played correctly. ## DIFFERENT SKILL LEVELS **High Handicappers:** Focus on making solid contact and ensuring adequate carry distance. Don't be tempted to hit less club to avoid going over the green - the priority is clearing the trees. Consider using a fairway wood or hybrid for maximum carry and forgiveness. Accept that par is an excellent score here. **Low Handicappers:** This hole offers a legitimate birdie opportunity with proper execution. Fine-tune your club selection based on wind conditions and pin position, but never compromise the carry distance for precision. The uphill nature helps hold approach shots, so be aggressive enough to ensure you clear the hazard while still maintaining accuracy to the small target. The fifth hole at Shadow Creek stands as one of golf's most visually stunning and strategically demanding par 3s, where course management, club selection, and mental fortitude combine to create an unforgettable golf experience.
Watch for
- Course conditioning and mapped hazards may affect line selection; confirm from the aerial.
Hole 5 Green Complex
Mapped green boundary
Green size: 5,743 sq ft
How did Hole 5 play?
How did this hole play today?
Frequently asked questions
Yardage reference: Championship tees · 202 yards.
What club should I use on this par 3?
↓
At 202 yards, most golfers will need a long iron or hybrid (5-iron to 6-iron) to reach this green. Adjust for elevation, wind, and pin position.
What hazards should I watch out for on hole 5?
↓
Key hazards include: 3 greenside bunkers. Plan your shots to avoid these trouble spots.
How big is the green on hole 5?
↓
The green is medium-sized with moderate targets. Pay attention to pin placement when selecting your approach club.