Hole 2 at Shadow Creek Golf Course
- Par
- 4
- Yardage
- 435 yds
- Stroke index
- 9
- Hazards
- 4 bunkers
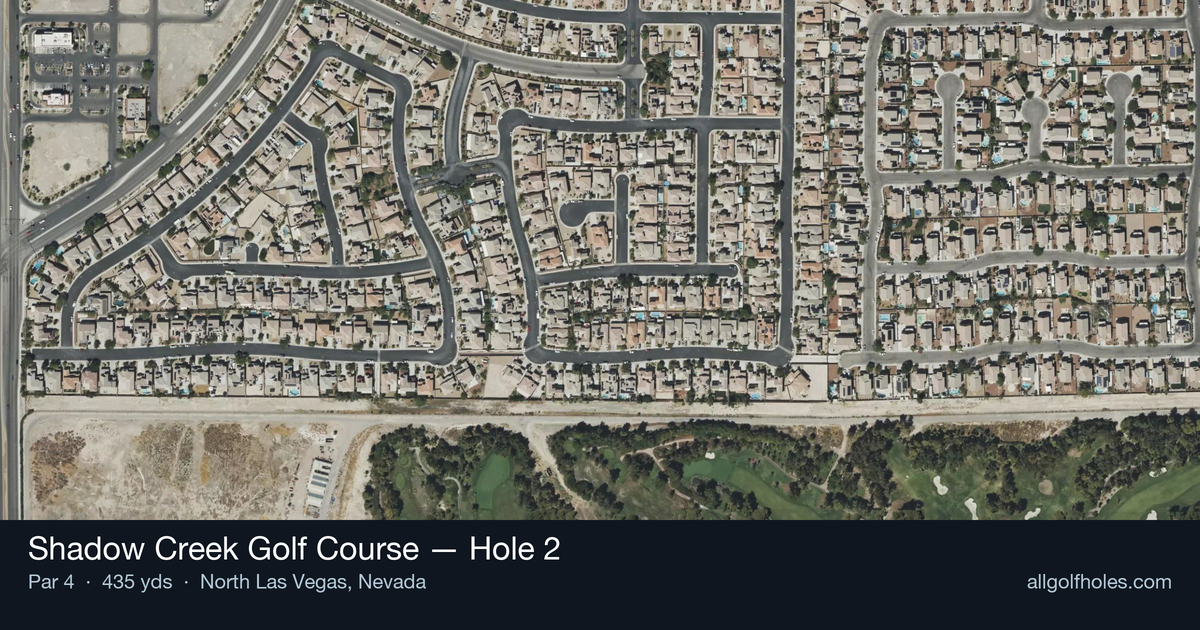
Aerial source not provided
Green size: 29 yds deep × 33 yds wide
Scorecard yardage is for Championship tees. The aerial shows its labeled reference position; distance rings measure to the green.
Championship tees · Par 4 · 435 yards
The plan for No. 2
Shadow Creek Golf Course hole 2 epitomizes Tom Fazio's desert masterpiece, where Augusta National-caliber design meets Nevada's dramatic landscape. This 435-yard par 4 presents a deceptively straightforward challenge that demands both power and precision from the championship tees. The tee shot must navigate through towering mature trees that cast the course's signature shadows across the fairway, creating ever-changing playing conditions throughout the day. A generous landing area rewards accurate drives, but the approach shot to the small, elevated green requires careful club selection and precise distance control. The green's subtle undulations and firm conditions demand a committed approach, making this hole a true test of iron play. What makes this hole memorable is how Fazio transformed barren desert into golf's version of Shangri-La, creating an oasis where strategic thinking trumps raw power in Steve Wynn's legendary golf sanctuary.
Off the tee
Your tee shot strategy should focus on finding the center of the fairway while considering the shadows that can affect visibility throughout the day. A driver or strong 3-wood is typically required to leave a manageable approach distance. Target the middle of the landing zone, which sits around the 250-yard mark. The straight layout allows for an aggressive line down the center, but be mindful that Tom Fazio's design likely features subtle fairway contours that can kick balls offline. Pay attention to the time of day, as the titular shadows of Shadow Creek can obscure landing areas and create optical illusions off the tee.
Approach & recovery
The approach shot is where this hole reveals its teeth. The small green demands precision with your club selection and target line. From a well-positioned drive, you'll typically face a mid-iron to long-iron approach depending on conditions and pin position. Favor the center of the green rather than attacking pins, as the compact putting surface leaves little margin for error. The green's small size means any approach shot that misses the target will likely result in a challenging up-and-down. Study the pin position carefully and select the club that gives you the highest probability of hitting the green, even if it means a longer putt.
On the green
The small green at Shadow Creek's 2nd hole requires careful attention to speed control and break reading. Given Tom Fazio's reputation for subtle green contours, expect gentle but significant breaks that may not be immediately apparent. Focus on lag putting to the correct quadrant of the green rather than being overly aggressive with birdie attempts. The compact size means three-putts can happen quickly if you're not careful with speed control. Take time to read the shadows on the green, as they can affect both the break and your depth perception. ## RISK VS REWARD This hole presents a classic risk/reward scenario disguised as a straightforward par 4. The reward for aggressive play is a shorter approach to the small green, but the risk lies in the precision required for the second shot. Players who try to cut corners or play overly aggressive lines may find themselves with difficult angles to the green. The smart play is to prioritize position over distance, setting up the most comfortable approach shot possible. Consider that a safe par on this hole is often better than a risky attempt at birdie that could lead to bogey or worse. ## DIFFERENT SKILL LEVELS **High-Handicap Players:** Focus on hitting the fairway with your tee shot, even if it means using a 3-wood or hybrid for better accuracy. From the fairway, prioritize hitting the green with your approach rather than attacking specific pin positions. Two-putt pars are excellent scores on this hole. **Low-Handicap Players:** You can be more aggressive with driver off the tee, but maintain precision in your target line. Use the extra distance to leave shorter irons into the green, but respect the small target. Consider pin position when selecting your approach club, and don't be afraid to play away from sucker pins to the fat part of the green. The 2nd hole at Shadow Creek perfectly embodies what makes this course special - strategic depth wrapped in stunning beauty, demanding both power and precision to score well.
Watch for
- Course conditioning and mapped hazards may affect line selection; confirm from the aerial.
Hole 2 Green Complex
Mapped green boundary
Green size: 4,874 sq ft
How did Hole 2 play?
How did this hole play today?
Frequently asked questions
Yardage reference: Championship tees · 435 yards.
What's the best strategy off the tee?
↓
For this 435-yard par 4, most players will hit driver to set up a comfortable approach.
How difficult is hole 2?
↓
This hole is a moderate challenge for most golfers. Key challenges include: heavily bunkered.
How big is the green on hole 2?
↓
The green is medium-sized with moderate targets. Pay attention to pin placement when selecting your approach club.
What's a good score on hole 2?
↓
This hole is a demanding hole where bogey is not unusual. This longer par 4 will test most golfers. Focus on position over distance.