Hole 13 at Cascata
- Par
- 4
- Yardage
- 469 yds
- Stroke index
- 12
- Hazards
- 4 bunkers
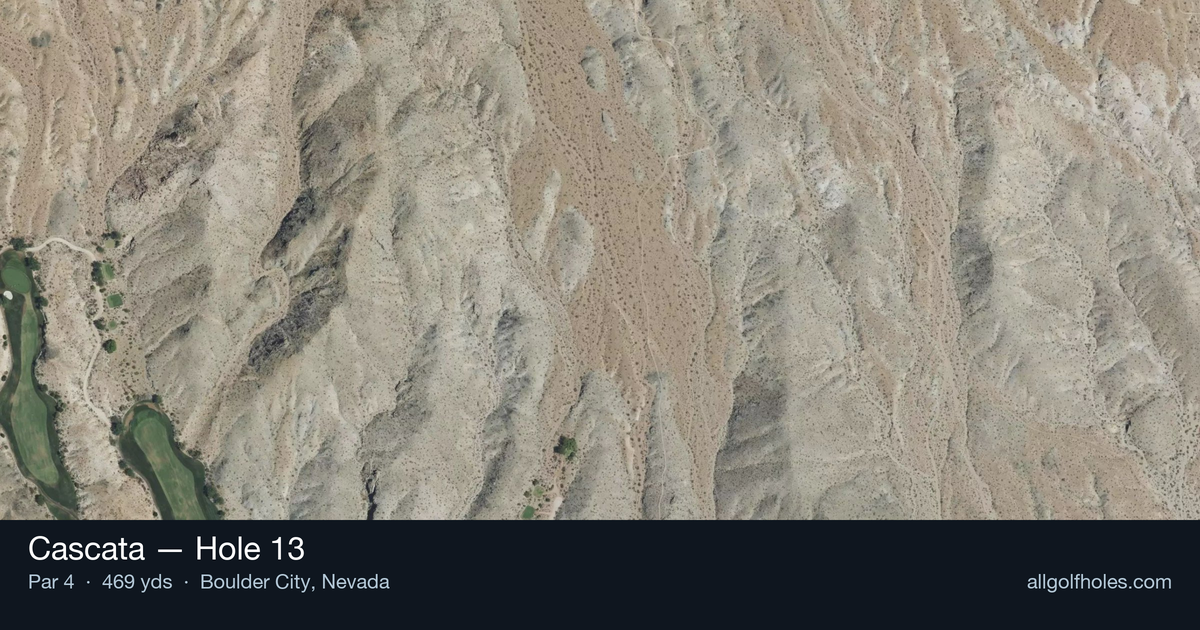
Aerial source not provided
Green size: 27 yds deep × 25 yds wide
Scorecard yardage is for Championship tees. The aerial shows its labeled reference position; distance rings measure to the green.
Championship tees · Par 4 · 469 yards
The plan for No. 13
Cascata's 13th hole presents a deceptively challenging par 4 that demands both power and precision across its 469 yards. This straight-away layout through the Nevada desert terrain offers a generous fairway for the tee shot, but the approach shot reveals the hole's true character. The small green complex sits as an inviting target, yet requires pinpoint accuracy to hold the putting surface. Without significant hazards to navigate, golfers must rely on course management and shot execution to score well. The desert backdrop and mountain vistas create a stunning visual experience, while the elevated green adds complexity to club selection. This hole exemplifies Cascata's philosophy of rewarding strategic thinking over pure aggression, making it a memorable test in the back nine.
Off the tee
The tee shot sets up everything on this hole, making club selection and target line crucial decisions. With the fairway offering a relatively generous landing area, focus on finding the short grass rather than maximizing distance. A well-struck driver or strong 3-wood should position you in the optimal zone for your approach, typically leaving a mid to long-iron into the green. The key is avoiding any rough or uneven lies that could complicate your approach shot to the small green. Consider the wind conditions and pin position when selecting your target line, as positioning yourself on the correct side of the fairway can provide a better angle for your approach.
Approach & recovery
The approach shot to this small green demands precision and smart club selection. With the green's compact size, accuracy trumps distance control. Study the pin position carefully and aim for the center of the green unless you're completely confident in your distance control. The small target means there's little margin for error, so take one more club than you think you need and make a smooth, controlled swing. Pay attention to the wind direction and green firmness, as both factors become magnified when attacking a smaller target. If you're between clubs, always err on the side of taking more club and focusing on a centered strike.
On the green
The small green at the 13th requires careful attention to speed control and reading the subtle breaks. With limited surface area, even minor slopes can significantly affect ball roll. Take extra time to read your putts from multiple angles, as the compact nature of the green can create deceptive breaks. Focus on lag putting to avoid three-putts, especially on longer putts where the small target area leaves little room for aggressive play. The key is getting your first putt close rather than trying to make everything, as the small green rewards conservative putting strategy. ## RISK VS REWARD This hole presents a subtle risk/reward scenario centered around tee shot positioning and approach aggressiveness. The reward for finding the optimal position off the tee is a manageable approach shot to the small green. However, the risk of missing the fairway or choosing the wrong side can leave you with a difficult angle or longer approach. On the approach shot, the risk/reward calculation involves pin hunting versus playing to the center of the green. Given the small target, the smart play is usually aiming for the fat part of the green and accepting a longer putt rather than risking a miss that could lead to a difficult up-and-down. ## DIFFERENT SKILL LEVELS **High-Handicap Players:** Focus on course management and playing within your abilities. Use a club off the tee that you can reliably keep in play, even if it means hitting a longer approach shot. On the approach, always aim for the center of the green regardless of pin position. The small green makes recovery shots particularly challenging, so prioritize finding the putting surface over getting close to the pin. **Low-Handicap Players:** You can be more aggressive with driver off the tee to shorten the approach, but maintain precision in your target selection. Consider pin position when planning your approach angle, and don't hesitate to attack pins when you have a good number and clean lie. Your superior short game skills allow for slightly more aggressive play around the green, but still respect the small target and focus on quality strikes. The 13th at Cascata exemplifies how a hole without dramatic hazards can still provide a stern test through length and precision requirements. Success here comes from smart club selection, accurate execution, and resisting the temptation to force shots when patience and precision will yield better results.
Watch for
- Course conditioning and mapped hazards may affect line selection; confirm from the aerial.
Hole 13 Green Complex
Mapped green boundary
Green size: 3,851 sq ft
How did Hole 13 play?
How did this hole play today?
Frequently asked questions
Yardage reference: Championship tees · 469 yards.
What's the best strategy off the tee?
↓
For this 469-yard par 4, most players will hit driver to set up a comfortable approach.
How difficult is hole 13?
↓
This hole is one of the tougher holes on the course for most golfers. Key challenges include: long par 4, heavily bunkered, small green.
How big is the green on hole 13?
↓
The green is small and requires precision. Expect challenging pin positions with limited room for error.
What's a good score on hole 13?
↓
This hole is one of the tougher holes where par feels like birdie. A challenging par 4. Accept that bogey happens and avoid big numbers.