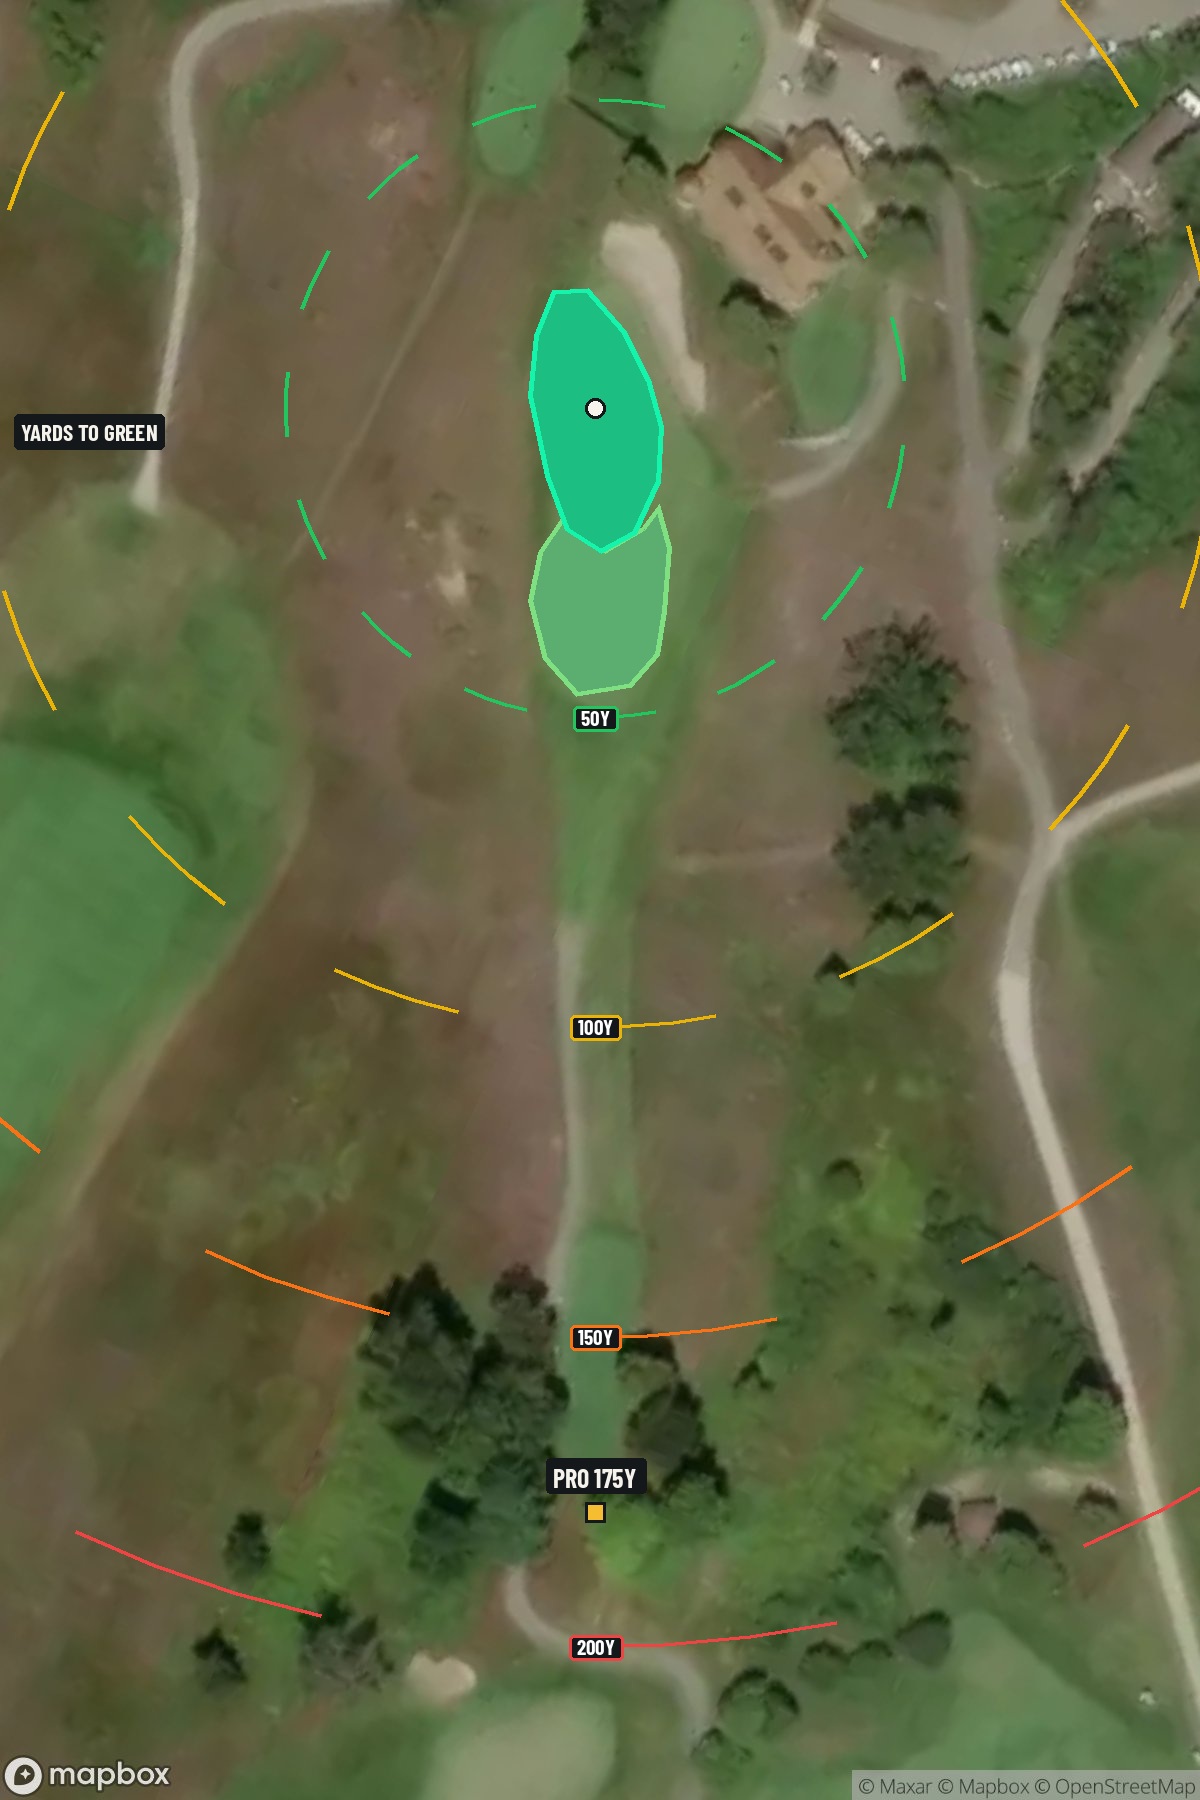
Hole 9 of 18 · Frankfort, Michigan

Hole 9 at Crystal Downs Country Club

Par
3
Yards
175
Hole 9 aerial at Crystal Downs Country Club
Map distances from Pro tee · 175 yds

The map's printed distances are measured from the Pro tee to the green; they do not move when you change tees.

Green size: 43 yds deep × 22 yds wide

Mapbox Satellite composite · capture date not provided. Green at the top.

Where this map comes from

Satellite photo
Date not published
Mapbox satellite
Green contours
2015–2016 survey
USGS lidar survey
Report a map problem
100%
Hole 9 aerial at Crystal Downs Country Club

The plan for No. 9

The play: The closing hole of the front nine at Crystal Downs Country Club presents a deceptively straightforward par 3 that demands precision over power. At 175 yards, this hole epitomizes the strategic design philosophy of Alister MacKenzie, who crafted this masterpiece along Michigan's stunning Lake Michigan coastline. The tee shot must navigate to a small, well-protected green that punishes anything less than committed execution. What appears simple from the tee reveals subtle complexities as players must account for the prevailing winds off the lake and the green's receptive areas. Crystal Downs Country Club hole 9 serves as the perfect punctuation mark to an exceptional front nine, where course management trumps raw distance in this architectural gem.

Shot by shot

  1. Off the tee

    Club selection is paramount on this straightforward par 3. Most golfers will need a mid-iron to long-iron depending on wind conditions and pin position. Aim for the center of the green regardless of pin location - the small target doesn't offer much room for error when chasing pins. Take one more club than you think you need and make a smooth, controlled swing. The key is committing to your yardage and trusting your distance control rather than trying to manufacture a perfect shot.

  2. Approach & recovery

    Since this is a par 3, your tee shot IS your approach shot. Focus on a high, soft landing to help the ball hold the small green surface. Pay attention to wind direction and strength, as they'll significantly impact club selection on this length of shot. If the pin is tucked to one side, still favor the center of the green - short-siding yourself on a small target can lead to difficult up-and-downs.

  3. On the green

    The small green size means every putt is potentially makeable, but also that precision is required. Focus on getting your first putt close rather than being overly aggressive from longer distances. The putting surface likely has subtle breaks that become more pronounced on a smaller target, so take time to read the green carefully. Speed control becomes even more critical when working with less margin for error. ## RISK VS REWARD The primary risk/reward decision comes in club selection and target choice. Playing aggressively to pin positions on a small green increases both birdie chances and the risk of missing the target entirely. The conservative play is always the center of the green, but the reward for precise pin-seeking can be a short birdie putt. ## DIFFERENT SKILL LEVELS **High Handicappers:** Always aim for the center of the green and take enough club to ensure you reach the putting surface. Focus on making solid contact rather than trying to be too precise. A bogey from missing the green is much worse than a safe par from the middle of the green. **Low Handicappers:** Can be more aggressive with pin positions, especially when the pin is in the center portion of the green. Use the lack of hazards to your advantage by being confident in your swing. This is a legitimate birdie opportunity with proper execution and club selection. The beauty of this hole lies in its simplicity - it's all about execution and course management without the distraction of major hazards.

  4. Watch for

    • Course conditioning and mapped hazards may affect line selection; confirm from the aerial.

The green on No. 9

Mapped boundary
Wide × deepyards
22×43
Areasq ft
5,744

Gear for Hole 9

We may earn a commission when you buy through these links.

Golfer feedback

How did Hole 9 play?

⚡ Quick Golfer Pulse

How did this hole play today?

1-tap anonymous vote

Frequently asked questions

Yardage reference: Pro tees · 175 yards.

What club should I use on this par 3?

↓

At 175 yards, most golfers will need a mid-iron (7-iron to 8-iron) to reach this green. Adjust for elevation, wind, and pin position.

How difficult is hole 9?

↓

This hole is a good scoring opportunity for most golfers.

How big is the green on hole 9?

↓

The green is medium-sized with moderate targets. Pay attention to pin placement when selecting your approach club.

What's a good score on hole 9?

↓

This hole is a solid par with birdie chances for precise approach shots. Making par is a good result here. Focus on hitting the green and avoiding three-putts.