Hole 6 at Sea Island Golf Club (Seaside)
- Par
- 3
- Yardage
- 164 yds
- Stroke index
- 17
- Hazards
- 1 bunker · Water
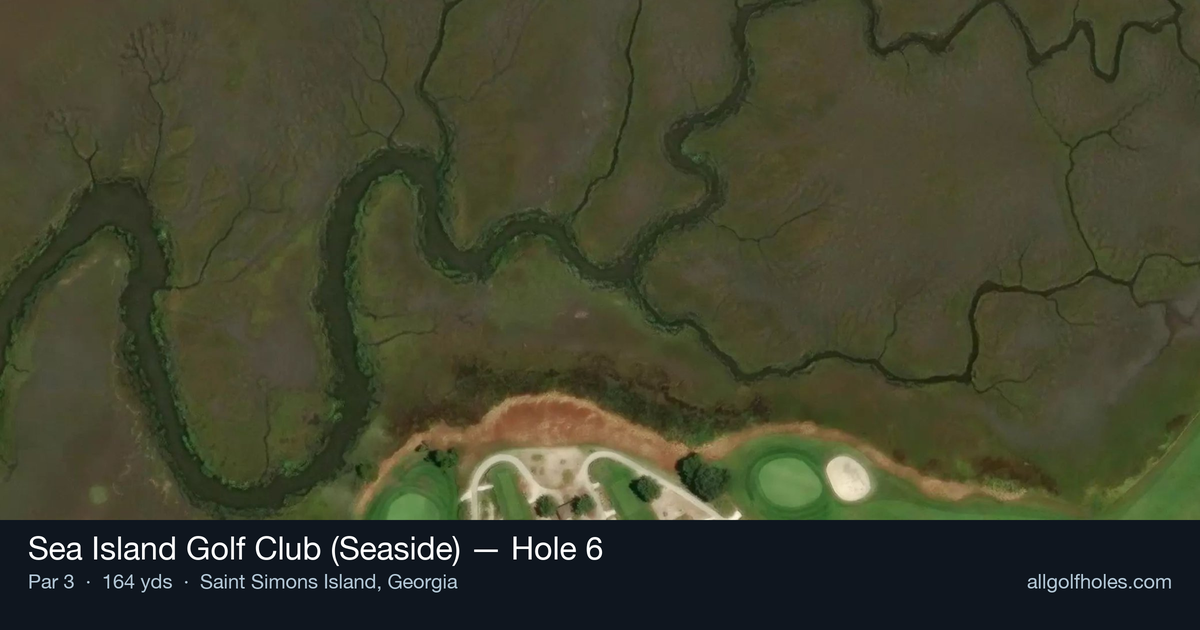
Aerial source not provided
Green size: 27 yds deep × 37 yds wide
Scorecard yardage is for Championship tees. The aerial shows its labeled reference position; distance rings measure to the green.
Championship tees · Par 3 · 164 yards
The plan for No. 6
Sea Island Golf Club (Seaside) hole 6 epitomizes the unpredictable nature of coastal golf, where wind conditions transform this seemingly straightforward par 3 into a daily puzzle. At 164 yards, this hole appears deceptively simple until Georgia's coastal breezes begin their influence over club selection and ball flight. The small green demands precision, as there's little margin for error on approach shots that can vary dramatically based on wind direction and intensity. What might call for a comfortable 7-iron on calm days could easily require a strong 5-iron when the wind decides to challenge your strategy. This is proper links golf at its finest, where reading atmospheric conditions becomes as crucial as reading the green itself, making every tee shot a test of adaptability and course management skills.
Off the tee
Your tee shot strategy begins long before you pull a club—start by carefully assessing wind direction and strength from multiple points around the tee box. The wind at Seaside doesn't just influence ball flight; it dictates your entire approach to the hole. On calm days, this plays as a comfortable 7 or 8-iron for most players, but when the wind picks up, you might find yourself reaching for anything from a wedge to a 5-iron. Take extra practice swings to feel the wind's effect on your balance and swing plane. Aim for the center of the green regardless of pin position—the small target demands a conservative target line that maximizes your margin for error.
Approach & recovery
Since this is a par 3, your tee shot is your approach. Focus on committing fully to your club selection once you've read the wind conditions. Half-swings and tentative shots are killers on coastal holes like this. The key is accepting that the wind might move your ball and planning accordingly. When the wind is helping, resist the temptation to take too little club—a ball that comes up short on a small green often finds trouble. Into the wind, take plenty of club and focus on solid contact rather than trying to force extra distance.
On the green
The small green demands respect with your putting approach. Coastal winds affect putting as well, particularly on longer putts where the ball spends more time rolling. Read your putts carefully, as the wind that influenced your approach shot may also impact your ball on the green surface. Focus on getting your first putt close rather than being overly aggressive. Two-putting from anywhere on this green should be considered a victory, especially in challenging wind conditions. ## RISK VS REWARD The primary risk/reward decision comes in club selection confidence. The reward for trusting your wind read and committing to the right club is a straightforward birdie opportunity. The risk lies in second-guessing yourself or trying to manufacture shots in conditions that demand acceptance and adaptation. Conservative play targeting the green's center offers the best risk/reward ratio, even when pin positions might tempt you toward more aggressive lines. ## DIFFERENT SKILL LEVELS **High-Handicap Players:** Focus entirely on getting the ball somewhere on the green. Ignore pin positions and aim for the largest part of the green. Take one extra club when in doubt, as missing long is typically better than coming up short. Don't let the wind frustrate you—accept that some days will require different clubs than others. **Low-Handicap Players:** Use your course management skills to factor wind into every aspect of your shot planning. Consider how wind affects ball spin and trajectory, not just distance. You have the skill to work the ball slightly in crosswinds, but don't overdo it—sometimes the best play is still straight at the flag with proper club selection. The beauty of the 6th hole lies in its honest challenge: read the conditions, pick your club, and execute with confidence. This is proper links golf where adaptation and mental toughness matter more than raw distance or complex shot-making.
Watch for
- Course conditioning and mapped hazards may affect line selection; confirm from the aerial.
Hole 6 Green Complex
Mapped green boundary
Green size: 5,519 sq ft
How did Hole 6 play?
How did this hole play today?
Frequently asked questions
Yardage reference: Championship tees · 164 yards.
What club should I use on this par 3?
↓
At 164 yards, most golfers will need a mid-iron (7-iron to 8-iron) to reach this green. Adjust for elevation, wind, and pin position.
How difficult is hole 6?
↓
This hole is a moderate challenge for most golfers. Key challenges include: water in play.
What hazards should I watch out for on hole 6?
↓
Key hazards include: 1 greenside bunker; water at 236.1 yards. Plan your shots to avoid these trouble spots.
How big is the green on hole 6?
↓
The green is medium-sized with moderate targets. Pay attention to pin placement when selecting your approach club.
What's a good score on hole 6?
↓
This hole is a solid par with birdie chances for precise approach shots. Making par is a good result here. Focus on hitting the green and avoiding three-putts.