Hole 3 at Tobacco Road Golf Club
- Par
- 3
- Yardage
- 152 yds
- Stroke index
- 17
- Hazards
- 1 bunker
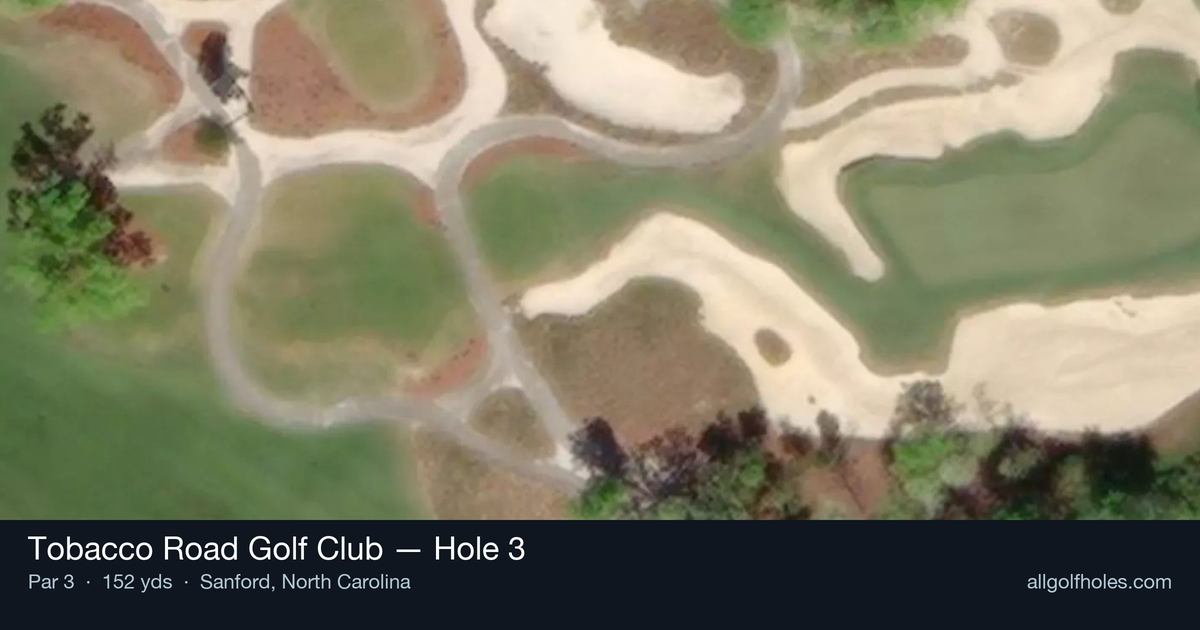
Aerial source not provided
Green size: 59 yds deep × 27 yds wide
Scorecard yardage is for Pro tees. The aerial shows its labeled reference position; distance rings measure to the green.
Pro tees · Par 3 · 152 yards
The plan for No. 3
The third hole at Tobacco Road Golf Club exemplifies Mike Strantz's bold architectural vision with a deceptively challenging par 3 that plays 152 yards to a dramatically tiered green complex. This early test demands precision over power, as the small target sits surrounded by sand and unforgiving terrain. The green's two distinct tiers create a putting nightmare when approached incorrectly - find yourself on the wrong level and three-putting becomes the goal to avoid disaster. Club selection proves critical on this straight shot, as the undulating surroundings can leave approach shots from awkward lies. With its compact green and penal design philosophy, Tobacco Road Golf Club hole 3 serves as an early warning of the wild greens and strategic challenges that define this celebrated North Carolina layout.
Off the tee
Club selection is critical on this tee shot, with most players needing a mid-iron to long-iron depending on conditions and pin position. The target line should prioritize the correct tier of the green rather than attacking the flag directly. When the pin is on the upper tier, aim for the back portion of the green; when it's on the lower tier, favor the front section. The surrounding sand bunkers are unforgiving, so err on the side of the putting surface rather than trying to get too cute with distance control. Wind conditions will significantly impact club selection on this exposed hole.
Approach & recovery
Since this is a par 3, the tee shot is your approach shot. The green's small size demands pinpoint accuracy, but the real challenge lies in understanding the two-tier system. The putting surface is reportedly about 60 yards deep with dramatic elevation changes between tiers. Focus on landing softly on the correct level rather than spinning the ball back to a different tier. The surrounding sand means any miss will likely result in a bunker shot, making accuracy paramount over aggressive pin-seeking.
On the green
This green exemplifies Tobacco Road's "wild" putting surfaces that have become legendary among golfers. The two-tier design creates some of the most challenging putting scenarios you'll encounter. When you find yourself on the wrong tier, conservative putting strategy becomes essential - as noted by experienced players, you should be playing for a three-putt to guard against a four-putt disaster. Read the severe breaks carefully and never be above the hole if possible. Lag putting is often the smartest play, especially on cross-tier putts. ## RISK VS REWARD The risk/reward calculation here is unique: the reward for aggressive play (attacking tight pins) is minimal compared to the severe penalty for missing the correct tier. Smart golfers will take their medicine and aim for the fat part of the appropriate tier, accepting a potential 25-30 foot putt rather than risking the wrong level. The scoring opportunity exists, but only through disciplined course management rather than heroic shot-making. ## DIFFERENT SKILL LEVELS **High-Handicap Players:** Focus entirely on finding the green, preferably the correct tier. Take an extra club to ensure you clear the front bunkers and don't worry about distance control beyond reaching the putting surface. Once on the green, lag putt conservatively and accept bogey as a reasonable score. **Low-Handicap Players:** Study the pin sheet carefully and commit to the correct tier strategy. Your superior distance control allows for more aggressive tier targeting, but resist the temptation to attack sucker pins. Use your putting skills to capitalize on good tier position, but respect the severe consequences of being on the wrong level. This hole rewards patience and precision over aggression. The 3rd hole at Tobacco Road perfectly encapsulates the course's philosophy: it looks manageable but punishes poor execution severely, making it a true test of golf strategy and mental discipline.
Watch for
- Course conditioning and mapped hazards may affect line selection; confirm from the aerial.
Hole 3 Green Complex
Mapped green boundary
Green size: 8,307 sq ft
Course coverage
Tournament and creator videos about Tobacco Road Golf Club — shared course coverage, not hole-specific clips.
Featured by these creators
Creator videos about this course
YouTube creators who filmed or featured Tobacco Road Golf Club. · Stats as of Oct 12, 2026 · 5d ago
A first look at all 12 holes of Tobacco Road’s brand new Par 3 course, The Matchbox. @Chevrolet #Ad
D.J. Pie gets rich at Tobacco Road
How did Hole 3 play?
How did this hole play today?
Frequently asked questions
Yardage reference: Pro tees · 152 yards.
What club should I use on this par 3?
↓
At 152 yards, most golfers will need a mid-iron (7-iron to 8-iron) to reach this green. Adjust for elevation, wind, and pin position.
How difficult is hole 3?
↓
This hole is a good scoring opportunity for most golfers. Key challenges include: large green requiring good lag putting.
What hazards should I watch out for on hole 3?
↓
Key hazards include: 1 greenside bunker. Plan your shots to avoid these trouble spots.
How big is the green on hole 3?
↓
The green is large and can play quite long. The green is wider than it is deep, rewarding shots that find the correct tier. Three-putt territory if you don't manage your approach distance well.
What's a good score on hole 3?
↓
This hole is a solid par with birdie chances for precise approach shots. Making par is a good result here. Focus on hitting the green and avoiding three-putts.