Hole 6 at Tiburon Golf Club (Black)
- Par
- 5
- Yardage
- 502 yds
- Stroke index
- 5
- Hazards
- 6 bunkers · Water
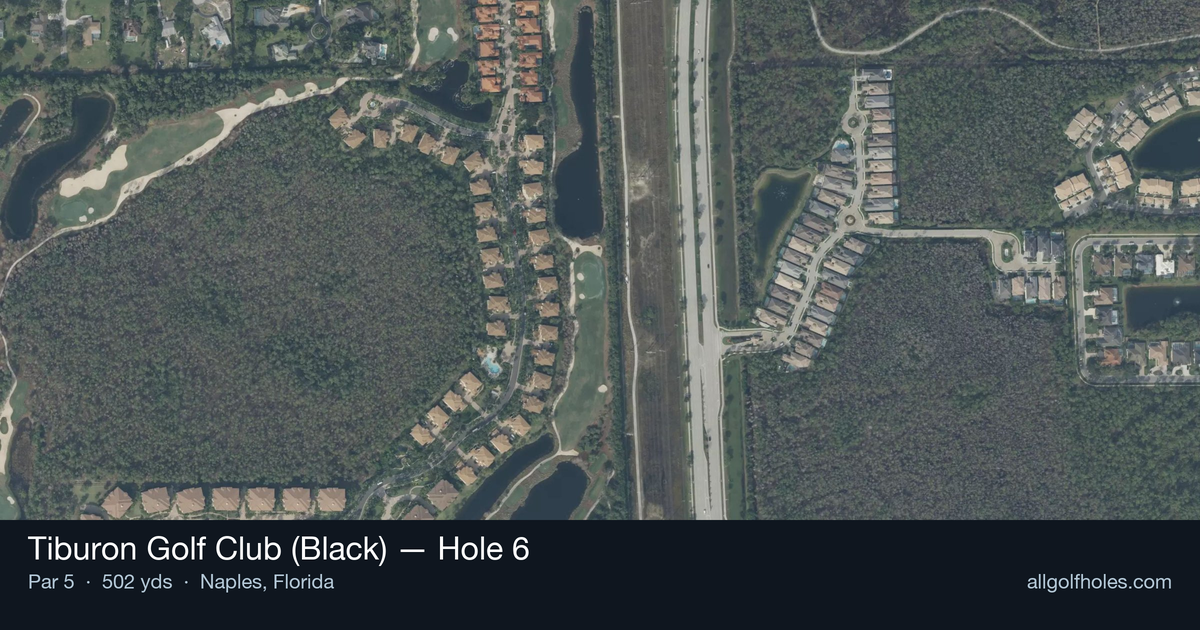
Aerial source not provided
Green size: 30 yds deep × 24 yds wide
Scorecard yardage is for Championship tees. The aerial shows its labeled reference position; distance rings measure to the green.
Championship tees · Par 5 · 502 yards
The plan for No. 6
The sixth hole at Tiburon Golf Club (Black) showcases Greg Norman's strategic design philosophy in a deceptively challenging par 5 that stretches 502 yards through the pristine Naples landscape. This straight-away hole tempts aggressive players with its apparent simplicity, but the Great White Shark's signature touches demand precision over power. The generous fairway welcomes confident tee shots, yet positioning becomes critical as players navigate toward the compact green complex. Without major hazards to intimidate, this hole rewards course management and smart approach shot selection. The small green punishes wayward approaches, making this seemingly straightforward par 5 a true test of strategic thinking and execution within the Certified Audubon Cooperative Sanctuary setting.
Off the tee
Your tee shot strategy should focus on finding the optimal angle for your second shot while maximizing distance. With no significant hazards to navigate, this is an opportunity to be aggressive with your driver or fairway wood. Aim for the center-right portion of the fairway to set up the best approach angle to the small green. The straight layout means you can trust your target line, but don't let the open nature fool you into becoming careless with your alignment.
Approach & recovery
The approach shot presents the hole's primary strategic decision. Longer hitters may consider going for the green in two, but the small green size demands pinpoint accuracy. Most players should focus on laying up to their preferred wedge distance, typically leaving 80-120 yards for the third shot. When laying up, favor the left side of the fairway to open up the best angle to attack pin positions. If attempting to reach in two, anything less than a perfectly struck shot will likely run through or miss the small target entirely.
On the green
The small green at the 6th demands respect and precision with your putting. Focus on getting your approach shots below the hole when possible, as uphill putts will be more manageable on this compact surface. Speed control becomes critical - the small green means less margin for error on longer putts. Study the subtle breaks carefully, as even minor slopes become magnified on a smaller putting surface. ## RISK VS REWARD This hole offers a classic risk/reward scenario typical of Norman's design philosophy. The reward of reaching the green in two for an eagle opportunity must be weighed against the precision required to hold the small green. The smart play for most golfers is the three-shot approach, which still provides excellent birdie opportunities while virtually eliminating big numbers. Only attempt the green in two when you're hitting your long irons or hybrids exceptionally well. ## DIFFERENT SKILL LEVELS **High Handicappers:** Play this as a strategic three-shot hole. Focus on two solid shots to reach comfortable wedge distance, then attack the small green with your most reliable scoring club. This approach minimizes risk while maximizing scoring potential. **Low Handicappers:** Evaluate conditions and your current ball-striking before deciding on strategy. In favorable conditions with confidence in your long game, the green-in-two attempt can pay dividends. However, don't force the issue - laying up to create a perfect wedge opportunity often proves more effective than a marginal attempt at the green. The key to conquering this Greg Norman design lies in patient, strategic golf that sets up scoring opportunities through intelligent positioning rather than heroic shots.
Watch for
- Course conditioning and mapped hazards may affect line selection; confirm from the aerial.
Hole 6 Green Complex
Mapped green boundary
Green size: 3,508 sq ft
How did Hole 6 play?
How did this hole play today?
Frequently asked questions
Yardage reference: Championship tees · 502 yards.
Can this par 5 be reached in two?
↓
At 502 yards, Reachable in two for longer hitters. Consider laying up short of hazards if going for it is risky.
How difficult is hole 6?
↓
This hole is one of the tougher holes on the course for most golfers. Key challenges include: water in play, heavily bunkered, small green.
How big is the green on hole 6?
↓
The green is small and requires precision. The green is deeper than wide, so club selection is crucial. Expect challenging pin positions with limited room for error.
What's a good score on hole 6?
↓
This hole is a solid birdie opportunity with smart layup strategy. Most golfers can reach in three. Position your layup to leave a comfortable wedge.