Hole 2 at TPC of Louisiana
- Par
- 5
- Yardage
- 548 yds
- Stroke index
- 11
- Hazards
- 8 bunkers
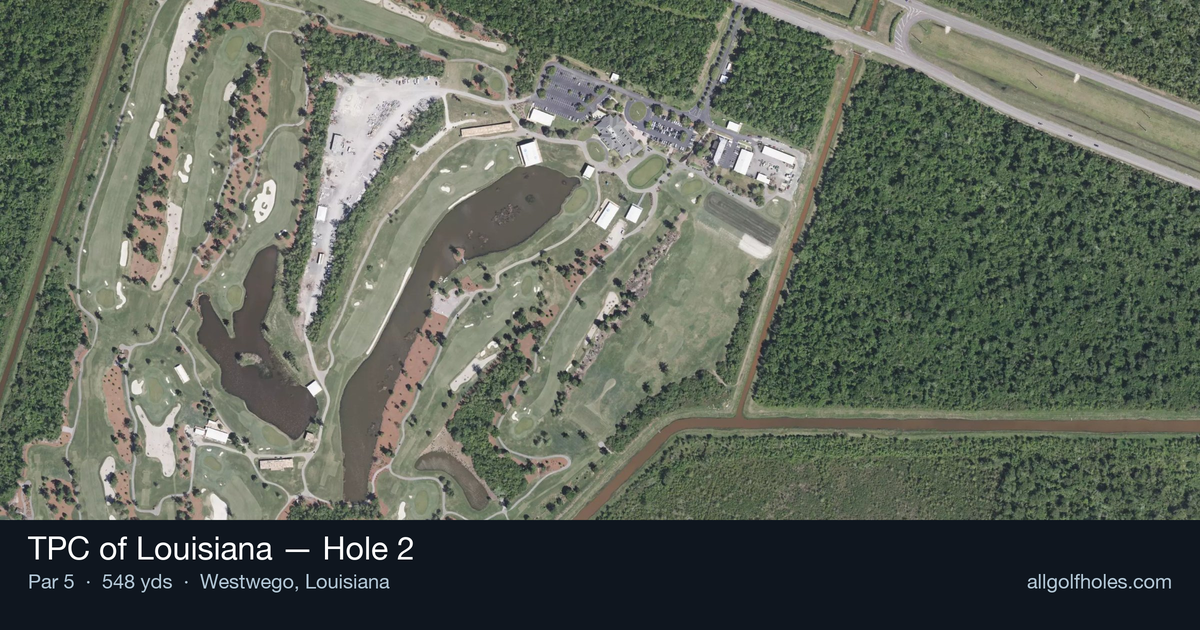
Aerial source not provided
Green size: 25 yds deep × 14 yds wide
Scorecard yardage is for Championship tees. The aerial shows its labeled reference position; distance rings measure to the green.
Championship tees · Par 5 · 548 yards
The plan for No. 2
TPC of Louisiana hole 2 presents an early opportunity to attack in this 548-yard par 5, but Pete Dye's strategic design demands precision from the opening tee shot. The straight layout appears inviting, yet the architect's signature touches create subtle challenges that reward thoughtful course management. A generous fairway welcomes aggressive drivers, though finding the optimal position sets up the most favorable approach angles. The compact green complex requires accurate iron play, as its smaller target and contoured surface punish wayward approaches. Without major hazards guarding the hole, golfers can focus on execution and positioning, making this an excellent birdie opportunity for those who navigate Dye's strategic elements with patience and precision.
Off the tee
Your tee shot strategy should focus on finding the optimal position for your second shot rather than simply maximizing distance. With the fairway relatively open, aim for the center-left portion of the landing zone to provide the best angle for your approach. A well-struck driver or 3-wood should leave you in prime position around the 250-yard mark from the tee. The key is avoiding any subtle undulations or rough areas that could complicate your stance for the crucial second shot. Given the hole's handicap rating of 11, most golfers should play conservatively off the tee to ensure a clean lie.
Approach & recovery
The approach phase requires careful consideration of the small green's dimensions and your personal capabilities. For stronger players, an aggressive second shot with a long iron or hybrid can set up a short iron into the green. However, the small target makes this a high-risk proposition. A more prudent strategy involves laying up to your preferred wedge distance, typically leaving 80-120 yards for your third shot. When executing your approach to the green, focus on the center of the putting surface rather than attacking pins, as the small green offers little margin for error.
On the green
Pete Dye's signature contoured greens are evident here, despite the compact size. Expect subtle breaks and potential tier changes that can dramatically affect your putt's behavior. The small green means that approach shots landing on the fringe or just off the putting surface can still provide reasonable up-and-down opportunities. Read your putts carefully, as the green's size amplifies the importance of every stroke. Conservative putting strategy often proves most effective - aim for the fat part of the cup and avoid leaving yourself difficult comeback putts. ## RISK VS REWARD This hole presents a classic risk/reward scenario for players of all skill levels. The absence of major hazards might tempt aggressive play, but the small green serves as the ultimate equalizer. Going for the green in two shots offers birdie potential but risks missing the target entirely and facing a challenging recovery. The safer play - laying up to your comfort zone - virtually guarantees a good look at birdie while minimizing the risk of big numbers. Weather conditions and your current round momentum should heavily influence this decision. ## DIFFERENT SKILL LEVELS **High-Handicap Players:** Focus on three conservative, well-executed shots. Use a fairway wood or hybrid off the tee for accuracy, lay up with a mid-iron to your favorite wedge distance, and prioritize hitting the green with your third shot. Avoid the temptation to force distance and instead emphasize solid contact and good positioning. **Low-Handicap Players:** Consider the aggressive line only when conditions favor precision iron play. Your superior distance control with longer irons makes going for the green in two more viable, but respect the small target. When laying up, be more precise with your distances to create optimal spin and trajectory for your approach wedge. **Mid-Handicap Players:** This hole rewards smart course management above all else. Play to your strengths - if you're confident with your wedge play, lay up accordingly. If you strike your long irons particularly well, consider the aggressive approach when pin position and conditions align favorably. The key to mastering this early scoring opportunity lies in honest self-assessment and committing fully to your chosen strategy, whether conservative or aggressive.
Watch for
- Course conditioning and mapped hazards may affect line selection; confirm from the aerial.
Hole 2 Green Complex
Mapped green boundary
Green size: 2,088 sq ft
How did Hole 2 play?
How did this hole play today?
Frequently asked questions
Yardage reference: Championship tees · 548 yards.
Can this par 5 be reached in two?
↓
At 548 yards, A true three-shot hole for most players. Position your layup to leave a comfortable wedge distance.
How difficult is hole 2?
↓
This hole is a moderate challenge for most golfers. Key challenges include: heavily bunkered, small green.
How big is the green on hole 2?
↓
The green is small and requires precision. Expect challenging pin positions with limited room for error.