Hole 3 at Westin Innisbrook Resort 'Copperhead Course'
- Par
- 4
- Yardage
- 455 yds
- Stroke index
- 7
- Hazards
- 3 bunkers · Water
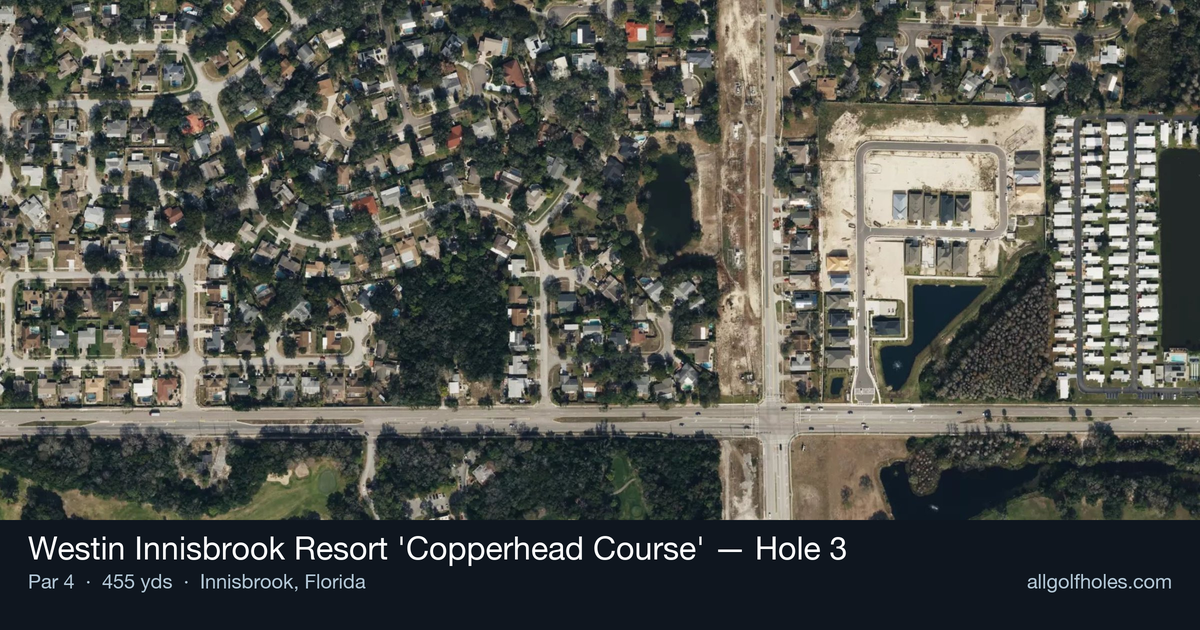
Aerial source not provided
Green size: 31 yds deep × 30 yds wide
Scorecard yardage is for Championship tees. The aerial shows its labeled reference position; distance rings measure to the green.
Championship tees · Par 4 · 455 yards
The plan for No. 3
The third hole at Westin Innisbrook Resort 'Copperhead Course' presents a deceptively straightforward par 4 that demands both power and precision from the championship tees at 455 yards. This straight-away layout appears generous off the tee, but the small green complex quickly reveals its teeth as the primary defense. The absence of major hazards shifts the strategic focus entirely to approach shot accuracy, where even slight misses can leave challenging recovery shots from the closely mown surrounds. The compact putting surface rewards aggressive iron play but punishes anything less than pinpoint precision. As part of the legendary Copperhead Course that hosts PGA Tour professionals, this hole exemplifies the course's philosophy of rewarding strategic thinking over raw distance, making it a true test of golf strategy and execution.
Off the tee
The tee shot strategy centers on finding the optimal landing zone that sets up your preferred approach distance. With the hole's length, most players will need a solid drive to leave a manageable iron into the green. Focus your target line down the center of the fairway, as the straight layout rewards accuracy over aggressive positioning. Driver is likely the right choice for most players to get adequate distance, but consider a 3-wood or hybrid if accuracy has been an issue. The key is avoiding any rough or trouble areas that would make the already challenging approach shot even more difficult.
Approach & recovery
The approach shot is where this hole shows its teeth. With a small green as your target, precision trumps power on your second shot. Depending on your tee shot, you'll likely face a mid-iron to long-iron approach that demands both distance control and directional accuracy. Take extra time to assess pin position and wind conditions, as the small target offers little room for error. Aim for the center of the green unless you're confident in your iron play and the pin position offers a clear advantage. Consider taking one more club and making a smooth swing rather than forcing a shot that could miss the green entirely.
On the green
Once on the small green, putting becomes a premium skill. The compact surface means most putts will be relatively short, but the slopes and breaks can be tricky to read. Focus on speed control, as the small green means any putt that rolls off the edge could leave you with a difficult up-and-down. Study the green's contours carefully during your approach, and don't be overly aggressive with birdie attempts unless you have a clear read and good feel for the speed. ## RISK VS REWARD This hole offers a classic risk/reward scenario in club selection and target selection. The reward for aggressive play is a shorter approach into the small green, but the risk is finding trouble that makes par difficult to achieve. The smart play is often conservative off the tee to ensure a good lie, then commit fully to your approach shot with proper club selection. Avoid the temptation to force shots, as the small green punishes anything but precise execution. ## DIFFERENT SKILL LEVELS **High-Handicap Players:** Focus on keeping the ball in play off the tee, even if it means using a 3-wood or hybrid for better accuracy. On the approach, aim for the center of the green regardless of pin position, and take enough club to ensure you reach the putting surface. Don't be afraid to play conservatively - par is a good score here. **Low-Handicap Players:** You can be more aggressive with driver off the tee to shorten the approach, but still prioritize accuracy. On approach shots, you can attack certain pin positions if you're confident in your iron play, but respect the small target. This is a hole where course management and execution are more important than raw distance. The 3rd hole at Innisbrook's Copperhead Course exemplifies the strategic golf that makes this venue a PGA Tour stop. While it may not have the dramatic hazards of the famous "Snake Pit" closing holes, it demands the same level of precision and course management that challenges the world's best players.
Hole 3 Green Complex
Mapped green boundary
Green size: 4,889 sq ft
Course coverage
Tournament and creator videos about Westin Innisbrook Resort 'Copperhead Course' — shared course coverage, not hole-specific clips.
Tournament coverage
Valspar Championship highlights
Valspar Championship | Final Round Highlights
2025
How did Hole 3 play?
How did this hole play today?
Frequently asked questions
Yardage reference: Championship tees · 455 yards.
What's the best strategy off the tee?
↓
For this 455-yard par 4, most players will hit driver to set up a comfortable approach.
How difficult is hole 3?
↓
This hole is one of the tougher holes on the course for most golfers. Key challenges include: long par 4, water in play.
What hazards should I watch out for on hole 3?
↓
Key hazards include: 3 greenside bunkers; water at 375.9 yards. Plan your shots to avoid these trouble spots.
How big is the green on hole 3?
↓
The green is medium-sized with moderate targets. Pay attention to pin placement when selecting your approach club.
What's a good score on hole 3?
↓
This hole is one of the tougher holes where par feels like birdie. A challenging par 4. Accept that bogey happens and avoid big numbers.