Hole 9 at Tiburon Golf Club (Black)
- Par
- 5
- Yardage
- 581 yds
- Stroke index
- 3
- Hazards
- 3 bunkers · Water
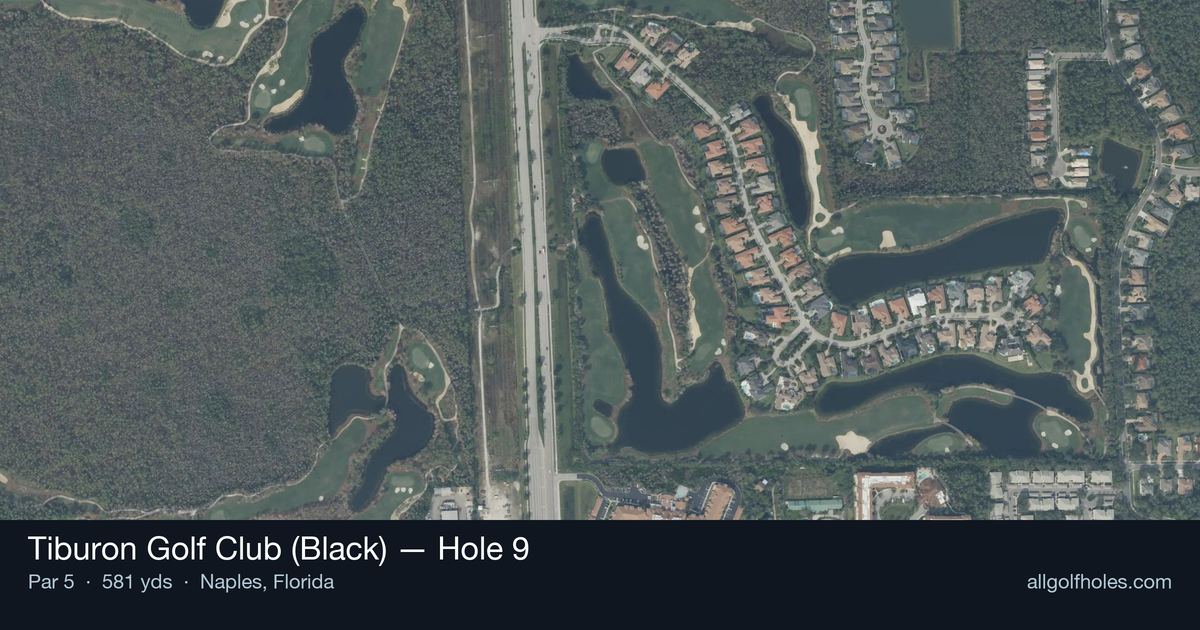
Aerial source not provided
Green size: 39 yds deep × 23 yds wide
Scorecard yardage is for Championship tees. The aerial shows its labeled reference position; distance rings measure to the green.
Championship tees · Par 5 · 581 yards
The plan for No. 9
The finishing hole at Tiburon Golf Club (Black) delivers a classic Greg Norman signature experience - a demanding 581-yard par 5 that serves as the perfect capstone to "The Great White Shark's" masterful design. This straight-away bomber rewards aggressive play while punishing the wayward shot, embodying Norman's philosophy of risk-reward golf. The generous fairway invites players to unleash their driver, but precision becomes paramount as the hole progresses toward a compact, well-protected green complex. With its handicap-3 rating, this closing par 5 demands respect from every tee shot to the final putt. The hole's strategic brilliance lies in its deceptive simplicity - what appears straightforward from the tee reveals subtle complexities that separate champions from pretenders, making it a fitting finale to one of Southwest Florida's premier golf experiences.
Off the tee
Your opening shot sets the tone for the entire hole. With 581 yards ahead, most golfers should focus on finding the fairway rather than maximizing distance. A driver aimed down the center of the fairway gives you the best angle for your second shot, but don't be afraid to throttle back with a 3-wood if you're struggling with accuracy. The straight layout means there's no dogleg to cut, so position yourself in the heart of the landing zone around 250-280 yards out. This conservative approach pays dividends by keeping you in play and maintaining good angles for your follow-up shots.
Approach & recovery
Your second shot becomes the critical decision point on this hole. Longer hitters may be tempted to go for the green in two, but the small target makes this a high-risk proposition. Most players benefit from laying up to their favorite wedge distance, typically leaving 80-120 yards to the pin. Choose a target line that avoids any fairway undulations and gives you a level lie for your third shot. If you do decide to attack the green in two, ensure you have a mid-iron or better in your hands – anything longer makes the small green an extremely difficult target to hit.
On the green
The small green demands pinpoint accuracy on your approach and careful speed control with your putter. Pin position becomes crucial here, as there's limited room for error around the hole. Focus on getting your approach shot below the hole when possible, as uphill putts on a small green are much more manageable than downhill sliders. The putting surface likely features subtle breaks that can be deceiving, so take extra time reading your lines and trust your first instinct on speed. ## RISK VS REWARD This hole presents a classic scoring opportunity versus safety dilemma. Going for the green in two offers the chance at eagle and an easy birdie, but the small target significantly increases your chances of missing the green entirely. The smarter play for most golfers involves a strategic layup, leaving a comfortable wedge shot that you can stick close to the pin. Remember, par is a good score on the 3rd handicap hole, and bogey can quickly derail a good round. ## DIFFERENT SKILL LEVELS **High-Handicap Players:** Play this hole conservatively in three shots. Use whatever club keeps you in the fairway off the tee, lay up to your most comfortable wedge distance, and focus on hitting the green with your third shot. Two-putting for par represents an excellent score here. **Low-Handicap Players:** You have more options to be aggressive, but still respect the small green. If you can reach the green with a mid-iron or better, the risk may be worth it. Otherwise, execute a precise layup and look to stick your wedge shot close for a birdie opportunity. Your short game skills give you the confidence to attack pins and convert scoring chances. The key to success on Norman's 9th hole lies in honest self-assessment and smart course management – traits that the Great White Shark himself exemplified throughout his legendary career.
Watch for
- Course conditioning and mapped hazards may affect line selection; confirm from the aerial.
Hole 9 Green Complex
Mapped green boundary
Green size: 4,475 sq ft
How did Hole 9 play?
How did this hole play today?
Frequently asked questions
Yardage reference: Championship tees · 581 yards.
Can this par 5 be reached in two?
↓
At 581 yards, A true three-shot hole for most players. Position your layup to leave a comfortable wedge distance.
How difficult is hole 9?
↓
This hole is one of the tougher holes on the course for most golfers. Key challenges include: long par 5, water in play, small green.
How big is the green on hole 9?
↓
The green is small and requires precision. The green is wider than it is deep, rewarding shots that find the correct tier. Expect challenging pin positions with limited room for error.
What's a good score on hole 9?
↓
This hole is a true three-shot hole where birdie requires execution. This longer par 5 demands patience. Two good shots set up the scoring opportunity.