Hole 6 at Doral Golf Resort and Spa 'The Blue monster'
- Par
- 4
- Yardage
- 442 yds
- Stroke index
- 5
- Hazards
- 5 bunkers · Water
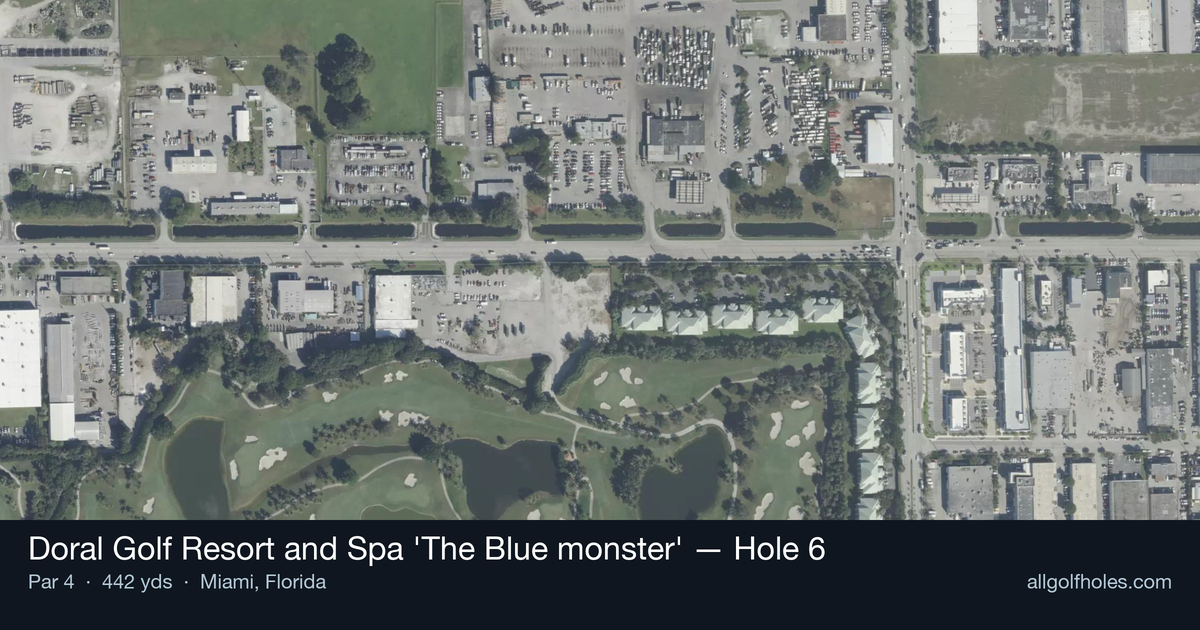
Aerial source not provided
Green size: 30 yds deep × 36 yds wide
Scorecard yardage is for Championship tees. The aerial shows its labeled reference position; distance rings measure to the green.
Championship tees · Par 4 · 442 yards
The plan for No. 6
The sixth hole at Doral Golf Resort and Spa's legendary Blue Monster presents a deceptively challenging par 4 that embodies the course's reputation for demanding precision. At 442 yards, this straight hole requires a strategic tee shot to navigate the characteristically narrow landing area that defines the Blue Monster's intimidating nature. The absence of major hazards might suggest a straightforward approach, but the hole's true test lies in its unforgiving design philosophy. Players must thread their drive through a tight corridor, leaving a mid-iron approach to a compact green that demands accuracy over aggression. The small putting surface offers little margin for error, rewarding those who can execute under pressure while punishing wayward shots with difficult recovery situations that exemplify why this PGA Tour venue has earned its fearsome reputation.
Off the tee
The tee shot strategy centers on finding the optimal landing zone while respecting the narrow fairway corridors that make Doral famous. Consider a controlled driver or strong 3-wood to position yourself in the prime landing area, typically around the 250-yard mark. The straight layout allows for an aggressive target line down the center, but the narrow landing areas require commitment to your swing and target selection. Focus on a smooth, controlled tempo rather than maximum distance. The fairway's narrowness means that even slight misses can find trouble, so prioritize accuracy over extra yardage. In windy South Florida conditions, club down if necessary to maintain control and ensure you stay in the short grass.
Approach & recovery
With a small green as your target, the approach shot becomes the scoring opportunity on this hole. From a well-positioned drive, you'll typically face a mid-iron to long-iron depending on conditions and pin position. The green's receptive nature works in your favor, but its compact size demands precise distance control. Target the center of the green unless you have a clear advantage to attack a specific pin position. The small green means that even center-targeted shots require solid execution to avoid challenging up-and-downs. Pay attention to wind conditions, as South Florida breezes can significantly impact club selection on this length approach shot.
On the green
The small green at the 6th rewards accurate approaches with manageable putting opportunities. While the green shape is unknown, focus on getting your approach shot below the hole when possible, as uphill putts are generally more makeable on fast Doral greens. Read putts carefully, as the Blue Monster's greens are known for being true but quick. The compact size means most putts will be relatively short, but don't underestimate the importance of pace control. Leave yourself in position for confident second putts by being conservative with your initial read and speed. ## RISK VS REWARD This hole presents subtle risk/reward decisions rather than dramatic gambling opportunities. The primary decision point comes with tee shot club selection - driver for optimal approach distance versus fairway wood for increased accuracy. Given the narrow landing areas, the reward for finding the fairway with a controlled tee shot often outweighs the benefit of extra distance from a risky driver. The approach shot offers similar considerations: aggressive pin-hunting versus safe center-green targeting. With the small green, even conservative plays require solid execution, making this more about precision than boldness. ## DIFFERENT SKILL LEVELS **Low-Handicap Players:** Attack with driver if you're confident in your accuracy, and look to be aggressive with approach shots to accessible pins. Your ability to control distance and trajectory allows for more precise targeting of the small green. Consider the pin position carefully and don't hesitate to attack when conditions favor it. **High-Handicap Players:** Prioritize finding the fairway with your most reliable tee shot option, even if it means sacrificing distance. Focus on center-green targeting with your approach, as the small green provides little margin for error. Accept par as a good score and avoid the temptation to force difficult shots that could lead to bigger numbers. **Mid-Handicap Players:** Balance aggression with course management by using driver when conditions are favorable but having the discipline to club down in challenging conditions. Target the center-left or center-right portions of the green based on your natural shot shape, giving yourself the best chance for a makeable birdie putt while avoiding costly mistakes.
Watch for
- Mapped water influences carry decisions and safe margins off the tee and on approaches.
- Mapped bunkers guard landing areas and greenside recovery lines.
Hole 6 Green Complex
Mapped green boundary
Green size: 3,712 sq ft
How did Hole 6 play?
How did this hole play today?
Frequently asked questions
Yardage reference: Championship tees · 442 yards.
What's the best strategy off the tee?
↓
For this 442-yard par 4, most players will hit driver to set up a comfortable approach.
How difficult is hole 6?
↓
This hole is one of the tougher holes on the course for most golfers. Key challenges include: water in play, heavily bunkered, small green.
How big is the green on hole 6?
↓
The green is small and requires precision. The green is wider than it is deep, rewarding shots that find the correct tier. Expect challenging pin positions with limited room for error.
What's a good score on hole 6?
↓
This hole is a demanding hole where bogey is not unusual. This longer par 4 will test most golfers. Focus on position over distance.