Hole 13 at Doral Golf Resort and Spa 'The Blue monster'
- Par
- 3
- Yardage
- 245 yds
- Stroke index
- 2
- Hazards
- 3 bunkers
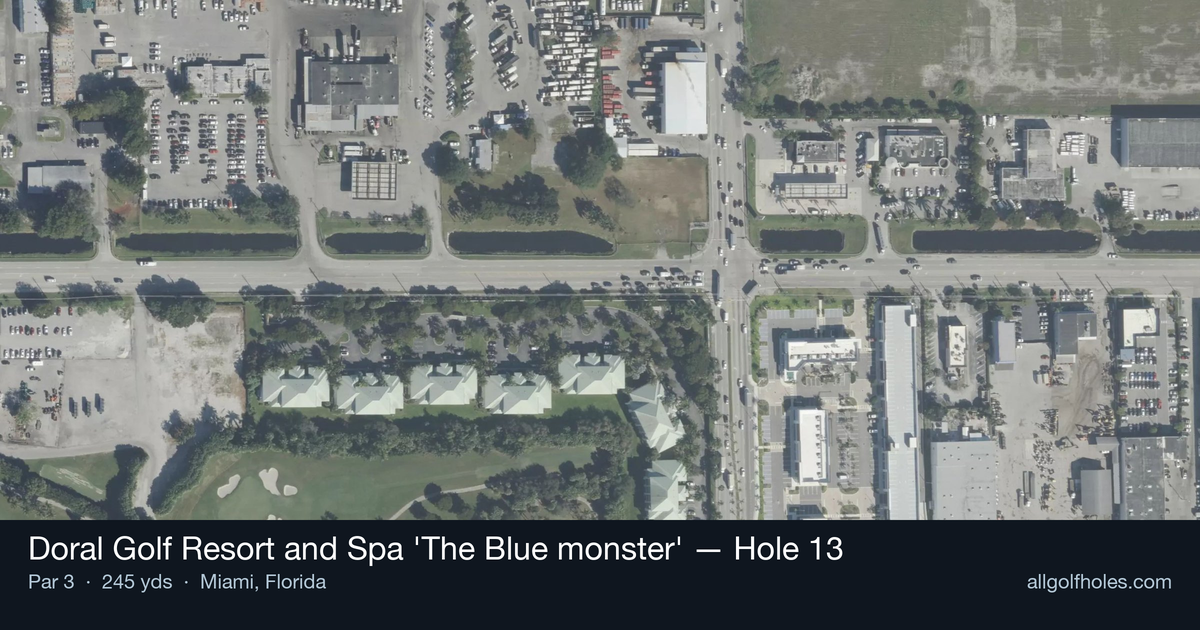
Aerial source not provided
Green size: 30 yds deep × 26 yds wide
Scorecard yardage is for Championship tees. The aerial shows its labeled reference position; distance rings measure to the green.
Championship tees · Par 3 · 245 yards
The plan for No. 13
The 13th hole at Doral Golf Resort and Spa 'The Blue Monster' stands as a pivotal test in tournament play, earning its reputation as one of the course's most demanding par 3 challenges. At 245 yards, this lengthy one-shotter requires precise club selection and unwavering commitment from the tee. The intimidating approach to a compact green is complicated by two menacing bunkers that guard the left side, creating a psychological barrier that has derailed countless rounds. The elevated tee shot demands players navigate both distance and accuracy, with little margin for error on the small target. This hole exemplifies the Blue Monster's championship pedigree, where even tour professionals must respect its unforgiving nature and strategic complexity.
Off the tee
From the championship tees, you're looking at a demanding long iron or hybrid shot that requires both distance and accuracy. The target line should favor the center-right portion of the green to avoid the two deep bunkers that guard the left side. Club selection is critical here - take enough club to ensure you clear any front hazards, but don't overclub and risk flying the small green. In typical South Florida conditions, factor in the wind direction and strength, as crosswinds can push your ball toward those menacing left-side bunkers. Commit fully to your swing and trust your distance control.
Approach & recovery
Since this is a par 3, your tee shot is your approach shot. The key is selecting a club that allows you to swing with confidence rather than trying to muscle a shorter iron. The small green demands precision, so focus on a smooth, controlled swing rather than trying to overpower the shot. Aim for the center of the green initially, then adjust based on pin position. If the pin is tucked behind the left bunkers, resist the temptation to fire directly at it unless you're feeling particularly confident in your iron play.
On the green
The small green at the 13th presents its own challenges for putting strategy. Given the compact surface, most putts will be relatively straight, but don't underestimate the subtle breaks that can affect your line. Pay attention to the grain direction, which is common on South Florida greens, and factor in any slopes from back to front. When the pin is positioned near the bunkers, lag putting becomes crucial to avoid leaving yourself a challenging second putt. ## RISK VS REWARD This hole offers limited risk/reward opportunities due to its straightforward design, but the main decision revolves around pin hunting versus playing safe. When the pin is tucked left near the bunkers, aggressive players might aim directly at it for a potential birdie, but the penalty for missing is severe. The safer play is always to aim for the center of the green and take your chances with a longer putt rather than risk finding sand. ## DIFFERENT SKILL LEVELS **Low Handicappers**: Take dead aim at your target with confidence in your distance control. You have the skills to attack pins when conditions allow, but respect the hole's difficulty and don't force shots that aren't there. Focus on solid contact and trust your yardages. **High Handicappers**: Play this hole conservatively by aiming for the largest part of the green regardless of pin position. Consider using one more club than you think you need to ensure you clear any trouble and reach the putting surface. A bogey here isn't the end of the world - avoid the big numbers that come from bunker trouble or short-siding yourself. The 13th hole at Doral demands respect and rewards precision. Whether you're playing a casual round or competing in a tournament, this hole will test your iron play and mental fortitude. Commit to your club selection, execute with confidence, and remember that even the professionals struggle here - making par is always a good score on this challenging one-shotter.
Watch for
- Mapped bunkers guard landing areas and greenside recovery lines.
Hole 13 Green Complex
Mapped green boundary
Green size: 3,741 sq ft
How did Hole 13 play?
How did this hole play today?
Frequently asked questions
Yardage reference: Championship tees · 245 yards.
What club should I use on this par 3?
↓
At 245 yards, most golfers will need a fairway wood or hybrid to reach this green. Adjust for elevation, wind, and pin position.
How difficult is hole 13?
↓
This hole is a moderate challenge for most golfers. Key challenges include: long par 3, small green.
What hazards should I watch out for on hole 13?
↓
Key hazards include: 3 greenside bunkers. Plan your shots to avoid these trouble spots.
How big is the green on hole 13?
↓
The green is small and requires precision. Expect challenging pin positions with limited room for error.
What's a good score on hole 13?
↓
This hole is a challenging par where bogey is acceptable. This longer par 3 will test your long iron or hybrid game. Par is a good score.