Hole 11 at Erin Hills Golf Course
- Par
- 4
- Yardage
- 403 yds
- Stroke index
- 14
- Hazards
- 3 bunkers
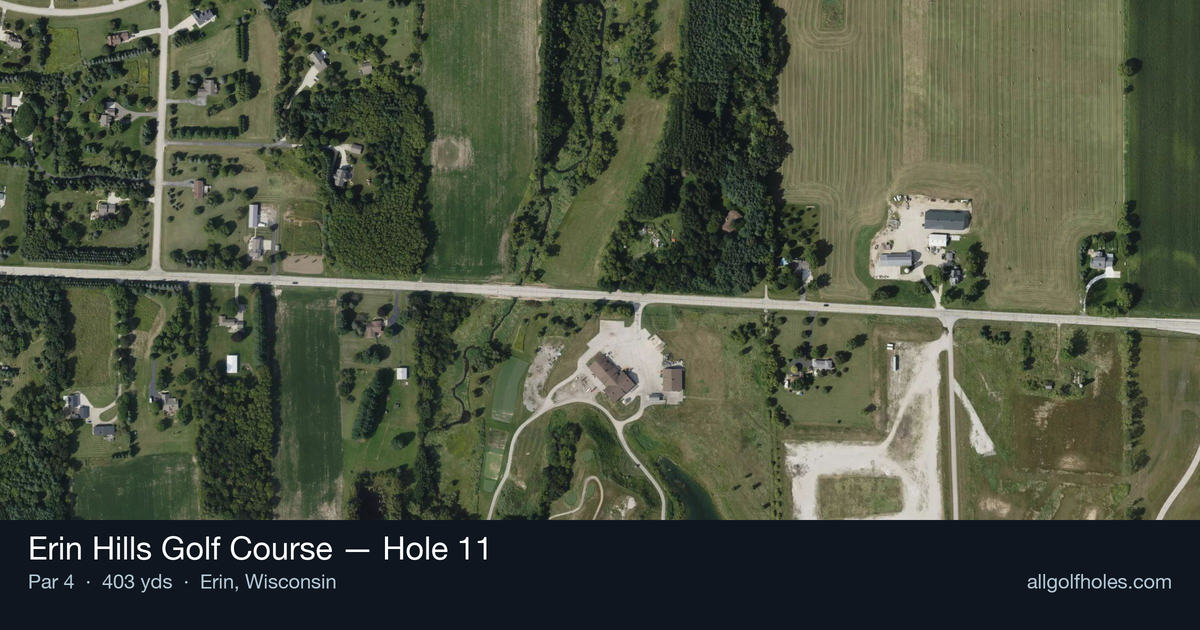
Aerial source not provided
Green size: 27 yds deep × 26 yds wide
Scorecard yardage is for Championship tees. The aerial shows its labeled reference position; distance rings measure to the green.
Championship tees · Par 4 · 403 yards
The plan for No. 11
The eleventh hole at Erin Hills Golf Course presents a deceptive challenge that embodies the course's championship pedigree. This 403-yard par 4 features a subtle bend from right to left while the natural terrain slopes dramatically in the opposite direction, creating a fascinating strategic puzzle. The tee shot must navigate this conflicting geometry, where the ground's left-to-right cant fights against the hole's gentle curve. What truly defines this hole is its dramatically elevated green complex, which demands a high, soft approach shot to hold the putting surface. The small green sits prominently above the fairway, making club selection and trajectory critical for success. This architectural nuance reflects Erin Hills' reputation for testing every aspect of a golfer's game through thoughtful design rather than overwhelming hazards.
Off the tee
Your tee shot strategy must account for the ground slope working against the hole's left bend. Since the terrain slopes left to right while the hole moves right to left, aim for the right side of the fairway to let the natural slope feed your ball toward the optimal approach position. This counterintuitive target line is crucial - fighting the slope by aiming left will leave you in an awkward position. Club selection should prioritize accuracy over distance. A controlled driver or strong 3-wood into the right portion of the landing zone sets up the ideal approach angle. The slope will naturally move your ball toward the center-left of the fairway, providing the best angle into the elevated green.
Approach & recovery
The elevated green is the defining feature of your approach strategy, demanding a high, soft-landing shot. From the optimal fairway position, you'll have a clear view of the putting surface and can attack with confidence. The key is generating enough height to hold the small green - low, running shots simply won't work here. Club selection should favor taking enough club to reach the green comfortably while maintaining a steep descent angle. The elevated nature means the effective playing distance is shorter than the measured yardage, but don't get aggressive - the small target demands precision over power.
On the green
The elevated green's putting surfaces will likely feature subtle breaks that follow the surrounding terrain. Expect putts to generally break with the prevailing slope patterns of the hole. Pin positions on this small green create significant scoring variance - back pins are particularly challenging given the approach shot requirements. Focus on getting your approach shot below the hole when possible, as uphill putts on elevated greens tend to be more manageable than downhill attempts. ## RISK VS REWARD This hole's primary risk/reward decision occurs on the tee shot. Aggressive drivers who try to overpower the hole's design often find themselves fighting the natural slope from poor positions. The reward for accepting the ground slope and playing strategically is a clear, manageable approach to an elevated target. The conservative play - accepting the natural ball movement and positioning for the best approach angle - typically yields better scoring opportunities than trying to force shots against the terrain. ## DIFFERENT SKILL LEVELS **High-handicap players** should embrace the ground slope as an ally rather than fighting it. Use a fairway wood or hybrid off the tee, aiming right and letting the slope work in your favor. Take an extra club on the approach to ensure you reach the elevated green, focusing on the center of the putting surface regardless of pin position. **Low-handicap players** can be more precise with their tee shot positioning, using the slope to dial in specific approach angles. These players should vary their strategy based on pin position, being more aggressive to accessible pins while respecting difficult back-pin locations. The ability to shape shots allows for more nuanced positioning within the hole's natural design. The 11th hole rewards golfers who read the terrain correctly and play with the course rather than against it, making it a true test of strategic thinking and course management skills.
Watch for
- Sand_1 — Greenside center
- Sand_2 — Greenside center
- Sand_3 — Greenside center
- Woods_1 — Crossing center
- Woods_2 — Crossing center
- Woods_3 — Crossing center
- Woods_4 — Tee right
- Woods_5 — Tee left
Hole 11 Green Complex
Mapped green boundary
Green size: 4,351 sq ft
Course coverage
Tournament and creator videos about Erin Hills Golf Course — shared course coverage, not hole-specific clips.
Featured by these creators
Creator videos about this course
YouTube creators who filmed or featured Erin Hills Golf Course. · Stats as of Oct 12, 2026 · 5d ago
The Major Cut @ Erin Hills
Can We Make Cut @ Erin Hills?! (Major Cut Ep. 5)
The back nine at Erin Hills with Riggs. Presented by @EveryManJack
World #2 Jeeno Thitikul at the U.S. Women's Open at Erin Hills 🍀
Scottie Scheffler's peak, Erin Hills pops back, & Sponsor Exemption windfalls | The Shotgun Start
How did Hole 11 play?
How did this hole play today?
Frequently asked questions
Yardage reference: Championship tees · 403 yards.
What's the best strategy off the tee?
↓
For this 403-yard par 4, most players will hit driver to set up a comfortable approach.
How difficult is hole 11?
↓
This hole is a moderate challenge for most golfers. Key challenges include: small green.
What hazards should I watch out for on hole 11?
↓
Key hazards include: 3 greenside bunkers. Plan your shots to avoid these trouble spots.
How big is the green on hole 11?
↓
The green is small and requires precision. Expect challenging pin positions with limited room for error.