Hole 11 at TPC of Louisiana
- Par
- 5
- Yardage
- 575 yds
- Stroke index
- 12
- Hazards
- 7 bunkers
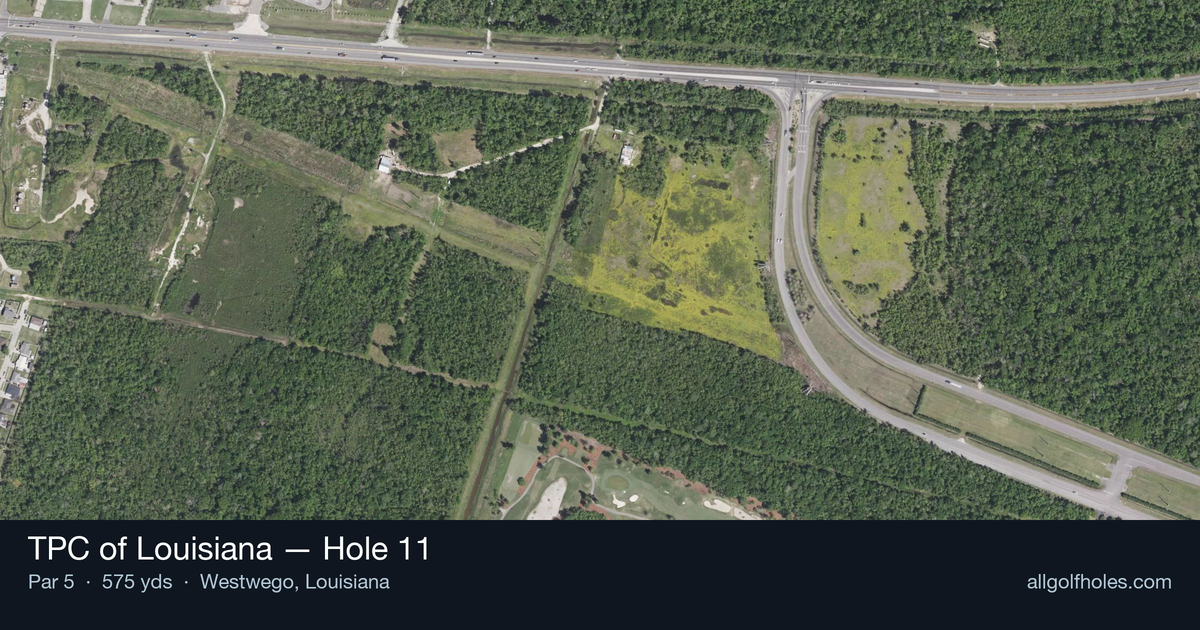
Aerial source not provided
Green size: 25 yds deep × 27 yds wide
Scorecard yardage is for Championship tees. The aerial shows its labeled reference position; distance rings measure to the green.
Championship tees · Par 5 · 575 yards
The plan for No. 11
The 575-yard par 5 11th hole at TPC of Louisiana showcases Pete Dye's masterful design philosophy in its purest form. This straight-away par 5 demands precision from tee to green, with strategic bunkers positioned throughout the generous fairway to challenge golfers at every level. The tee shot requires careful placement to avoid Dye's trademark hazards, while the approach shots must navigate the architect's devilishly contoured terrain leading to a small, elevated green complex. Despite the absence of water hazards on this particular hole, TPC of Louisiana hole 11 maintains the course's reputation for strategic difficulty through its thoughtful bunkering and green positioning. The elevated putting surface creates a dramatic finish that exemplifies why this PGA Tour venue has challenged professionals since 2007, making every birdie attempt a hard-earned reward.
Off the tee
Your tee shot strategy should focus on positioning for your second shot decision. Driver is typically the play here, as distance off the tee opens up your options down the fairway. Aim for the center of the fairway to avoid Pete Dye's strategic bunkering that likely guards the landing area around the 250-yard mark. The straight layout allows you to be aggressive, but remember that TPC Louisiana features over 100 bunkers throughout the course, so errant drives will find trouble quickly.
Approach & recovery
Your approach strategy depends entirely on your tee shot success. Longer hitters who've found the fairway face a risk/reward decision: attempt to reach the small green in two or lay up for a comfortable wedge. If going for it, favor the center of the green rather than chasing pins - the small target leaves little room for error. For the layup, position yourself around 100 yards out in the fairway center, setting up your preferred wedge distance. Avoid the temptation to get too close to the green, as Pete Dye's devilish bunkering likely protects the approach zone.
On the green
The small green size makes two-putting paramount to your scoring success. With Pete Dye's signature contoured greens, expect subtle breaks that can fool the eye. Focus on speed control rather than trying to hole everything - lag putting becomes essential on a green this size where three-putts can quickly turn birdie opportunities into bogeys. Pay attention to pin position, as the small surface means there are likely few "safe" areas when the flag is tucked. ## RISK VS REWARD This hole epitomizes risk/reward golf strategy. The decision to go for the green in two versus laying up defines your approach. Going for it offers eagle potential but risks finding bunkers or worse around the green. The conservative play - laying up to your favorite wedge distance - virtually guarantees a birdie look but removes the eagle possibility. Weather conditions, your current round momentum, and match situation should all factor into this critical decision. ## DIFFERENT SKILL LEVELS **Low Handicappers**: Aggressive play is rewarded here. If you've hit a solid drive, strongly consider going for the green in two with a long iron or fairway wood. Your short game skills should handle any missed approaches around the small green. **Mid-to-High Handicappers**: Play this as a three-shot hole. Focus on two solid shots to reach your comfortable wedge distance, then attack the pin. The small green makes accuracy more important than distance, so don't feel pressured to reach in two. A well-executed three-shot strategy often produces better scores than a failed attempt to get home in two. The key to mastering this hole lies in honest self-assessment and smart course management - qualities that define successful play on any Pete Dye design.
Watch for
- Course conditioning and mapped hazards may affect line selection; confirm from the aerial.
Hole 11 Green Complex
Mapped green boundary
Green size: 3,046 sq ft
How did Hole 11 play?
How did this hole play today?
Frequently asked questions
Yardage reference: Championship tees · 575 yards.
Can this par 5 be reached in two?
↓
At 575 yards, A true three-shot hole for most players. Position your layup to leave a comfortable wedge distance.
How difficult is hole 11?
↓
This hole is a moderate challenge for most golfers. Key challenges include: long par 5, heavily bunkered, small green.
How big is the green on hole 11?
↓
The green is small and requires precision. Expect challenging pin positions with limited room for error.
What's a good score on hole 11?
↓
This hole is a true three-shot hole where birdie requires execution. This longer par 5 demands patience. Two good shots set up the scoring opportunity.