Hole 12 at TPC Craig Ranch
- Par
- 4
- Yardage
- 547 yds
- Stroke index
- 14
- Hazards
- 1 bunker · Water
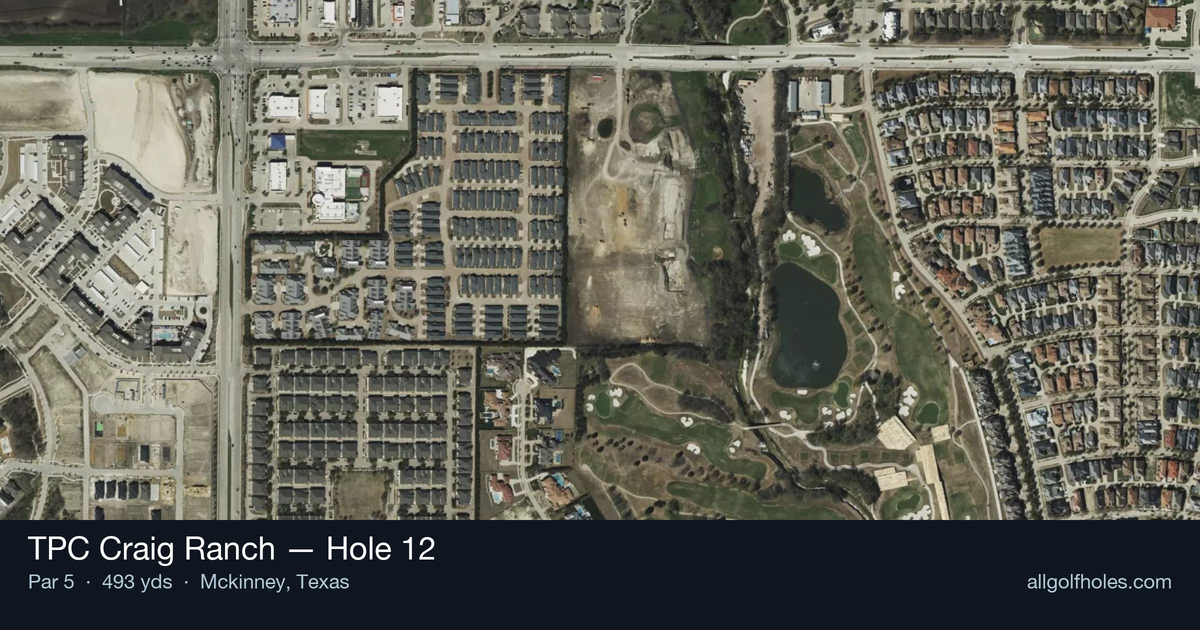
Aerial source not provided
Green size: 34 yds deep × 32 yds wide
Scorecard yardage is for Pro tees. The aerial shows its labeled reference position; distance rings measure to the green.
Pro tees · Par 4 · 547 yards
The plan for No. 12
The 12th hole at TPC Craig Ranch presents a deceptive challenge that demands both power and precision on this 547-yard par 5. While the generous fairway invites an aggressive tee shot, strategically placed bunkers lurk to catch wayward drives and complicate approach angles. The hole's defining moment comes with the second shot, which requires navigating over a creek that guards the green complex. Playing typically downwind, longer hitters may be tempted to reach in two, but the small green demands pinpoint accuracy. Smart course management involves avoiding the fairway bunkers off the tee, setting up an ideal angle to attack the green. This risk-reward hole epitomizes TPC Craig Ranch's strategic design, where calculated aggression often trumps raw distance.
Off the tee
Your primary objective off the tee is finding the fairway while avoiding the strategically placed bunkers that can derail your scoring chances. Given the hole's straight layout, focus on accuracy over maximum distance. A controlled driver or 3-wood aimed at the center of the fairway provides the best foundation for your approach strategy. The downwind conditions often present here mean you may get more carry than expected, so factor this into your target line and club selection. Position yourself in the fairway's sweet spot to set up the most favorable angle for your second shot.
Approach & recovery
The defining feature of this hole is the creek that guards the green on your approach shot. This water hazard transforms what could be a straightforward layup into a strategic decision point. For your second shot, focus on advancing the ball to an optimal position for your third shot while staying well clear of both the fairway bunkers and the creek. A mid-iron layup to about 100-120 yards from the green typically provides the best angle and distance for attacking the pin. From this position, you'll have a clear view of the small green and can select the appropriate wedge for your approach.
On the green
The small green demands precision on your approach shot, leaving little margin for error. Focus on hitting the center of the green unless the pin position clearly favors one side. With limited real estate to work with, distance control becomes paramount - it's better to be slightly short and putting uphill than long and facing a challenging downhill putt. The compact nature of this green means most putts will be relatively straight, but pay attention to any subtle breaks that could affect your line. ## RISK VS REWARD The primary risk/reward decision comes with your second shot. Longer hitters may be tempted to challenge the creek and go for the green in two, especially with the helping wind. However, the small target and water hazard make this a low-percentage play for most golfers. The smarter play is typically laying up to your favorite wedge distance, ensuring you can attack the pin with confidence on your third shot. The hole's handicap ranking suggests it's designed to reward conservative, strategic play over aggressive shot-making. ## DIFFERENT SKILL LEVELS **High Handicappers:** Embrace the three-shot strategy completely. Use a fairway wood or hybrid off the tee for maximum accuracy, then advance the ball with a mid-iron on your second shot, staying well short of the creek. This approach removes the big numbers from your scorecard and gives you the best chance at par with an outside shot at birdie. **Low Handicappers:** While you have the skills to potentially reach in two, carefully assess the conditions and pin position before committing to the aggressive line. The downwind conditions may make going for it more feasible, but remember that avoiding the fairway bunkers on your drive is crucial to having this option. When laying up, be precise with your distance to leave your favorite wedge yardage for the approach. The key to success on this hole is patience and precision. By avoiding the fairway bunkers, respecting the creek, and playing to the center of the small green, you'll give yourself excellent birdie opportunities while minimizing the risk of big numbers.
Watch for
- Course conditioning and mapped hazards may affect line selection; confirm from the aerial.
Hole 12 Green Complex
Mapped green boundary
Green size: 4,250 sq ft
Course coverage
Tournament and creator videos about TPC Craig Ranch — shared course coverage, not hole-specific clips.
Tournament coverage
CJ CUP Byron Nelson highlights
THE CJ CUP Byron Nelson | Final Round Highlights
2025
Featured by these creators
Creator videos about this course
YouTube creators who filmed or featured TPC Craig Ranch. · Stats as of Oct 12, 2026 · 6d ago
A new-look TPC Craig Ranch, LIV’s cost cutting, & U.S. Open qualifying starts | The Shotgun Start
How did Hole 12 play?
How did this hole play today?
Frequently asked questions
Yardage reference: Pro tees · 547 yards.
How difficult is hole 12?
↓
This hole is a moderate challenge for most golfers. Key challenges include: water in play, small green.
What hazards should I watch out for on hole 12?
↓
Key hazards include: 1 greenside bunker; water at 463.1 yards. Plan your shots to avoid these trouble spots.
How big is the green on hole 12?
↓
The green is small and requires precision. Expect challenging pin positions with limited room for error.