Hole 2 of 18 · Farmingdale, New York
Hole 2 at Bethpage State Park (Blue Course)
- Par
- 4
- Yards
- 451
- Handicap
- 3
- Bunker
- 1
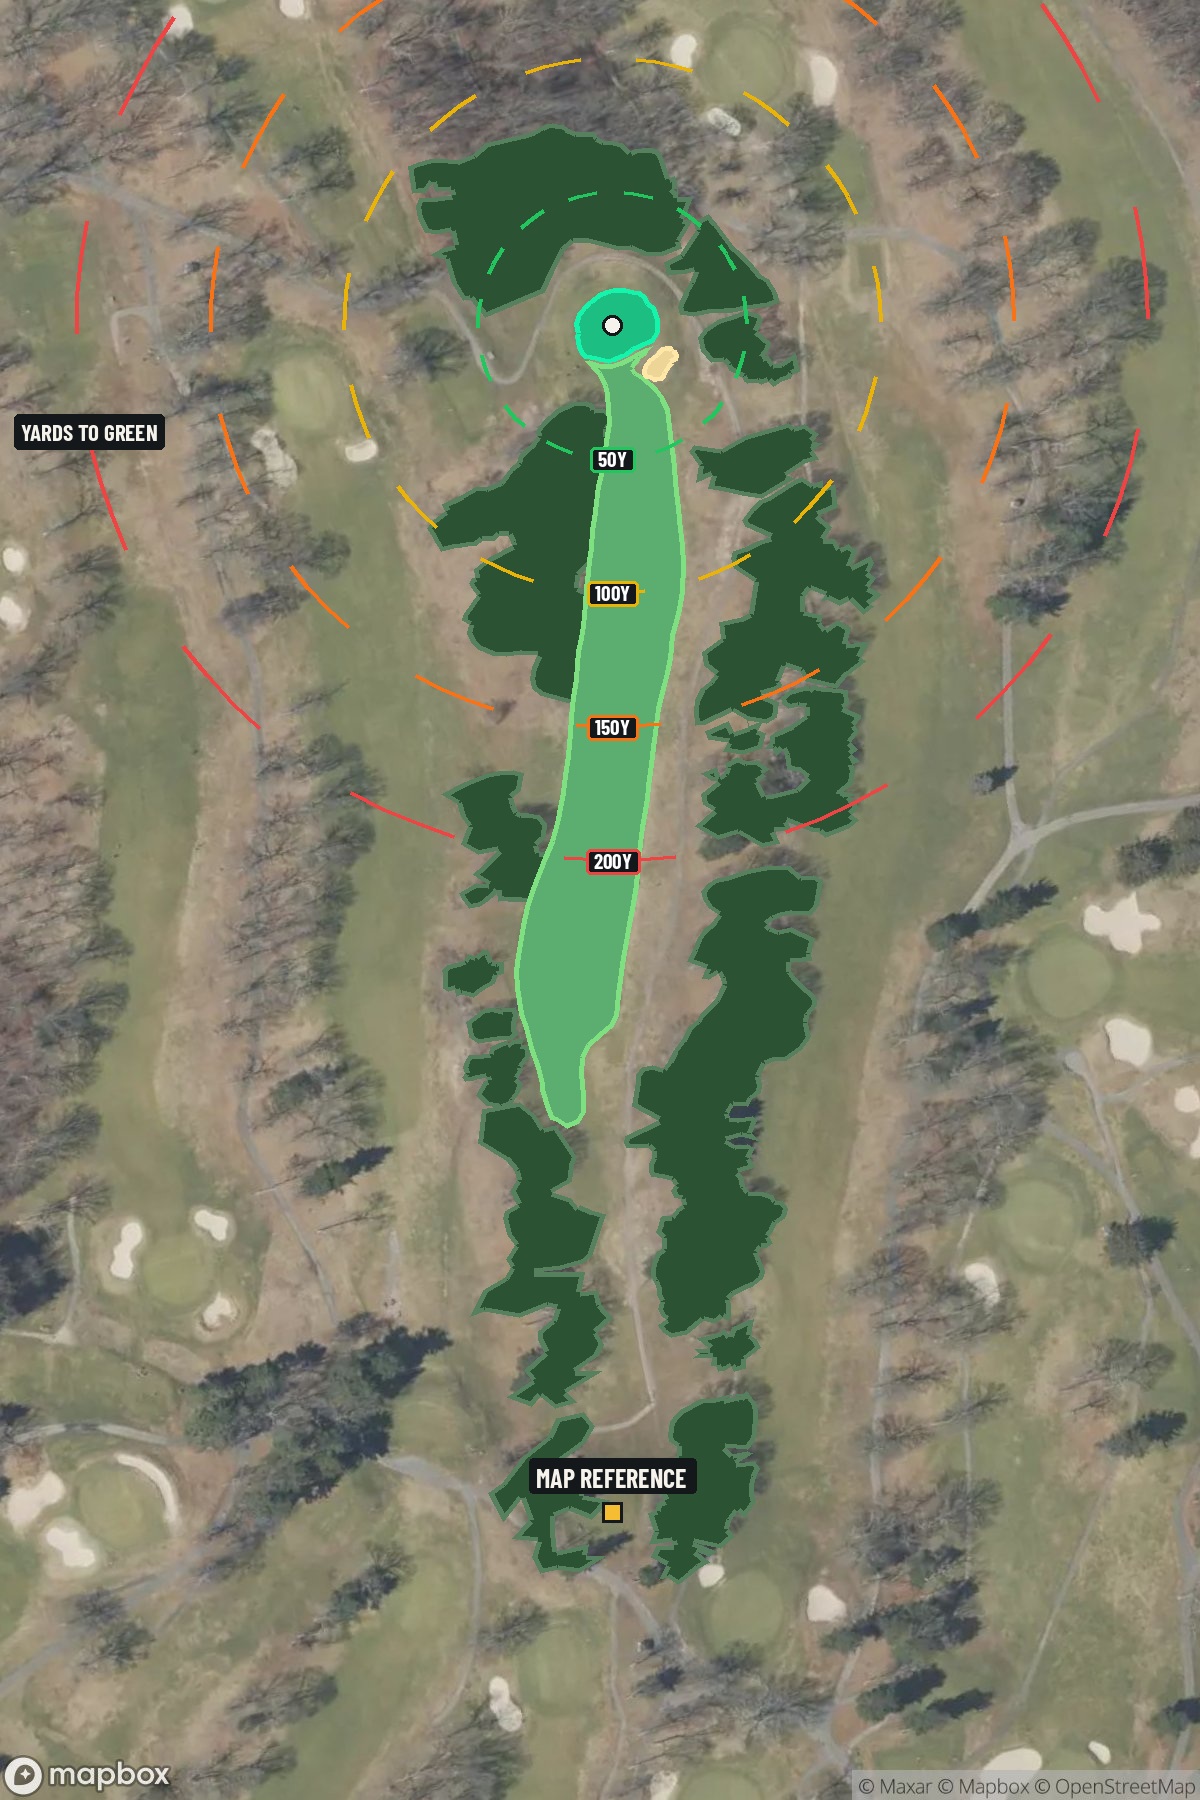
Map distances from Map reference tee
The map's printed distances are measured from the Map reference tee to the green; they do not move when you change tees. Your Championship yardage is in the tiles above.
Green size: 28 yds deep × 32 yds wide
Mapbox Satellite composite · capture date not provided. Green at the top.
Where this map comes from
- Satellite photo
- Date not published
- Mapbox satellite
- Green contours
- 2024 survey
- USGS lidar survey
The plan for No. 2
These notes were written before the current map. Where their distances differ, trust the map.
The play: The second hole at Bethpage Blue immediately establishes the course's reputation as a demanding test, stretching to a lengthy 451 yards and earning its designation as "a beast" among the front nine's collection of challenging par 4s. This straightforward but formidable hole exemplifies the no-nonsense character that makes Bethpage one of America's premier public golf destinations.
Shot by shot
The green on No. 2
Mapped boundary- Wide × deepyards
- 32×28
- Areasq ft
- 5,453
Gear for Hole 2
451yd par 4
Distance off the tee pays
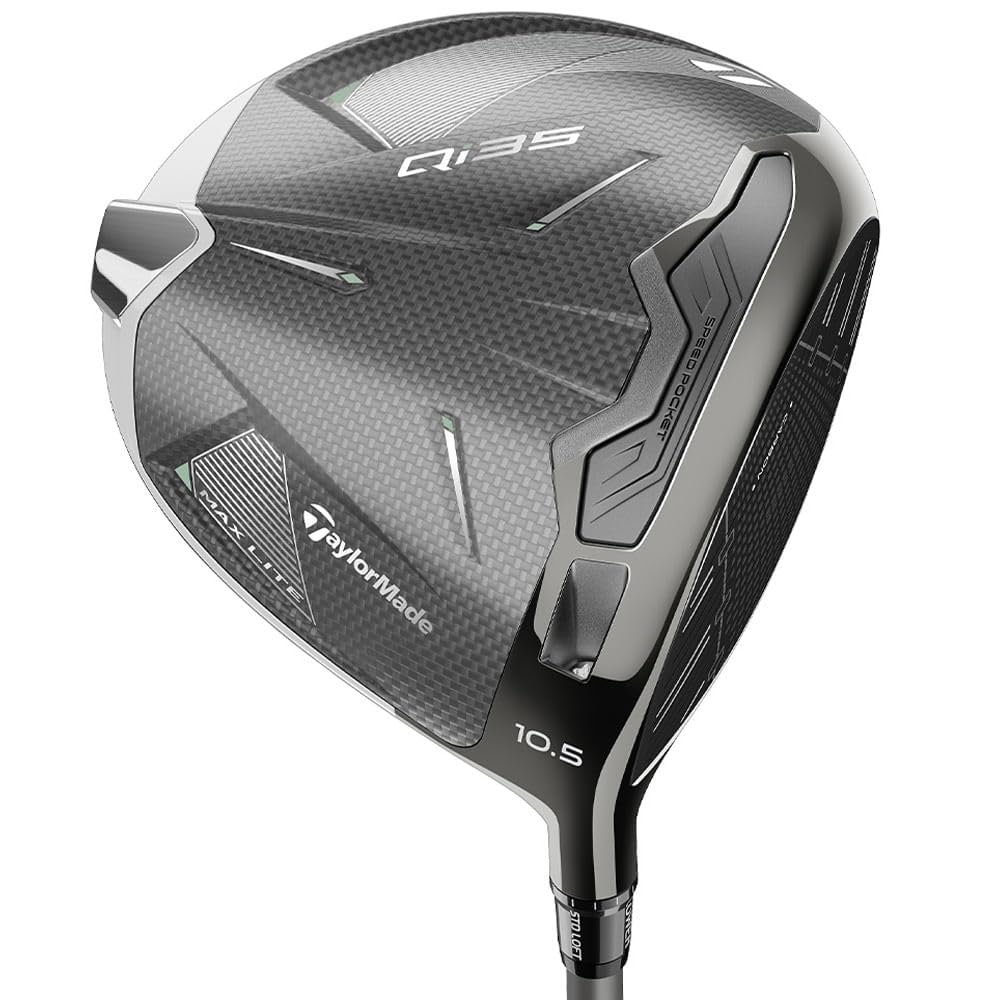 TaylorMade Qi35 Max$600 MSRPCheck priceCompare all picks →
We may earn a commission when you buy through these links.
How did Hole 2 play?
How did this hole play today?
Frequently asked questions
Yardage reference: Championship tees · 451 yards.
What's the best strategy off the tee?
↓
For this 451-yard par 4, most players will hit driver to set up a comfortable approach.
How difficult is hole 2?
↓
This hole is a moderate challenge for most golfers. Key challenges include: long par 4.
What hazards should I watch out for on hole 2?
↓
Key hazards include: 1 greenside bunker. Plan your shots to avoid these trouble spots.
How big is the green on hole 2?
↓
The green is medium-sized with moderate targets. Pay attention to pin placement when selecting your approach club.
What's a good score on hole 2?
↓
This hole is one of the tougher holes where par feels like birdie. A challenging par 4. Accept that bogey happens and avoid big numbers.