Hole 7 at Arcadia Bluffs Golf Club
- Par
- 4
- Yardage
- 472 yds
- Stroke index
- 1
- Hazards
- 5 bunkers
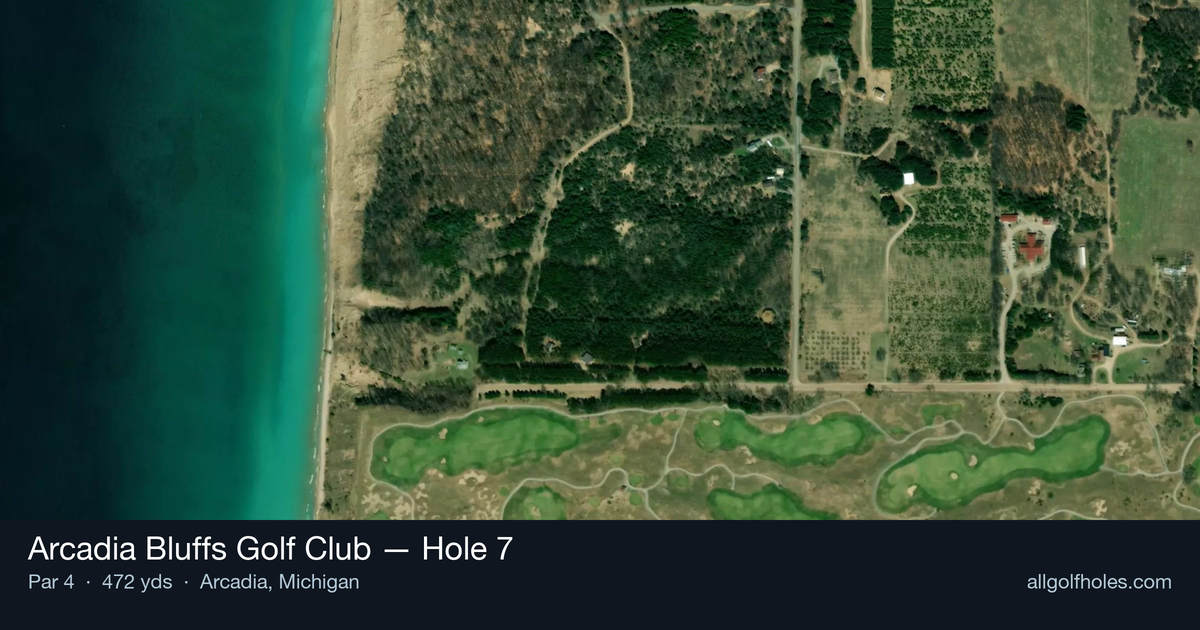
Aerial source not provided
Green size: 47 yds deep × 46 yds wide
Scorecard yardage is for Championship tees. The aerial shows its labeled reference position; distance rings measure to the green.
Championship tees · Par 4 · 472 yards
The plan for No. 7
The seventh hole at Arcadia Bluffs Golf Club presents golfers with a thrilling opportunity to unleash their power on one of the course's most generous driving holes. This 472-yard par 4 features an expansive fairway that invites aggressive tee shots, typically playing downwind to help extend drives toward the distant target. The wide-open landing area removes the pressure of accuracy off the tee, allowing players to swing freely and maximize distance. However, the hole's true test emerges on the approach shot, which plays slightly uphill to a compact green complex. This elevation change demands careful club selection and precise distance control, as the small target punishes anything less than committed execution. The combination of generous driving conditions followed by an exacting approach creates a compelling strategic balance that rewards both power and precision.
Off the tee
Take advantage of the wide-open fairway and typical downwind conditions to unleash your driver with confidence. The generous landing area allows you to swing freely without the fear of finding trouble, making this one of the few holes where you can truly let it rip. Aim for the center of the fairway to maximize distance while setting up the best angle for your approach shot. The downwind assistance often adds 20-30 yards to your drive, so commit to an aggressive swing knowing the wind will help carry the ball. With no significant hazards threatening the tee shot, this is your opportunity to gain crucial yardage on one of Arcadia's longer par 4s.
Approach & recovery
The approach shot presents the hole's primary challenge, playing slightly uphill to a small green that demands precision. Factor in at least one extra club due to the elevation change, and pay careful attention to pin position when selecting your target line. The uphill nature can deceive players into coming up short, so err on the side of taking more club rather than less. Aim for the center of the green regardless of pin position - the small target leaves little margin for error, making aggressive pin-hunting a risky proposition. Focus on solid contact and committed swings, as the uphill lie can cause deceleration through impact.
On the green
The small green requires precise distance control on approaches and careful speed management when putting. Read putts conservatively, as the elevated nature of the green can create subtle breaks that aren't immediately apparent. Focus on lag putting to the center of the green when facing longer putts, as three-putting from the wrong tier or section can quickly derail your score. The compact surface means most putts will have reasonable pace, but pay attention to grain direction and any influence from the prevailing winds that affect the course. ## RISK VS REWARD This hole offers a unique risk/reward scenario where the primary reward comes from aggressive driving rather than approach shot heroics. The wide fairway and downwind conditions create an excellent opportunity to gain significant yardage, potentially reducing your approach from a long iron to a mid-iron. However, the small green punishes overly aggressive approach shots, making the risk/reward calculation favor conservative play on the second shot regardless of how well you drive the ball. ## DIFFERENT SKILL LEVELS **High Handicappers:** Use the generous fairway to your advantage by swinging confidently with your driver, knowing trouble is minimal off the tee. Take an extra club or two for the approach shot and aim for the largest section of the green. Don't worry about pin position - focus on finding the putting surface and two-putting for par. **Low Handicappers:** Maximize the downwind conditions with an aggressive drive, then use the shorter approach distance to attack pins more precisely. However, respect the small green size and consider pin position carefully. When the pin is tucked, still favor the center of the green unless you're hitting a wedge or short iron with full confidence in your distance control. The 7th hole rewards smart course management that balances aggression off the tee with precision on approach, making it a true test of strategic thinking and execution.
Watch for
- Course conditioning and mapped hazards may affect line selection; confirm from the aerial.
Hole 7 Green Complex
Mapped green boundary
Green size: 12,989 sq ft
Course coverage
Tournament and creator videos about Arcadia Bluffs Golf Club — shared course coverage, not hole-specific clips.
Featured by these creators
Creator videos about this course
YouTube creators who filmed or featured Arcadia Bluffs Golf Club. · Stats as of Oct 12, 2026 · 5d ago
Course Record - Arcadia Bluffs
How did Hole 7 play?
How did this hole play today?
Frequently asked questions
Yardage reference: Championship tees · 472 yards.
What's the best strategy off the tee?
↓
For this 472-yard par 4, most players will hit driver to set up a comfortable approach.
How difficult is hole 7?
↓
This hole is a moderate challenge for most golfers. Key challenges include: long par 4, heavily bunkered, large green requiring good lag putting.
How big is the green on hole 7?
↓
The green is large and can play quite long. Three-putt territory if you don't manage your approach distance well.
What's a good score on hole 7?
↓
This hole is one of the tougher holes where par feels like birdie. A challenging par 4. Accept that bogey happens and avoid big numbers.