Hole 3 at Arcadia Bluffs Golf Club
- Par
- 5
- Yardage
- 530 yds
- Stroke index
- 7
- Hazards
- 6 bunkers
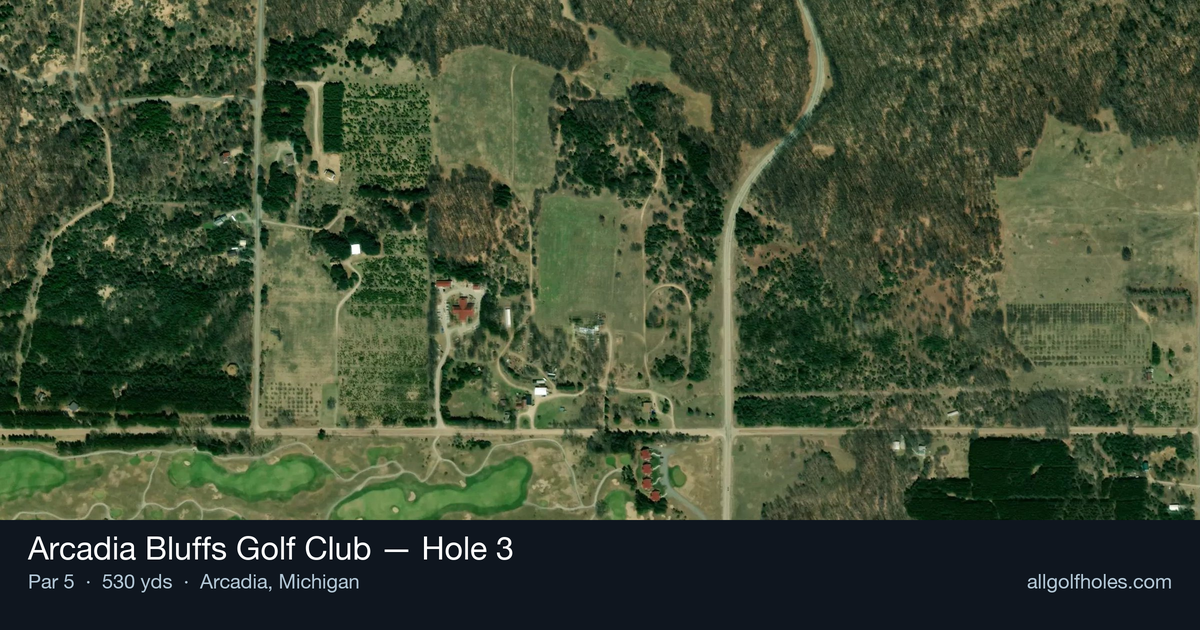
Aerial source not provided
Green size: 57 yds deep × 34 yds wide
Scorecard yardage is for Championship tees. The aerial shows its labeled reference position; distance rings measure to the green.
Championship tees · Par 5 · 530 yards
The plan for No. 3
The third hole at Arcadia Bluffs Golf Club presents an early test in what's famously one of golf's most scenic settings along Lake Michigan's bluffs. This 530-yard par 5 embodies the links-style character that earned the course its "Whistling Straits East" nickname, with man-made fescue dunes framing a relatively straightforward layout. The absence of major hazards makes this an excellent birdie opportunity, but the firm conditions and small green complex demand precision on the approach shot. Wind off the lake can dramatically alter club selection, while the undulating terrain typical of Rick Smith and Warren Henderson's design adds subtle complexity to what appears deceptively simple from the tee. Smart positioning and course management separate good scores from great ones on this early par 5.
Off the tee
Your tee shot strategy should focus on finding the optimal position in the landing zone around the 250-yard mark. Given the firm conditions and potential for roll, consider taking one club less than your normal driver distance to ensure control. The target line should favor the center-right portion of the fairway, giving you the best angle for your second shot. With no bunkers or water to avoid, you can be aggressive with your line while maintaining accuracy. The fescue rough flanking the fairway will grab errant shots, so prioritize finding the short grass over maximum distance.
Approach & recovery
Your second shot becomes the critical decision point on this hole. Most players will face a choice between laying up to their favorite wedge distance or attempting to reach the green in two. The small green size makes the latter option particularly challenging, requiring precise distance control and the right trajectory. If laying up, target the 100-120 yard range where you'll have full control over your approach. When going for the green, aim for the center and trust your yardage - the firm conditions mean shots will release upon landing.
On the green
The small green complex demands respect and precise putting. Expect firm, fast conditions that will test your distance control on longer putts. Focus on getting your approach shots below the hole when possible, as uphill putts will be more manageable on the slick surface. Pay attention to any subtle breaks, as the firm greens will accentuate even minor slopes. Two-putting from long range should be your priority unless you have a clear read on shorter birdie attempts. ## RISK VS REWARD This hole offers excellent risk/reward dynamics for players of all skill levels. The reward is significant - a well-executed eagle attempt or comfortable birdie opportunity. The risk is minimal in terms of major penalty strokes, but missing the small green can leave difficult up-and-downs from the surrounding areas. Going for the green in two is most rewarding when you can carry your shot at least 200 yards with accuracy, otherwise the lay-up strategy offers better scoring consistency. ## DIFFERENT SKILL LEVELS **High-handicap players** should treat this as a three-shot hole, focusing on two solid shots to reach wedge distance, then attacking the pin with their most reliable short iron. The lack of major hazards makes this an ideal hole to play conservatively and still score well. **Low-handicap players** can be more aggressive, particularly in favorable wind conditions. Consider going for the green when you have 200 yards or less remaining, but respect the small target and firm conditions. Your superior distance control should allow you to attack pins more aggressively once on the green. **Mid-handicap players** should base their strategy on their second shot distance - inside 180 yards, consider going for it; outside that range, lay up to your most comfortable wedge distance and rely on your short game to secure birdie.
Watch for
- Course conditioning and mapped hazards may affect line selection; confirm from the aerial.
Hole 3 Green Complex
Mapped green boundary
Green size: 9,649 sq ft
Course coverage
Tournament and creator videos about Arcadia Bluffs Golf Club — shared course coverage, not hole-specific clips.
Featured by these creators
Creator videos about this course
YouTube creators who filmed or featured Arcadia Bluffs Golf Club. · Stats as of Oct 12, 2026 · 5d ago
Course Record - Arcadia Bluffs
How did Hole 3 play?
How did this hole play today?
Frequently asked questions
Yardage reference: Championship tees · 530 yards.
Can this par 5 be reached in two?
↓
At 530 yards, A true three-shot hole for most players. Position your layup to leave a comfortable wedge distance.
How difficult is hole 3?
↓
This hole is a good scoring opportunity for most golfers. Key challenges include: heavily bunkered, large green requiring good lag putting.
How big is the green on hole 3?
↓
The green is large and can play quite long. The green is wider than it is deep, rewarding shots that find the correct tier. Three-putt territory if you don't manage your approach distance well.
What's a good score on hole 3?
↓
This hole is a solid birdie opportunity with smart layup strategy. Most golfers can reach in three. Position your layup to leave a comfortable wedge.