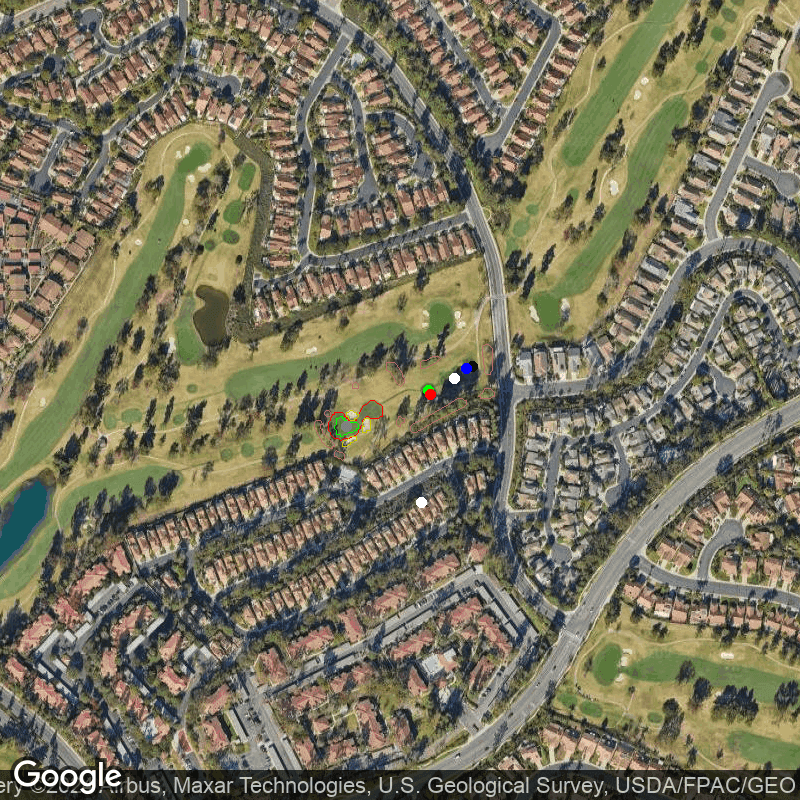
Shadowridge Golf Club Hole by Hole - 12th Hole
Shadowridge Golf Club, California
Submit a tipThere are no reviews for this hole yet
Hole 12 at Shadowridge Golf Club is a challenging par 3 that requires precision and strategy to score well. From the championship tees, the hole measures 152 yards and has a handicap of 18, making it one of the more difficult holes on the course. The green area is relatively small at only 4329 square feet, with three bunkers strategically placed around it.
The tee shot on this hole will require careful consideration based on weather conditions. In warmer seasons, players may experience higher ball flight due to altitude and temperature, which could result in longer distances than usual. Conversely, cooler temperatures or strong winds may impact ball flight and require adjustments to club selection.
For an average golfer who hits a driver approximately 217 yards off the tee, using a long iron or hybrid club would be recommended for better accuracy and control over distance. Aiming for the center of the green is crucial as there are no water hazards on this hole but missing left or right can result in landing in one of the greenside bunkers.
From there, players should approach their second shot with caution as they navigate towards a small target surrounded by bunkers. With an average distance of about 140 yards with a seven iron or pitching wedge from fairway shots, golfers should aim for precise placement rather than trying to hit it close to pin.
Overall, Hole 12 at Shadowridge Golf Club poses challenges for even experienced golfers due to its length and narrow green area guarded by strategically placed bunkers. Proper club selection and precise shots are key factors in scoring well on this hole throughout all four seasons.
Teebox type:
Championship
Par:
3
Distance:
152 yards
Handicap:
18
Green Area:
4329
Approx Fairway Width:
Has Water:
False
Curvature:
Percent Bunkers Near green:
9
Bunker Count:
3
Bunkers:
Some fairway bunkers, with the majority (51%) strategically placed around the area.
Club Recommendations
1. Take into account weather conditions before selecting a club for your tee shot.
2. For warmer seasons, consider using a longer club due to potential higher ball flight.
3. In cooler temperatures or strong winds, adjust your club selection accordingly.
4. Aim for the center of the green to avoid landing in one of the greenside bunkers.
5. Use a long iron or hybrid club off the tee for better accuracy and control over distance.
6. Approach second shot with caution as you navigate towards a small target surrounded by bunkers.
7. Focus on precise placement rather than trying to hit it close to pin from fairway shots (140 yards).
8. Keep in mind that even experienced golfers may struggle on this hole due to its length and narrow green area guarded by strategically placed bunkers.
9. Practice proper course management and strategy when playing Hole 12 at Shadowridge Golf Club.
10.Use each season's unique challenges as an opportunity to improve your game on this challenging par 3 hole.
"The most important shot in golf is the next one."
- Ben Hogan
Only signed in users can add reviews.
Sign inThere are no reviews for this hole yet